Apple Final Cut Pro X (10.1.2) User Manual
Page 316
Chapter 10
Advanced editing
316
•
Fill: Makes the clip’s video fill the project’s frame size. In the case of an SD clip in an HD project,
Final Cut Pro scales up the SD clip to fit the HD project’s frame size. Cropping occurs along the
clip’s longer dimension to allow the shorter dimension to fill the screen. In the case of an HD
clip in an SD project, Final Cut Pro scales down the HD clip to fit the SD project’s frame size.
Cropping occurs along the clip’s shorter dimension to allow the longer dimension to fill the
screen.
•
None: Leaves the clip’s frame size unchanged. If the clip’s frame size is larger than the project’s
frame size, the clip appears cropped. If the clip’s frame size is smaller than the project’s frame
size, black bars surround the clip.
Choose a method of conforming frame rate
When a clip’s frame rate differs from the project’s frame rate, Final Cut Pro employs a frame-
sampling method to change the clip’s frame rate to match that of the project. You can choose
which frame-sampling method Final Cut Pro uses to modify the clip’s frame rate. The method you
choose depends on how important it is to you to eliminate visual stuttering and visual artifacts.
1
Add a clip to the Timeline with a frame rate that doesn’t match the current project’s frame
rate settings.
2
Select the clip in the Timeline.
3
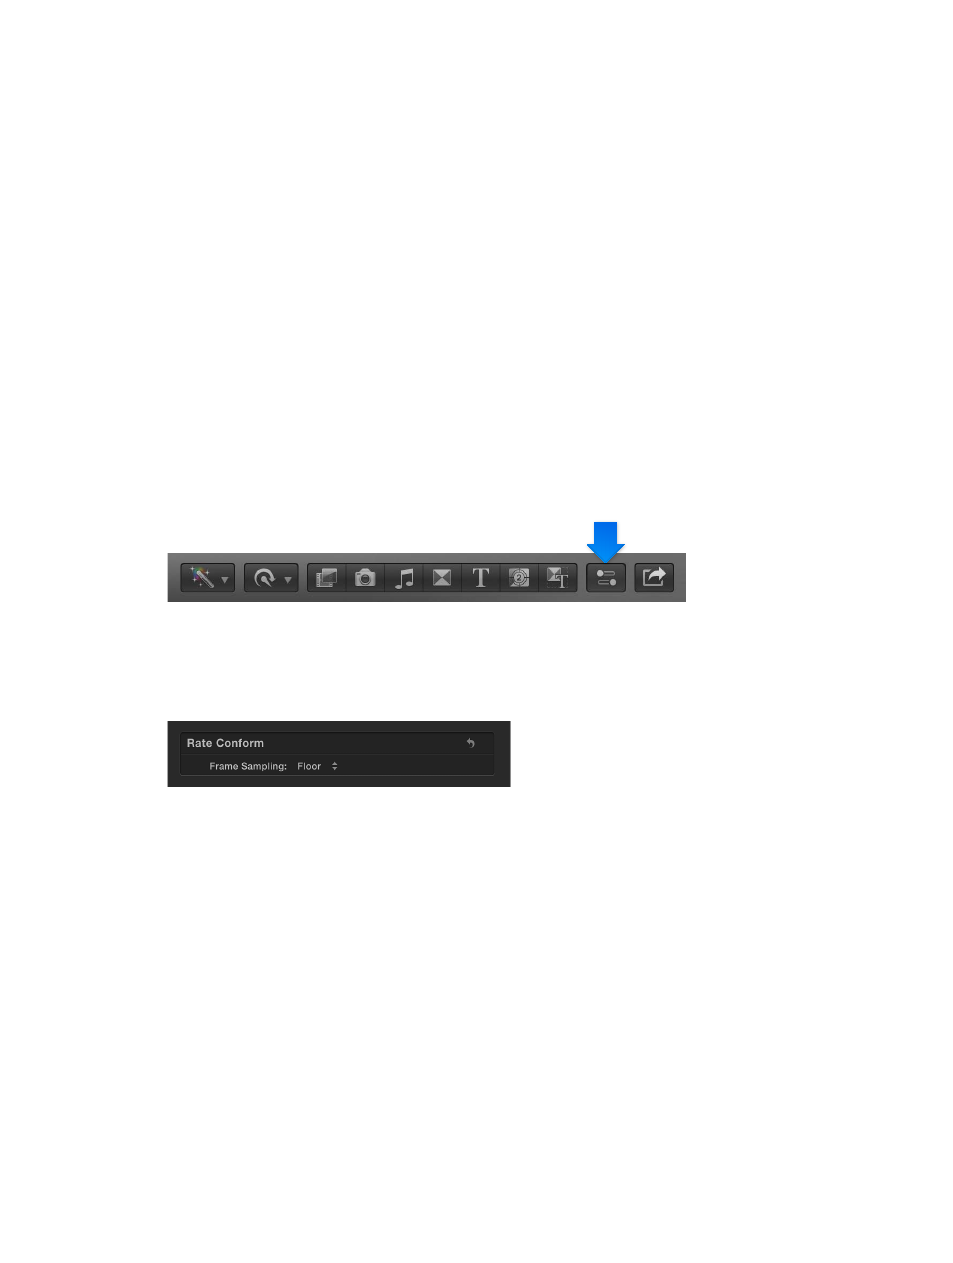
To open the Video inspector, click the Inspector button in the toolbar (shown below), and click
the Video button at the top of the pane that appears.
4
Choose a method of conforming frame rate from the Frame Sampling pop-up menu in the Rate
Conform section of the Video inspector.
Note: If the selected clip has the same frame rate as the project frame rate settings, the Rate
Conform section does not appear in the Video inspector.
•
Floor: The default setting. Final Cut Pro truncates down to the nearest integer during its
calculation to match the clip’s frame rate to the project’s frame rate.
•
Nearest Neighbor: Final Cut Pro rounds to the nearest integer during its calculation to match
the clip’s frame rate to the project’s frame rate. The Nearest Neighbor option reduces artifacts
at the expense of visual stuttering. Rendering is required.
•
Frame Blending: Creates in-between frames by blending individual pixels of neighboring
frames. Slow-motion clips created with Frame Blending appear to play back more smoothly
than those created with the Floor or Nearest Neighbor setting. This setting provides better
reduction of visual stuttering, but you may see some visual artifacts. Rendering is required.
•
Optical Flow: A type of frame blending that uses an optical flow algorithm to create new
in-between frames. Final Cut Pro analyzes the clip to determine the directional movement
of pixels, and then draws portions of the new frames based on the optical flow analysis.
Choosing the Optical Flow option results in better reduction of visual stuttering, and
Final Cut Pro spends a significant amount of time to fix visual artifacts.
67% resize factor