Make slide edits with the trim tool – Apple Final Cut Pro X (10.1.2) User Manual
Page 135
Chapter 7
Edit your project
135
When you release the mouse button, the slipped clip appears in the Timeline with a new start
point and a new end point.
With the current selection, you can also slip the clip with keyboard shortcuts by doing either of
the following:
•
Nudge the start and end points (one frame or 10 frames) to the left or right.
•
Enter an amount of time to slip the clip left or right.
Note: If either the start point or the end point turns red as you drag, you’ve reached the end of
the available media for that side of the clip.
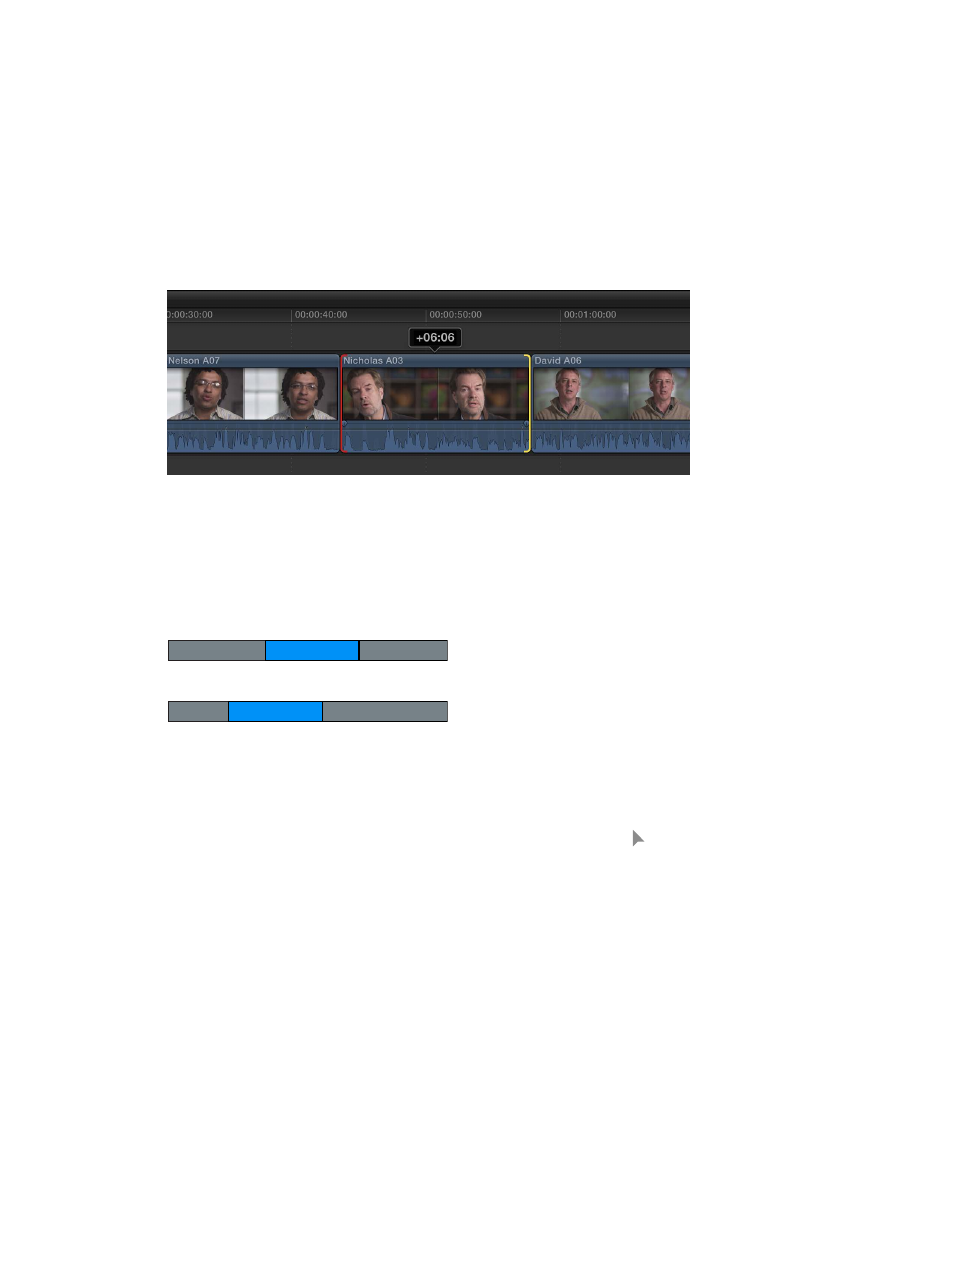
Make slide edits with the Trim tool
Performing a slide edit allows you to move a clip’s position in the Timeline between two other
clips without creating a gap. The clip’s content and duration remain the same; only its position
in the Timeline changes. When you slide a clip, the adjacent clips get longer and shorter to
accommodate the change in the clip’s position. The combined duration of these three clips stays
the same, and the project’s total duration remains unchanged as well.
A
B
C
A
B
C
Before edit
After edit
Note: To slide a clip between two others, the preceding clip and the following clip must have
media handles, additional media available beyond the edit point. You can double-click any edit
point to view or adjust its media handles in the Precision Editor.
If there are no media handles available, consider using the Position tool instead. For more
information about the Position tool, see
on page 117.
For more accurate visual feedback on edits involving contiguous clips, you can turn on “Show
detailed trimming feedback” in Final Cut Pro preferences. For a slide edit, this “two-up” display
in the Viewer shows the two edit points you are adjusting: the end point of the preceding clip
and the start point of the subsequent clip. For more information, see
on page 137.
67% resize factor