Create and manage camera archives, 435 create and manage camera archives – Apple Final Cut Pro X (10.1.2) User Manual
Page 435
Chapter 14
Manage media, libraries, and archives
435
5
When you’re finished setting storage locations, click OK.
Final Cut Pro uses your new storage locations for future source media file imports, cache files,
and backups.
Important:
Existing source media and backup files remain in their original locations. If you
changed the cache storage location, Final Cut Pro offers to move your existing active render files
and other cache files (such as thumbnail images and audio waveform files) to the new location.
Consolidate media files for a library
1
Select a library in the Libraries list.
2
To open the Library Properties inspector, do one of the following:
•
Choose File > Library Properties (or press Control-Command-J).
•
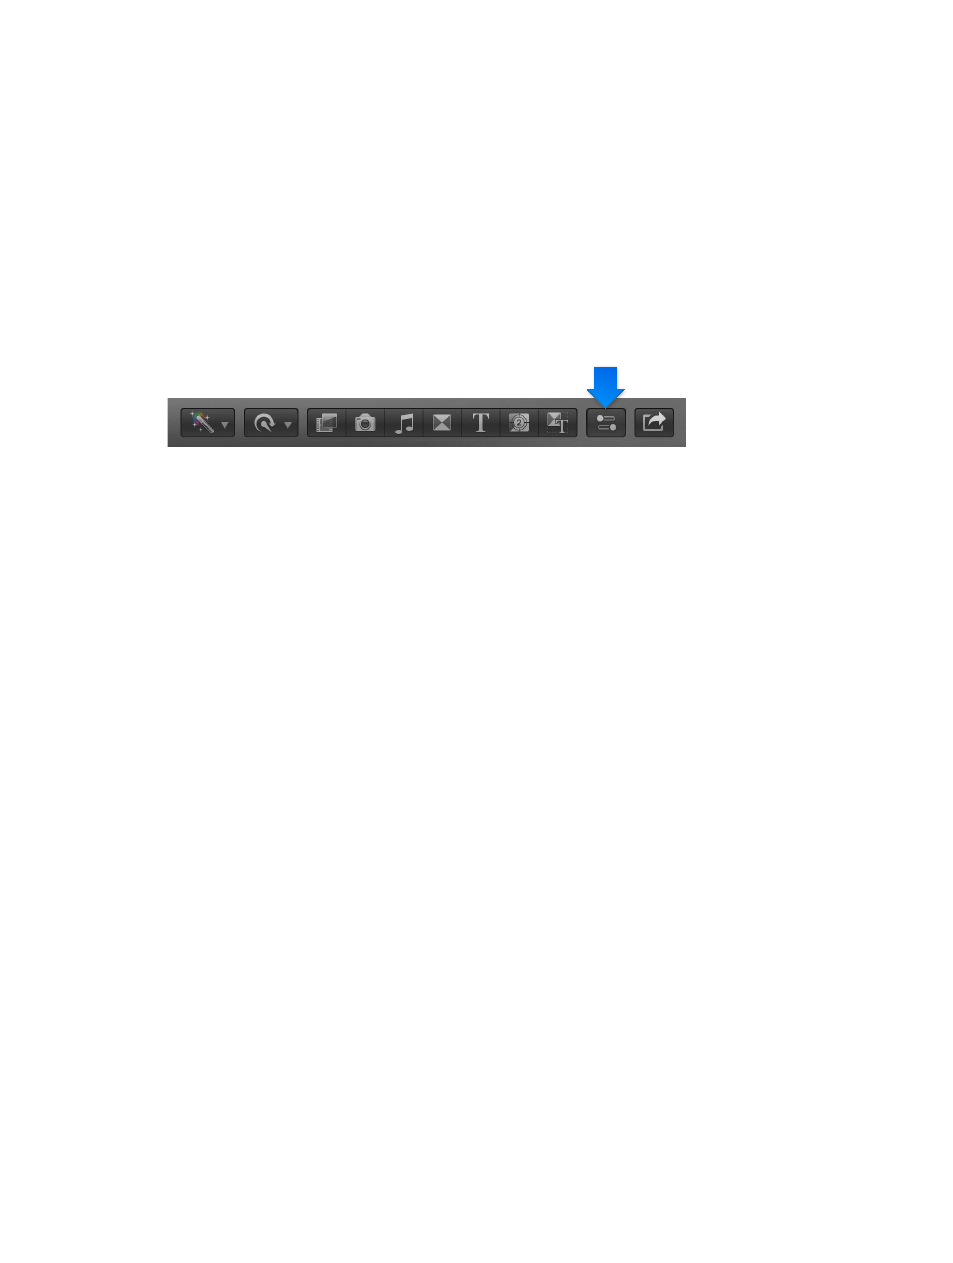
Click the Inspector button in the toolbar (shown below).
3
In the Library Properties inspector, click Consolidate.
4
If you want to include optimized and proxy media, select the checkboxes in the window that
appears, and click OK.
Final Cut Pro copies the media into the selected library file, or to the external storage location. To
view or change library storage locations, see the instructions above.
For more information about consolidating media files, see
Consolidate projects, events, and
on page 424.
Create and manage camera archives
You can make a camera archive (backup copy) of the contents of your camera or camcorder.
(Note that you cannot make an archive from a live video signal, such as the signal produced by
an iSight camera.) To protect your media, it is recommended that you save your archive to a disk
or partition different from the one where you store the media files used with Final Cut Pro.
Because you can import media into Final Cut Pro from an archive, archiving the media on your
device can be useful if you want to:
•
Quickly empty the contents of your camera or camcorder so that you can record more media
right away, rather than wait for it to import into Final Cut Pro, which can take time.
•
Import the archived media on multiple computers without having to keep it on the camcorder
•
Keep a browsable, “near-line” archive of media from a camera without having to import the
media into Final Cut Pro
See
Access media on an archive or disk image
on page 41 for information on how to import
media into Final Cut Pro from a camera archive.
Archive the media on your file-based camera or camcorder
1
If you want to save the archive to an external storage device, connect it to your computer.
2
Connect the camera or camcorder to your computer using the cable that came with it, and turn
it on.
67% resize factor