Adjust audio effects using keyframes, Adjust audio effects, Using keyframes – Apple Final Cut Pro X (10.1.2) User Manual
Page 195
Chapter 8
Edit audio
195
2
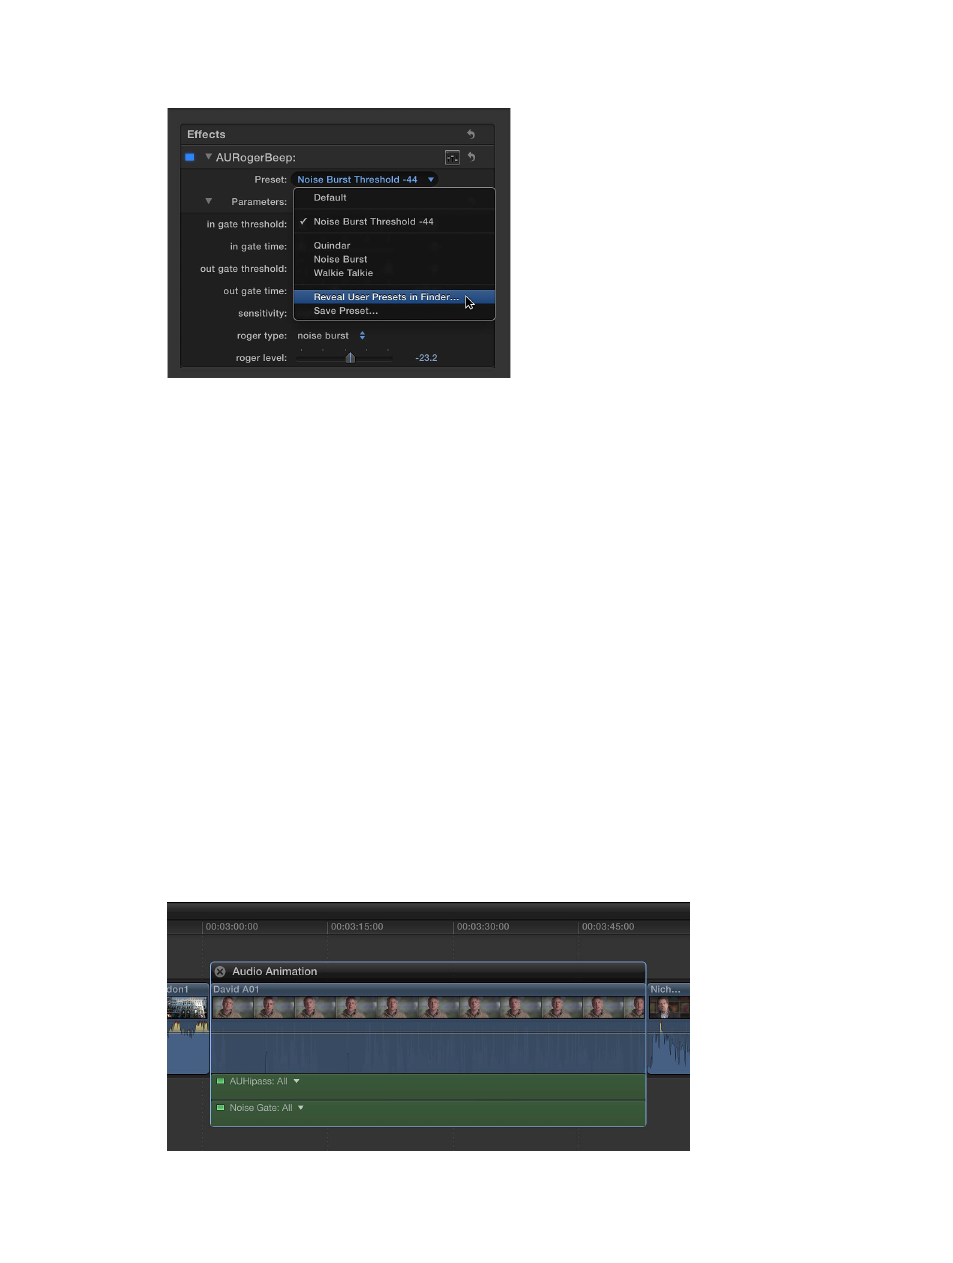
Choose Reveal User Presets in Finder from the Preset pop-up menu.
3
Select the preset or presets you want to delete in the Finder window, and drag them to the Trash.
After a custom preset has been deleted, it no longer appears in the Preset pop-up menu.
Adjust audio effects using keyframes
With Final Cut Pro, you can use keyframes to create simple changes to audio over time, such as
fading the volume or an effect in or out in the middle of a clip.
You place keyframes at specific points in a clip to change the parameter value of an audio
enhancement or effect at those points. For example, you can keyframe specific points for volume
or for an effect such as reverb or distortion.
You can set keyframes to adjust a clip’s volume directly in the Timeline or in the Audio
inspector. To see keyframes in the Timeline for all other effects, you need to display the Audio
Animation Editor.
For information about keyframes for video clips, see
Adjust video effects using keyframes
page 259.
Add keyframes to a clip
1
Do one of the following:
•
Select the clip in the Timeline, and choose Clip > Show Audio Animation (or press Control-A).
•
Control-click the clip in the Timeline, and choose Show Audio Animation from the shortcut menu.
If you’re adding keyframes for volume adjustment only, go to step 4.
Each effect in the Audio Animation Editor has a separate area for adding keyframes.
67% resize factor