Apple Final Cut Pro X (10.1.2) User Manual
Page 436
Chapter 14
Manage media, libraries, and archives
436
If you’re using a camcorder, set it to PC Connect mode. The name of this transfer mode may be
different on your device. Your camcorder may automatically go into “connect” mode if you turn
it on in playback mode while it’s connected to your computer. For more information, see the
documentation that came with your camcorder.
Note: Connecting a DVD camcorder to your Mac can cause the DVD Player application to open. If
that happens, simply close DVD Player.
3
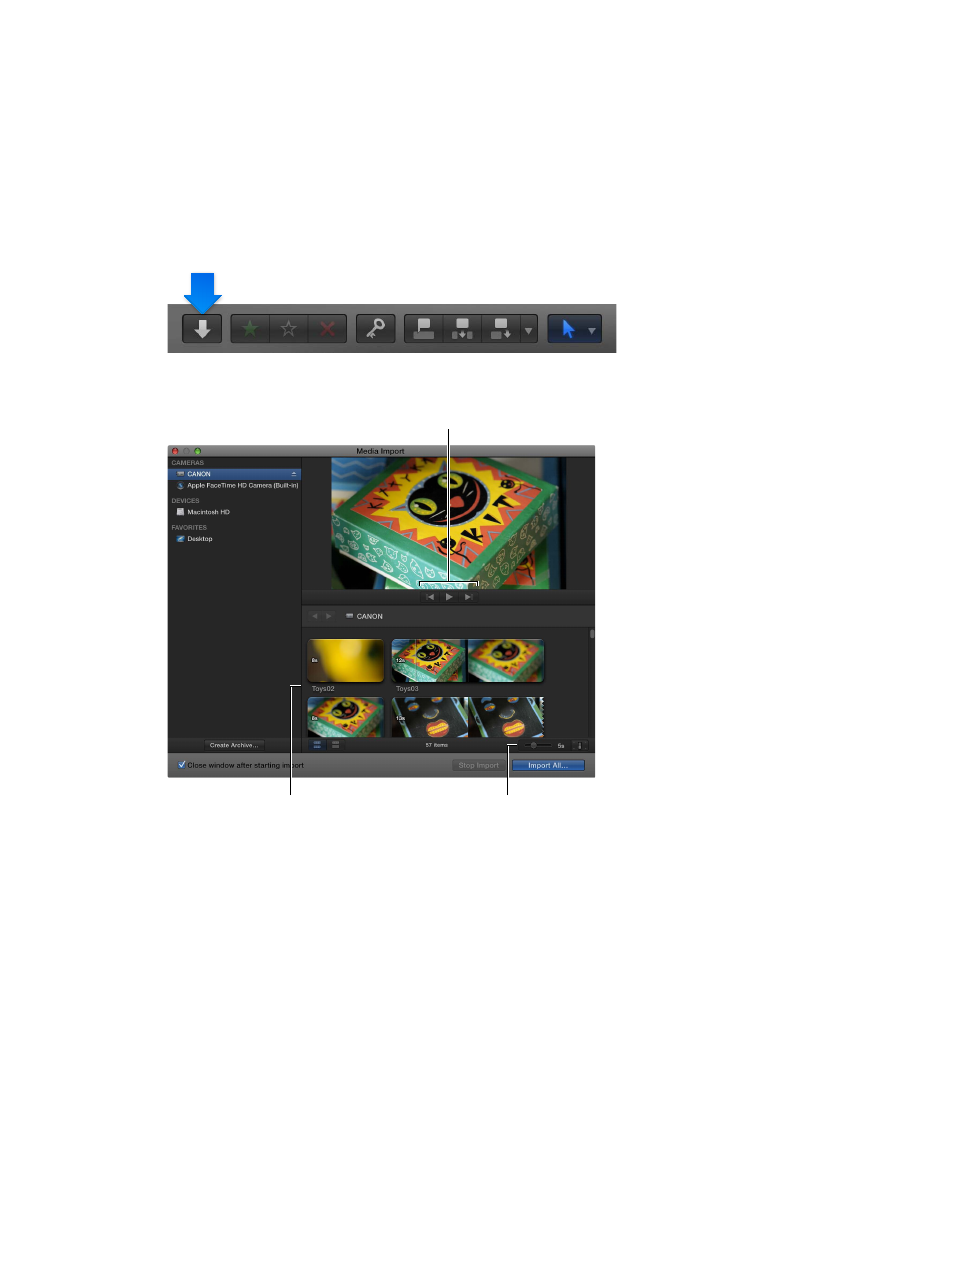
In Final Cut Pro, click the Import Media button on the left end of the toolbar (or press
Command-I).
4
In the Media Import window that appears, select the device whose content you want to archive
from the list of cameras on the left.
Change the way clips appear
using these controls.
The media on the
device appears here.
Playback controls
5
Click the Create Archive button at the bottom-left corner of the window.
6
In the “Create Camera Archive as” field, type a name for the archive.
7
Choose a location to save the archive from the Destination pop-up menu, and click OK.
Note: It is recommended that you save your archive to a disk or partition different from the one
where you store the media files used with Final Cut Pro.
The camera archive is stored on your hard disk. You can mount the archive as if it were a file-
based camcorder and browse the archive’s contents, or import the media on the camera archive
into Final Cut Pro. For more information, see
Access media on an archive or disk image
on
page 41.
67% resize factor