Skew a clip’s perspective – Apple Final Cut Pro X (10.1.2) User Manual
Page 234
Chapter 9
Add transitions, titles, effects, and generators
234
•
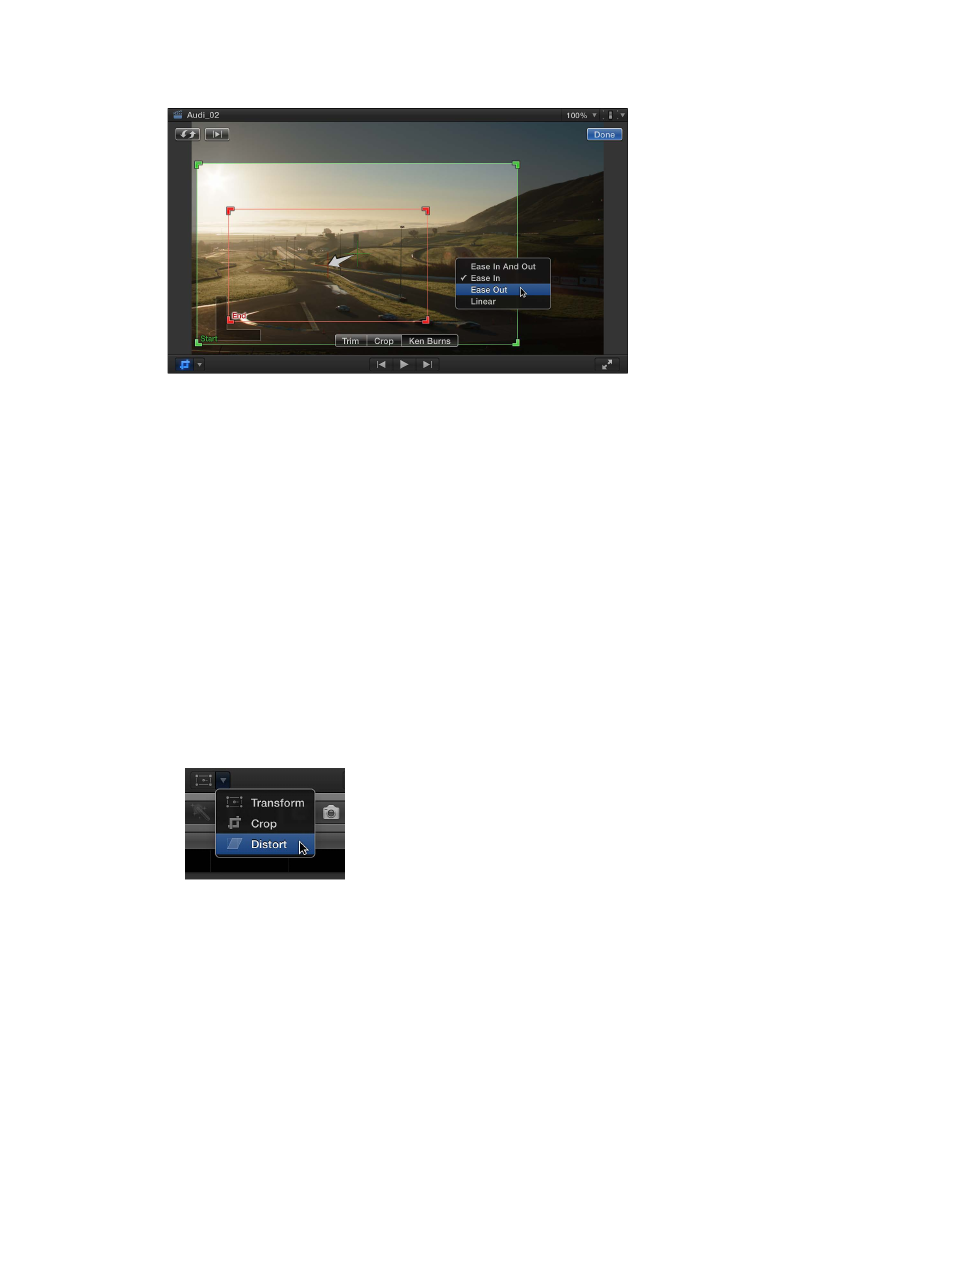
Linear: Removes all easing effects.
Tip: Use the Crop effect and intermediate keyframes to create a Ken Burns–style effect that
follows a more complicated path.
For details on working with built-in effects, see
on page 235.
Skew a clip’s perspective
The Distort effect is similar to the Transform effect, except that you can drag each of the corners
independently of the others, allowing you to create a skewed look or add a 3D perspective to
the image.
Note: The Distort effect alters the shape of the video but does not actually move the video. To
move the video to a different position, use the Transform effect.
Adjust the Distort effect
1
Select a clip in the Timeline.
2
To access the Distort controls, do one of the following:
•
Choose Distort from the pop-up menu in the lower-left corner of the Viewer (or press
Option-D).
•
Control-click in the Viewer and choose Distort from the shortcut menu.
3
To adjust the effect using the onscreen controls:
•
Blue handles at each corner: Drag these to adjust the position of each corner, adding a 3D
perspective to the image by making parts of it appear closer to you than other parts.
•
Blue handles in the middle of each side: Drag these to adjust the position of each side. You can
create a skewed look by dragging them in the same direction as their edge (as opposed to
toward or away from the center).
67% resize factor