Pm designer operation manual – B&B Electronics WOP-2121V-N4AE - Manual User Manual
Page 157
4
4
PM Designer Operation Manual
4-35
CHAPTER 4 DESIGNING SCREENS
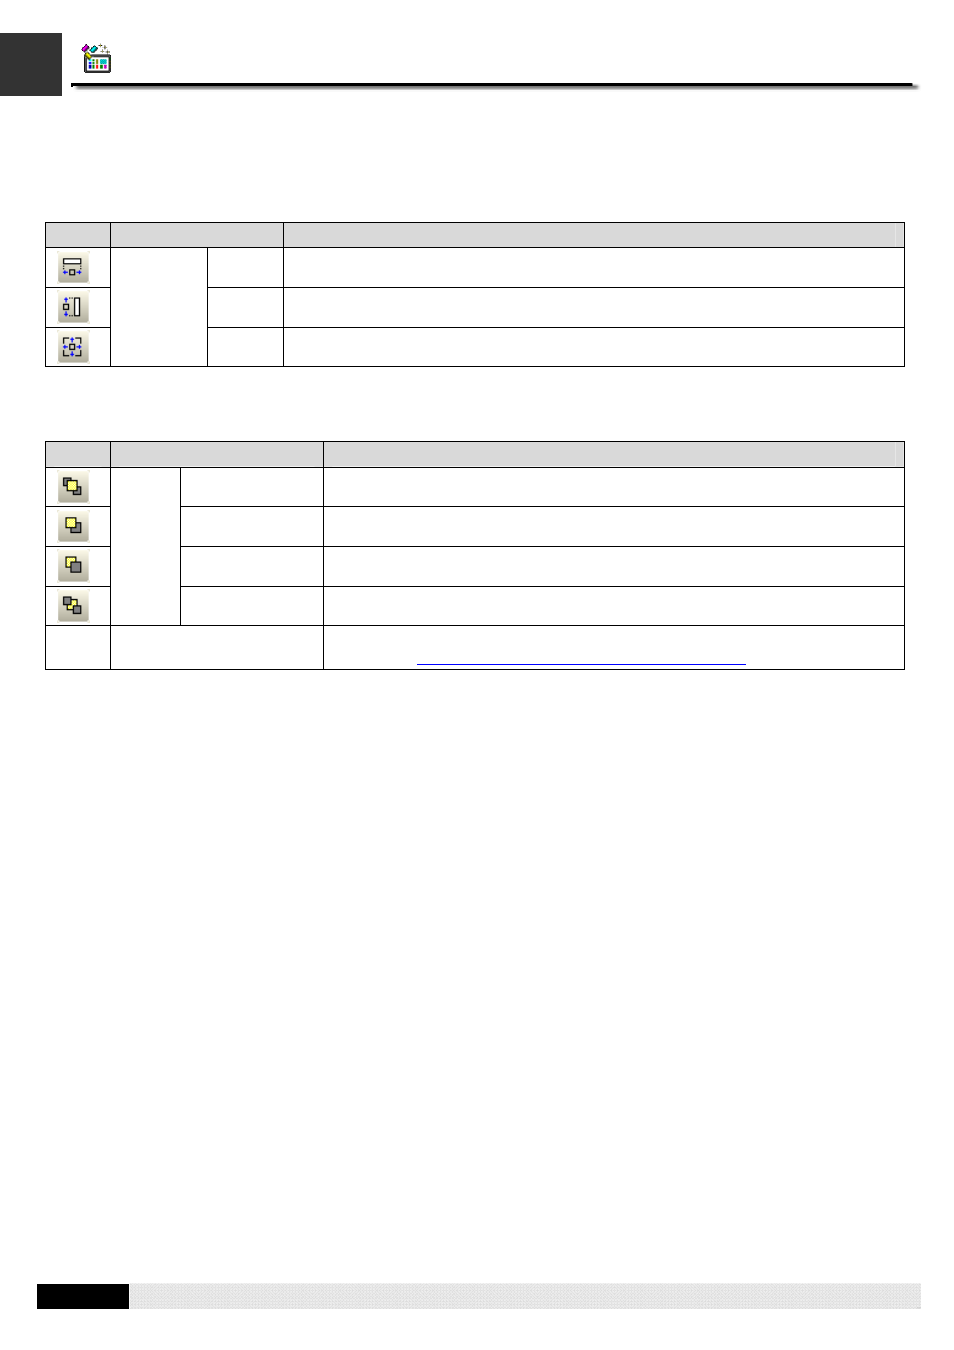
4.2.5. Making Objects Same Size
To make the selection same size as the reference object which can be selected by using Ctrl + Click, press the icon on the
toolbar or click the menu item listed as below.
Icon
Menu Item
Description
Width
Make the selected objects have the same width as the reference object.
Height
Make the selected objects have the same height as the reference object.
Make
Same
Size
Both
Make the selected objects have the same width and height as the reference object.
4.2.6. Arranging the Order of Objects
Icon
Menu Item
Description
Bring to Top
Bring the selection to the top.
Bring Forward
Bring the selected object one layer up.
Send Backward
Send the selected object one layer down.
Layer
Send to Bottom
Send the selection to the bottom.
Set Order
Start the order setting process for the objects of the active screen. For details,
please see
Section 4.2.6.1 Changing the Order of Objects
4.2.6.1. Changing the Order of Objects
The object order in PM Designer is the order in which the selection cursor moves the input focus from one object to the
next within a screen. Usually the order proceeds from left to right and from top to bottom in a screen. In the model with
programmable keys such as 037-LSK, the Data Entry Object receives input focus in the specified order by clicking
direction keys. In touch panel, you can use function button to select a data entry object with the order number previous or
next to the current selection.
The object order is also the display order. If the screen contains overlapping the objects, change the order will change the
display sequence of the objects. The objects that come later in the order are always displayed on top of any overlapping
objects that precede them in the order.
■ Viewing order
To view the current order of all objects in the screen, click Set Order on the Edit menu.
■ Changing order
To change the order for all objects in the screen
1) On the Edit menu, click Set Order
A Number in the upper-left corner of each object shows its place in the current order
2) Set the order by clicking each object in the order you want to display the object. The ordering number starts from 1.
3) Click the blank field on the screen to exit Set Order mode