Pm designer operation manual – B&B Electronics WOP-2121V-N4AE - Manual User Manual
Page 137
4
4
PM Designer Operation Manual
4-15
CHAPTER 4 DESIGNING SCREENS
4.1.7. Drawing Arcs
1.
In the Draw menu or Draw toolbar, click
Arc
to draw an arc.
2.
Move the cursor onto the screen where you want to draw an arc. An arc with default settings will display and
move along with the cursor.
3.
Click the desired position on the screen to place the arc. The upper-left corner of the bounding rectangle of the
arc will be at the clicked position.
4.
Drag one handle of the arc at a time to change the shape of the arc.
5.
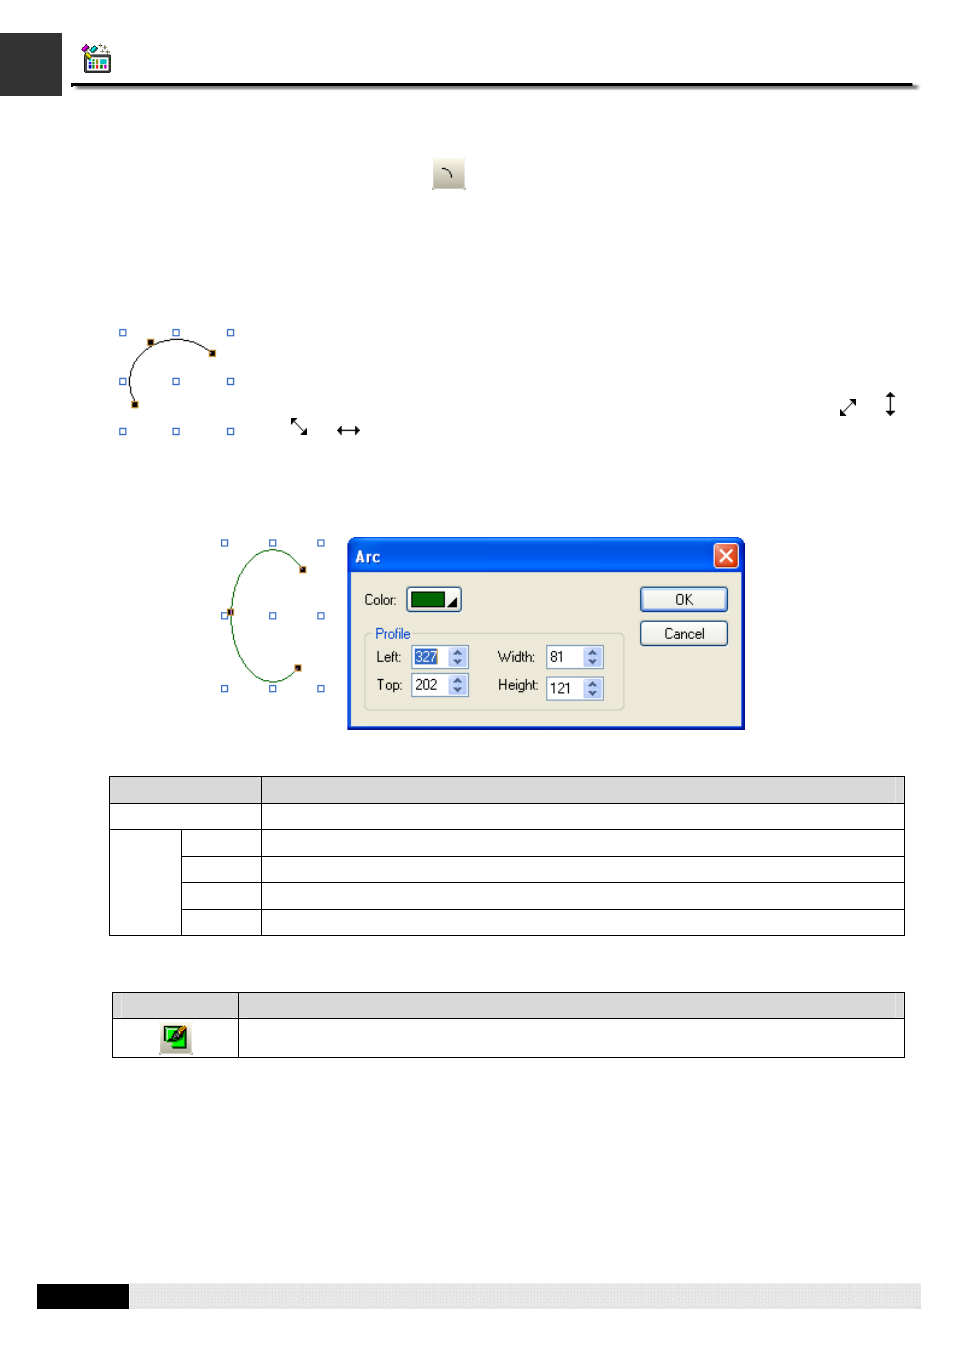
Double-click the arc to bring up the Arc dialog box and then modify the settings of the arc.
The following is a sample of Arc dialog box.
The following table describes each property in the Arc dialog box.
Property
Description
Color
Specifies the color of the arc.
Left
The X coordinate of the upper-left corner of the bounding rectangle of the arc.
Top
The Y coordinate of the upper-left corner of the bounding rectangle of the arc.
Width
The width of the bounding rectangle of the arc.
Profile
Height
The height of the bounding rectangle of the arc.
6.
You can click the following icons in the Draw toolbar to modify the properties of the arc.
Click Icon
To
Select a color for the arc.
The picture on the left shows the handles of an arc. The blue handles are for shaping the
arc. The black handles of the two ends of the arc are for changing the ends' angles. The
black handle at the center of the arc is for forcing the arc to be a part of a circle.
Position the mouse pointer over one of the handles. When the cursor turns to be
or
or
or
, drag the handle until the arc is the shape and size you want.