Using the stage and tools panel – Adobe Flash Professional CC 2014 v.13.0 User Manual
Page 800
Using the Stage and Tools panel
Using the Stage
Use rulers
Use guides
Use the grid
About the main toolbar and edit bar
Use the Tools panel
Use context menus
Using the Stage
The Stage is the rectangular area where you place graphic content when creating Flash Professional documents. The Stage in the authoring
environment represents the rectangular space in Flash Player or in a web browser window where your document appears during playback. To
change the view of the Stage as you work, zoom in and out. To help you position items on the Stage, you can use the grid, guides, and rulers.
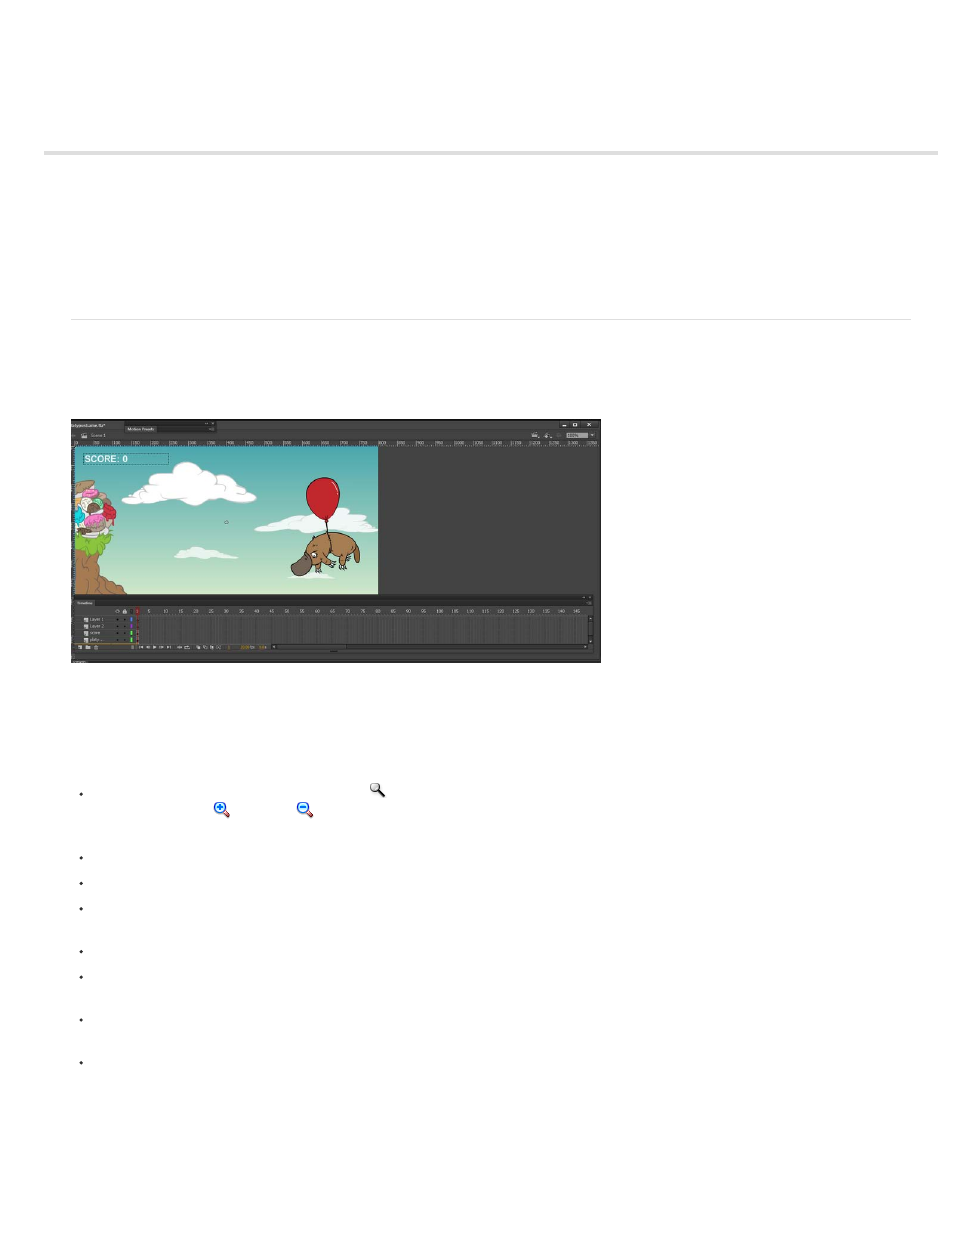
The Timeline and Stage with content.
Zoom the Stage
To view the entire Stage on the screen, or to view a particular area of your drawing at high magnification, change the magnification level. The
maximum magnification depends on the resolution of your monitor and the document size. The minimum value for zooming out on the Stage is
8%. The maximum value for zooming in on the Stage is 2000%.
To zoom in on an element, select the Zoom tool
in the Tools panel, and click the element. To switch the Zoom tool between zooming in or
out, use the Enlarge
or Reduce
modifiers (in the options area of the Tools panel when the Zoom tool is selected) or Alt-click
(Windows) or Option-click (Macintosh).
To zoom in so that a specific area of your drawing fills the window, drag a rectangular selection on the Stage with the Zoom tool.
To zoom in on or out of the entire Stage, select View > Zoom In or View > Zoom Out.
To zoom in or out by a specified percentage, select View > Magnification, and select a percentage from the submenu or select a percentage
from the Zoom control at the upper-right corner of the document window.
To scale the Stage so that it fits completely in the application window, select View > Magnification > Fit in Window.
To show the contents of the current frame, select View > Magnification > Show All, or select Show All from the Zoom control at the upper-
right side of the application window. If the scene is empty, the entire Stage appears.
To show the entire Stage, select View > Magnification > Show Frame or select Show Frame from the Zoom control at the upper-right corner
of the document window.
To show the workspace surrounding the Stage, or to view elements in a scene that are partly or completely outside of the Stage area, select
View > Pasteboard. The pasteboard appears in light gray. For example, to have a bird fly into a frame, initially position the bird outside of the
Stage in the pasteboard and animate it into the Stage area.
Move the view of the Stage
When the Stage is magnified, you may not be able to see all of it. To change the view without having to change the magnification, use the Hand
tool to move the Stage.
793