Add bones to symbols – Adobe Flash Professional CC 2014 v.13.0 User Manual
Page 52
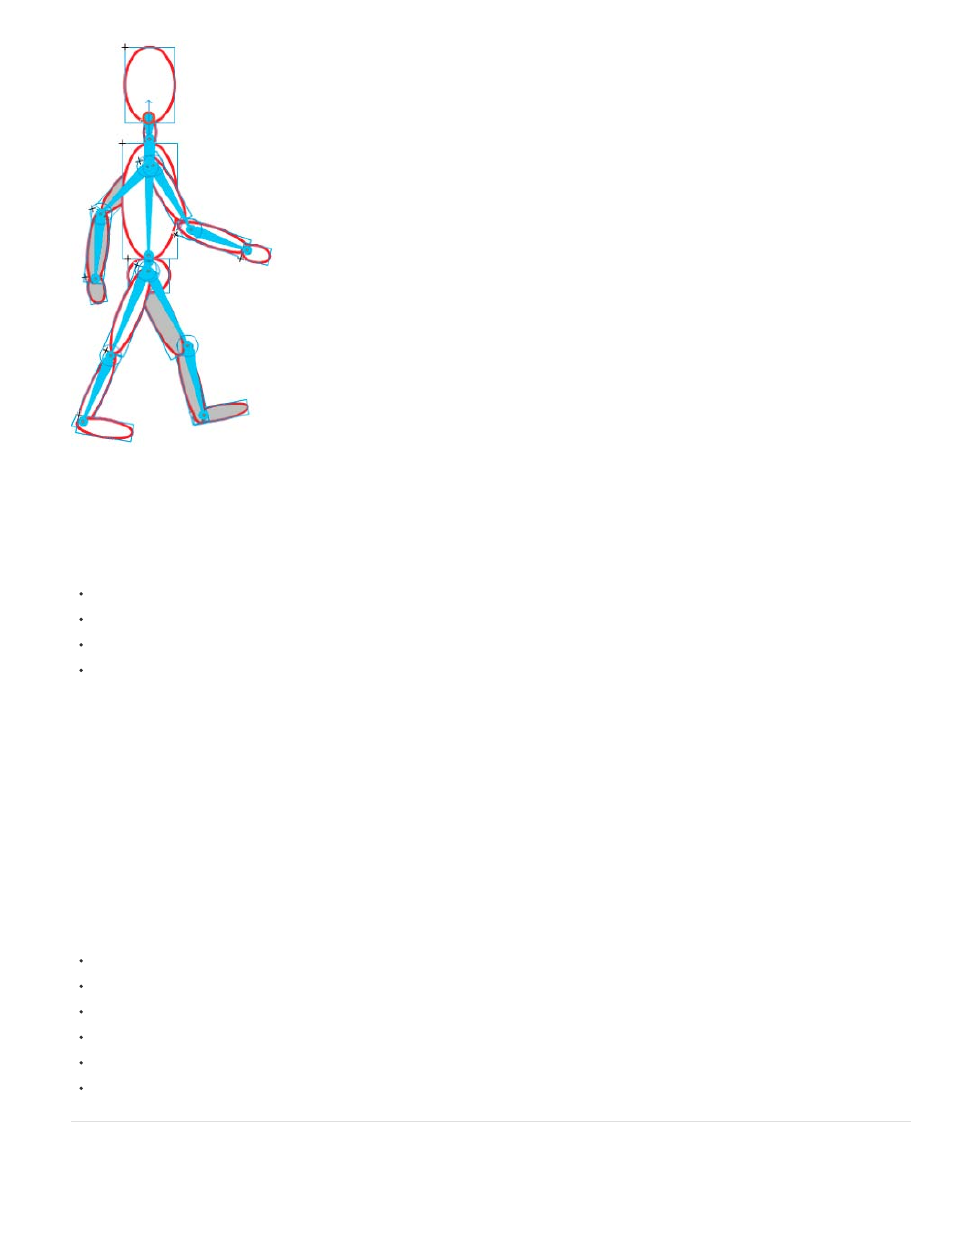
A group of several symbols with an IK bone armature attached. The shoulders and hips of the figure are branch points in the armature. The
default transformation points are the head of the root bone, interior joints, and the tail of last bone in a branch.
Note: To use inverse kinematics, your FLA file must specify ActionScript 3.0 as the Script setting in the Flash tab of the Publish Settings dialog
box.
Bone styles
There are 4 ways that Flash can draw bones on the Stage:
Solid. This is the default style.
Wired. Useful when the solid style obscures too much of the artwork beneath the bone.
Line. Useful for smaller armatures.
None. Hides the bones to show only the artwork beneath them.
To set the Bone Style, select the IK span in the Timeline and then select the style from the Style menu in the Options section of the Properties
panel.
Note: If you save a document with the Bone Style set to None, Flash automatically changes bone style to Line the next time you open the
document.
Pose Layers
When you add bones to symbol instances or shapes, Flash creates a new layer for them in the Timeline. This new layer is called the pose layer.
Flash adds the pose layer to the Timeline between existing layers to maintain the previous stacking order of objects on the Stage.
In Flash Pro CS5, each pose layer can contain only one armature and its associated instances or shape. In Flash CS5.5, the pose layer can
contain other objects in addition to one or more bone armatures.
Tutorials and videos
The following video tutorials demonstrate how to use inverse kinematics. Some videos may show the Flash Professional CS3 or CS4 workspace,
but are still applicable to Flash Professional CS5.
Video:
TV)
Video:
(Adobe.com)
Video:
(Adobe.com)
Video:
(Adobe.com)
Video:
(YouTube.com)
Video:
(YouTube.com)
Add bones to symbols
You can add IK bones to movie clip, graphic, and button instances. To use text, convert it to a symbol first. The symbol instances can be on
45