Rotate objects in 3d space – Adobe Flash Professional CC 2014 v.13.0 User Manual
Page 167
select the currently inactive 3D tool.
By default, selected objects that have 3D translation applied appear with a 3D axis overlay on the Stage. You can turn off this overlay in the
General section of Flash Preferences.
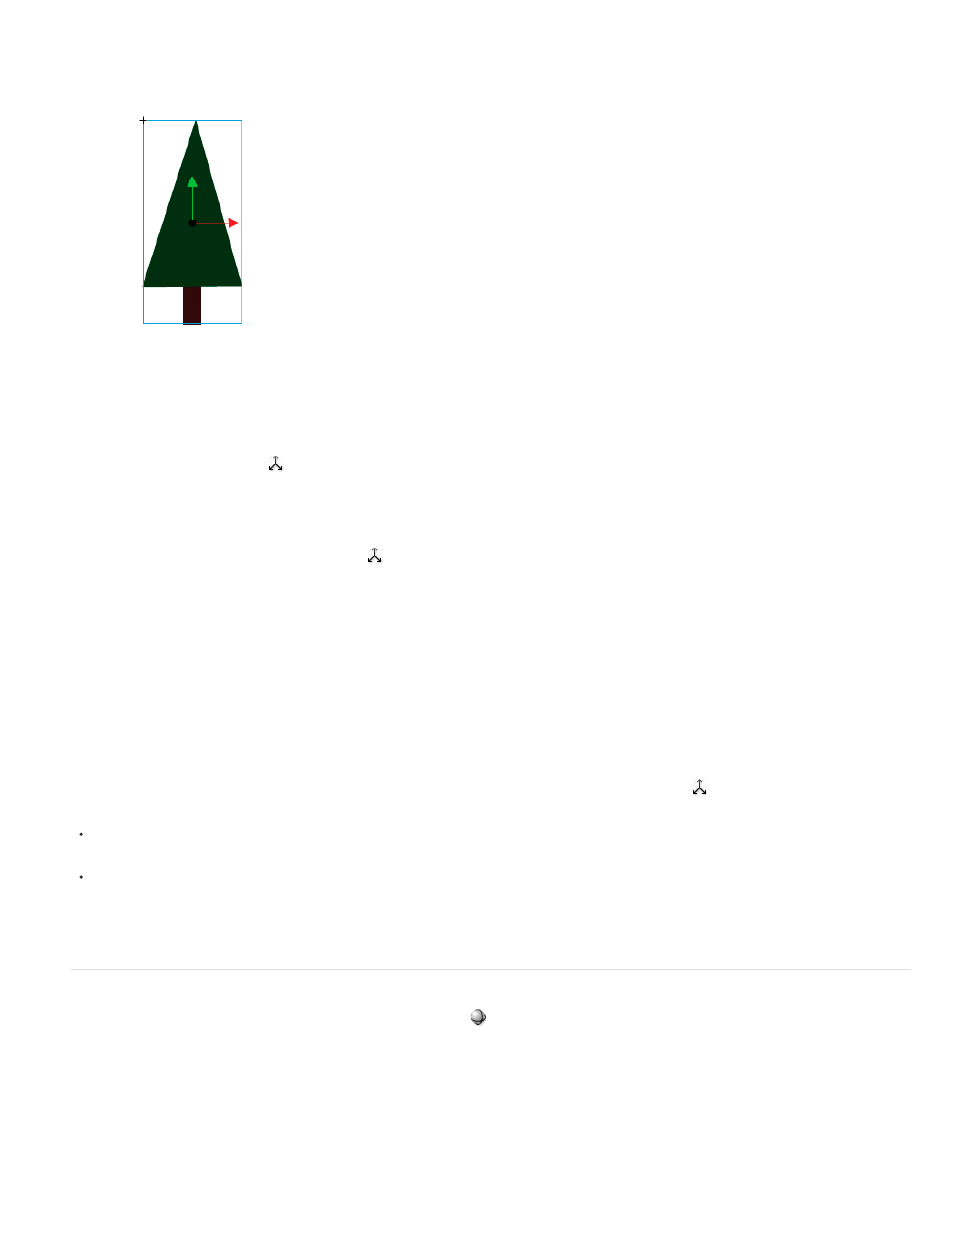
The 3D Translation tool overlay.
Note: Changing the z axis position of a 3D movie clip will cause the movie clip to appear to change its x and y position as well. This is because
movement along the z axis follows the invisible perspective lines which radiate from the 3D vanishing point (set in the 3D symbol instance Property
inspector) to the edges of the Stage.
Move a single object in 3D space
1. Select the 3D Translation tool
in the Tools panel (or press the G key to select it).
2. Set the tool to Local or Global mode.
Be sure that the tool is in the mode you want mode by checking the Global toggle button in the Options section of the Tools panel. Click the
button or press the D key to toggle the mode.
3. Select a movie clip with the 3D Translation tool
.
4. To move the object by dragging with the tool, move the pointer over the x-, y-, or z-axis controls. The pointer changes when over any of the
controls.
The x- and y-axis controls are the arrow tips on each axis. Drag one of these controls in the direction of its arrow to move the object along
the selected axis. The z-axis control is the black dot at the center of the movie clip. Drag the z-axis control up or down to move the object on
the z axis.
5. To move the object using the Property inspector, enter a value for X, Y, or Z in the 3D Position and View section of the Property inspector.
When you move an object on the z axis, its apparent size changes. The apparent size appears in the Property inspector as the Width and
Height values in the 3D Position and View section of the Property inspector. These values are read-only.
Move a multiple-object selection in 3D space
When you select multiple movie clips, you can move one of the selected objects with the 3D Translation tool
and the others move in the same
way.
To move each object in the group in the same way in global 3D space, set the 3D Translation tool to global mode and then drag one of the
objects with the axis controls. Shift-double-click one of the selected objects to move the axis controls to that object.
To move each object in the group in the same way in local 3D space, set the 3D Translation tool to local mode and then drag one of the
objects with the axis controls. Shift-double-click one of the selected objects to move the axis controls to that object.
You can also move the axis controls to the center of the multiple selection by double-clicking the z-axis control. Shift-double-click one of the
selected objects to move the axis controls to that object.
Rotate objects in 3D space
You rotate movie clip instances in 3D space with the 3D Rotation tool
. A 3D rotation control appears on top of selected objects on the Stage.
The X control is red, the Y control is green, and the Z control is blue. Use the orange free rotate control to rotate around the X and Y axes at the
same time.
The default mode of the 3D Rotation tool is global. Rotating an object in global 3D space is the same as moving it relative to the Stage. Rotating
an object in local 3D space is the same as moving it relative to its parent movie clip if it has one. To toggle the 3D Rotation tool between global
and local modes, click the Global toggle button in the Options section of the Tools panel while the 3D Rotation tool is selected. You can
temporarily toggle the mode from global to local by pressing the D key while dragging with the 3D Rotation tool.
The 3D Rotation and Translation tools occupy the same space in the Tools panel. Click and hold the active 3D tool icon in the Tools panel to
160