Table, skip to step 12 – Grass Valley VM 3000 System Controllers v.7.4 User Manual
Page 278
Configurator
CP Input Set
5−68
VM 3000 Installation and Operating Manual
12.
DD (“Diamond”) − E−MEM
For DD applications, both E−MEM and Serial tables will probably be required. The dual entries are necessary because
of the two hardware connections, as previously described (page 2−81).
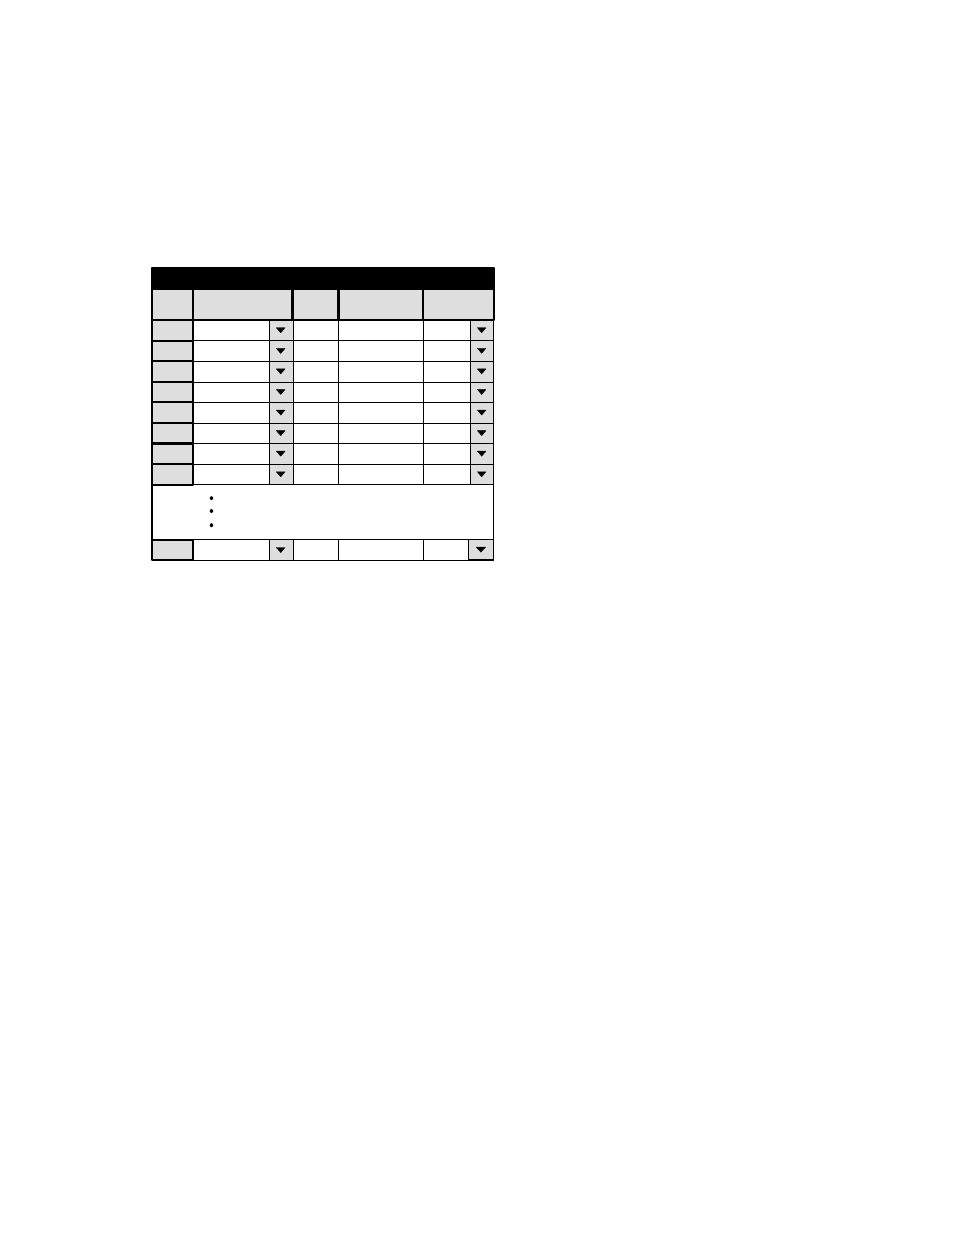
For the E−MEM table, you will need entries similar to that shown in Figure 5−47.
[
Data in this field is not used, but an entry must
be made to satisfy the Jupiter compiler. Each
number in this column must be unique.
Figure 5−47. Input Set menu (example).
1
Input Set — DIA−INP
Category
Entry
Mnemonic
Input
2
3
dflt
1
BARS
BARS
dflt
4
VT01
VT01
4
5
dflt
2
TONE
TONE
dflt
3
TC
TC
dflt
5
VT02
VT02
dflt
6
VT03
VT03
dflt
7
VT04
VT04
dflt
8
VT05
VT05
dflt
n
ESS
ESS
6
7
8
n
[
[
[
[
[
[
[
[
[
Logical
a.
For Category, the word “dflt” is used for all entries.
There are no category choices since the DD identifies inputs and outputs by number only.
b.
Enter an Entry number. This can be done by double−clicking on the desired “Entry” field and typing the number.
Press ENTER.
Note: Data in this field is not used, but an entry must be made to satisfy the Jupiter compiler. Each num-
ber in this column must be unique.
c.
Enter the desired Mnemonic for the first router input that will be available to the DD.
This is the source of the mnemonics that will appear on the DD. The DD can display four−character mnemonics.
d.
Select the Input name of the first router input that will be available to the DD. The source of these names is the
Switcher Input table (page 5−44).
When a switch is made, Jupiter will search this table for the name of the new input. The corresponding mnemonic
will then be sent to the DD.
e.
Enter the next Entry number, Mnemonic, and Input name, until you have entered all the inputs that you want avail-
able to the Diamond.