Adobe Photoshop CS3 User Manual
Page 249
PHOTOSHOP CS3
User Guide
242
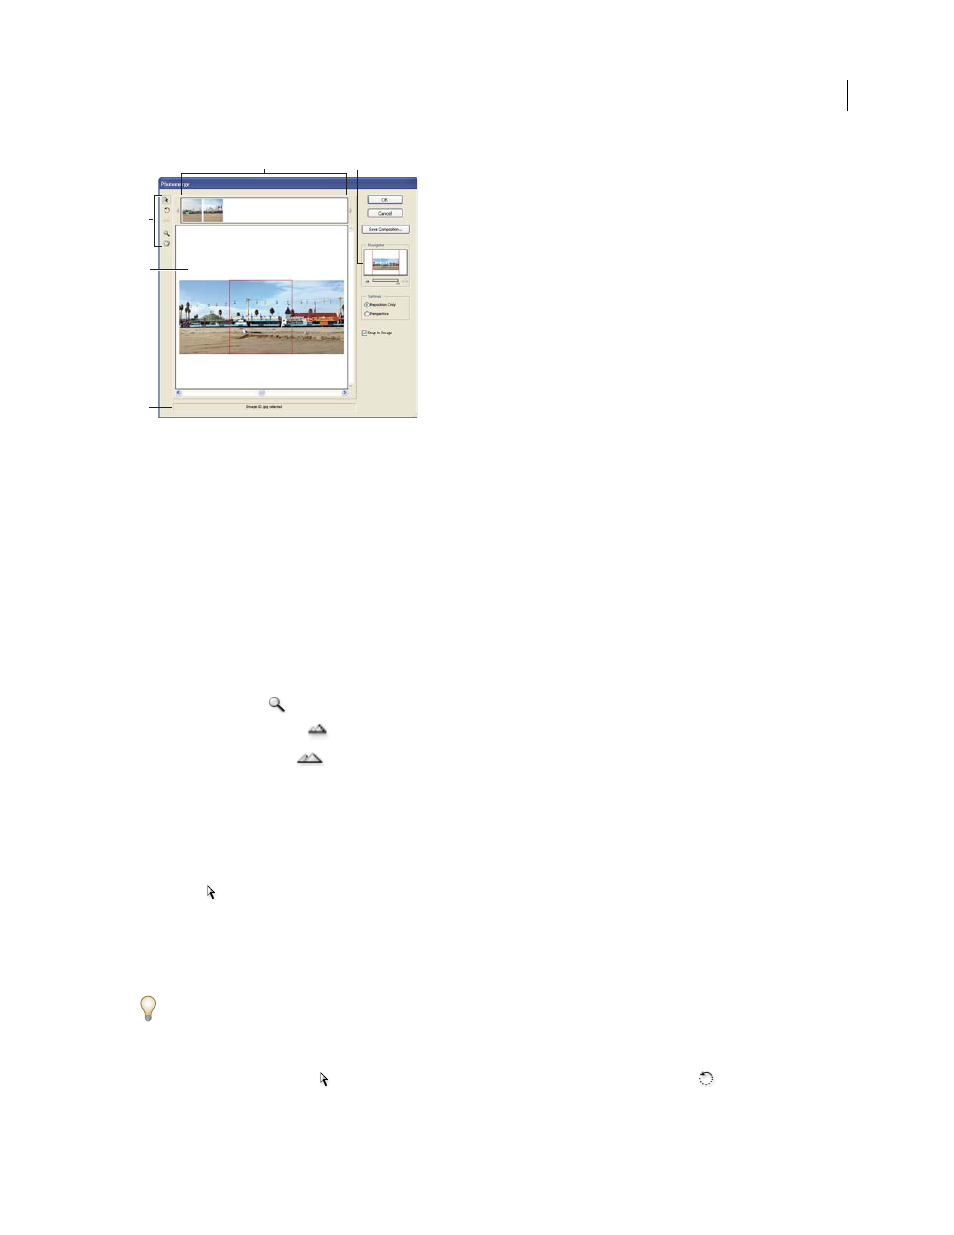
Photomerge dialog box
A. Lightbox B. Navigator view box C. Toolbox D. Work area E. Status bar
For a video about using Photomerge, see
Navigate in the dialog box
❖
Do one of the following:
•
Select the Hand tool and drag in the work area to move the view.
•
Drag the view box or the scroll bars in the Navigator thumbnail. The view box represents the boundaries of the
work area.
Zoom in the dialog box
❖
Do one of the following:
•
Use the Zoom tool
to zoom in.
•
Click the Zoom Out icon
below the Navigator.
•
Click the Zoom In icon
below the Navigator.
•
Press Ctrl + + (Windows) or Command + + (Mac OS) to zoom in.
•
Press Ctrl + - (Windows) or Command + - (Mac OS) to zoom out.
Rearrange images in the lightbox
❖
You can use the lightbox to rearrange images in the Photomerge composition. To use the lightbox, select the Select
Image tool
, and then do one or more of the following:
•
Drag an image from the lightbox to the work area to add it to the composition.
•
Drag an image from the work area to the lightbox to remove it from the composition.
•
Double-click an image in the lightbox to add it to the composition.
Make sure Snap To Image is selected to automatically snap overlapping images into place when a commonality is
detected.
Rotate images
❖
Select the Select Image tool
, and click the image you want to rotate. Select the Rotate tool
, and then click
near the edge of the image and drag in a circular motion around the center of the image.
D
A
E
B
C