Adjust exposure for hdr images – Adobe Photoshop CS3 User Manual
Page 180
PHOTOSHOP CS3
User Guide
173
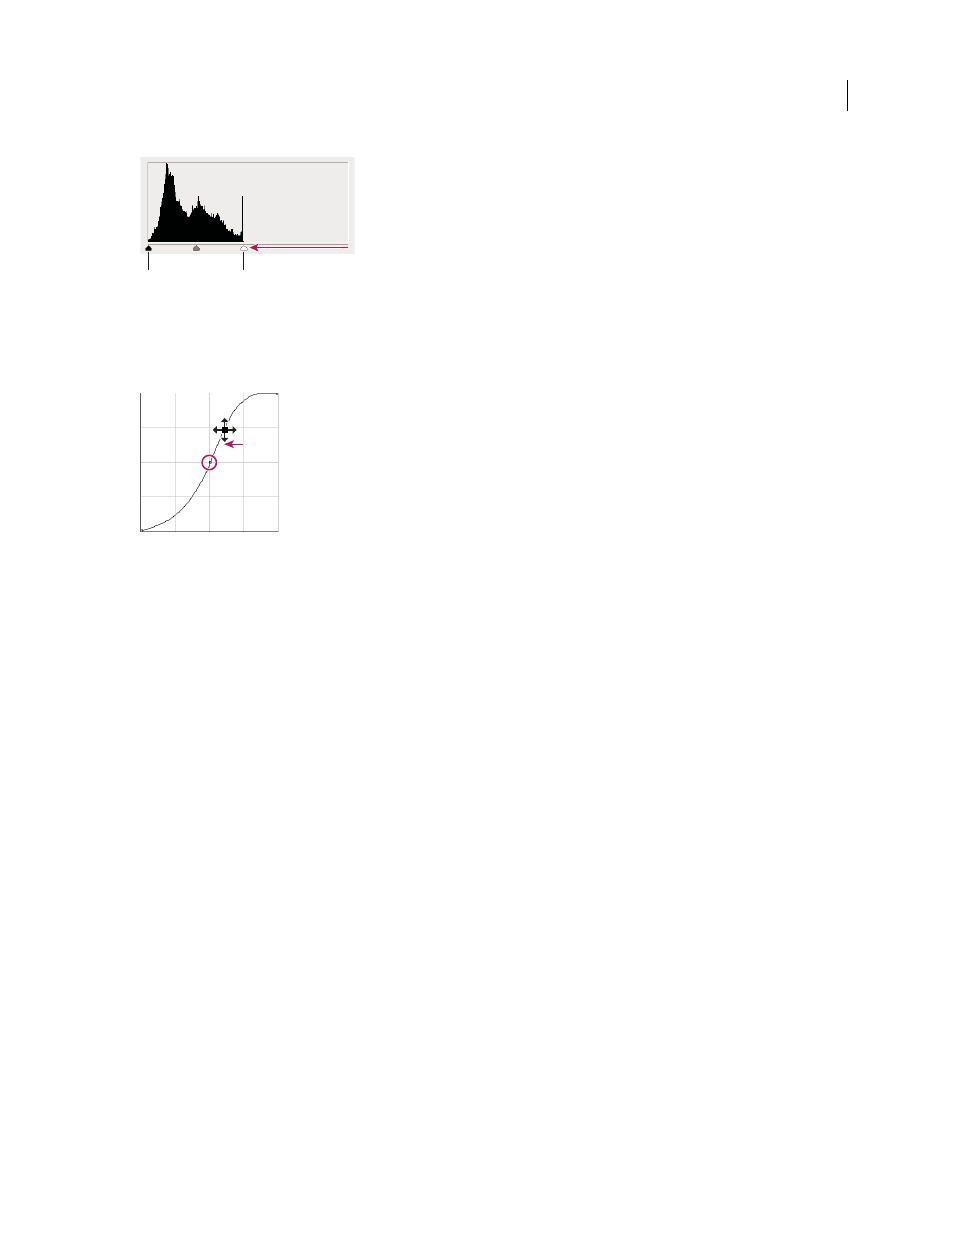
Image pixels don’t extend to the ends of the graph, indicating that the image is not using the full tonal range.
A. Shadow Input slider B. Highlight Input slider
If the image uses the full tonal range, but needs midtone contrast, choose Image > Adjustments > Curves. Drag the
curve into an S shape.
Increasing the slope in the middle of the curve increases contrast in the midtones.
See also
“About adjustment layers and fill layers” on page 306
Adjust Exposure for HDR images
The Exposure dialog box is designed for making tonal adjustments to HDR images, but it works with 8-bit and 16-bit
images. Exposure works by performing calculations in a linear color space (gamma 1.0) rather than the image’s
current color space.
1
Choose Image > Adjustments > Exposure.
2
Set any of the following options:
Exposure
Adjusts the highlight end of the tonal scale with minimal effect in the extreme shadows.
Offset
Darkens the shadows and midtones with minimal affect on the highlights.
Gamma
Adjusts the image gamma, using a simple power function. Negative values are mirrored around zero (that
is, they remain negative but still get adjusted as if they were positive).
The eyedroppers adjust the image’s luminance values (unlike the Levels eyedroppers that affect all color channels).
•
The Set Black Point eyedropper sets the Offset, shifting the pixel you click to zero.
•
The Set White Point eyedropper sets the Exposure, shifting the point you click to white (1.0 for HDR images).
•
The Midtone eyedropper sets the Exposure, making the value you click middle gray.
See also
“About high dynamic range images” on page 77
A
B