Sharpen selectively – Adobe Photoshop CS3 User Manual
Page 217
PHOTOSHOP CS3
User Guide
210
3
Drag the Radius slider or enter a value to determine the number of pixels surrounding the edge pixels that affect
the sharpening. The greater the radius value, the wider the edge effects. And the wider the edge effects, the more
obvious the sharpening.
The Radius value varies according to the subject matter, the size of the final reproduction, and the output method.
For high-resolution images, a Radius value between 1 and 2 is usually recommended. A lower value sharpens only
the edge pixels, whereas a higher value sharpens a wider band of pixels. This effect is much less noticeable in print
than on-screen, because a 2-pixel radius represents a smaller area in a high-resolution printed image.
4
Drag the Amount slider or enter a value to determine how much to increase the contrast of pixels. For high-
resolution printed images, an amount between 150% and 200% is usually recommended.
5
Drag the Threshold slider or enter a value to determine how different the sharpened pixels must be from the
surrounding area before they are considered edge pixels and sharpened by the filter. For instance, a threshold of 4
affects all pixels that have tonal values that differ by a value or 4 or more, on a scale of 0 to 255. So, if adjacent pixels
have tonal values of 128 and 129, they are not affected. To avoid introducing noise or posterization (in images with
flesh tones, for example), use an edge mask or try experimenting with Threshold values between 2 and 20. The
default Threshold value (0) sharpens all pixels in the image.
If applying Unsharp Mask makes already bright colors appear overly saturated, choose Edit > Fade Unsharp Mask
and choose Luminosity from the Mode menu.
Sharpen selectively
You can sharpen parts of your image by using a mask or a selection. This is useful when you want to prevent sharp-
ening in certain parts of your image. For example, you can use an edge mask with the Unsharp Mask filter on a
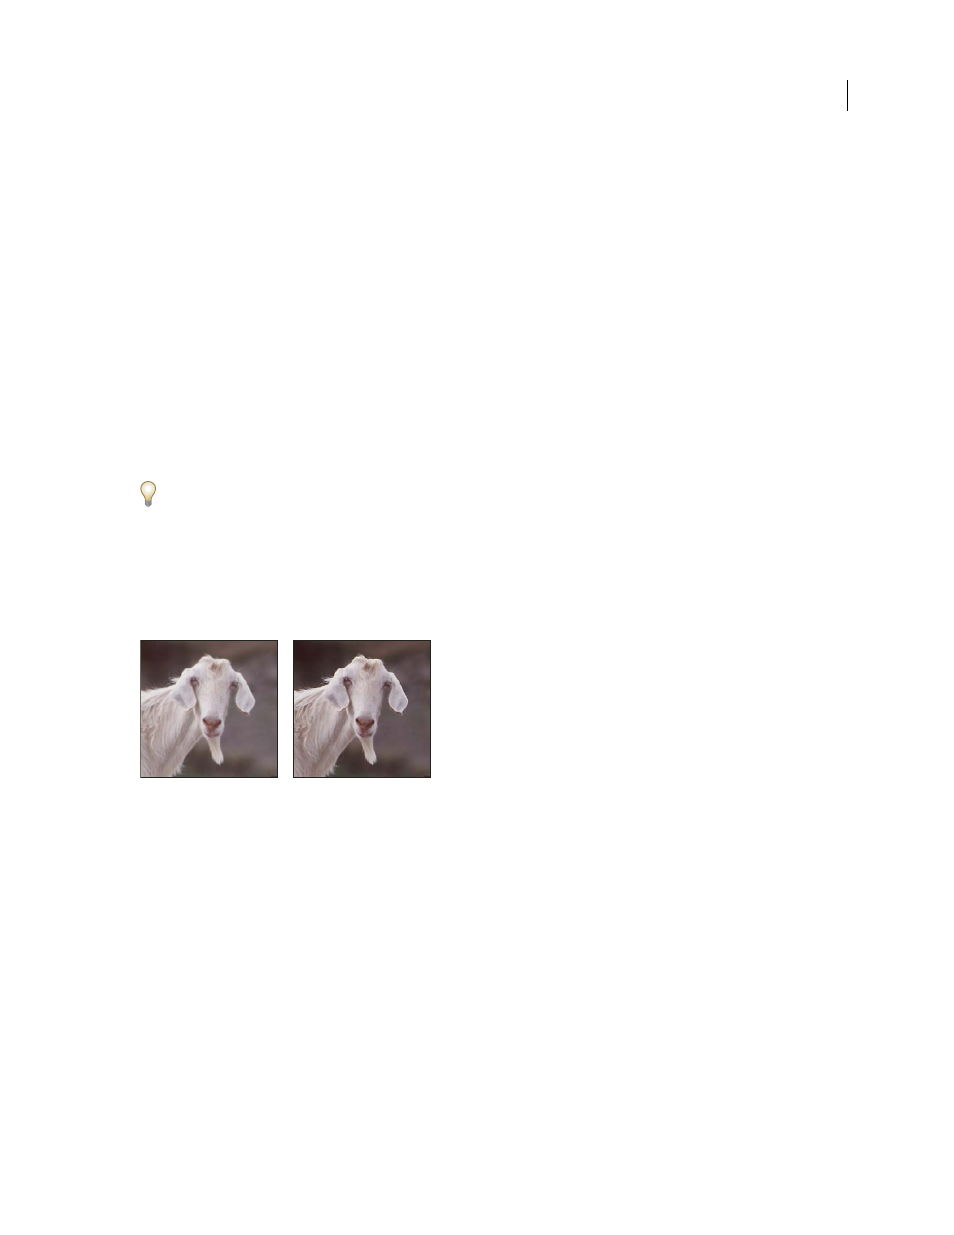
portrait to sharpen the eyes, mouth, nose, and outline of the head, but not the texture of the skin.
Using an edge mask to apply the Unsharp Mask only to specific features in an image
Sharpen a selection
1
With the image layer selected in the Layers palette, draw a selection.
2
Choose Filter > Sharpen > Unsharp Mask. Adjust the options and click OK.
Only the selection is sharpened, leaving the rest of the image untouched.
Sharpen an image using an edge mask
1
Create a mask to apply sharpening selectively. There are many ways to create an edge mask. Use your favorite
method, or try this one:
•
Open the Channels palette and select the channel that displays the grayscale image with the greatest contrast in
the document window. Often, this is the green or the red channel.