Apple Final Cut Express 4 User Manual
Page 805
Chapter 51
Working with Freeze Frames and Still Images
805
IX
Step 3:
Open the image clip in the Motion tab of the Viewer
1
Double-click the clip in the Timeline to open it in the Viewer.
2
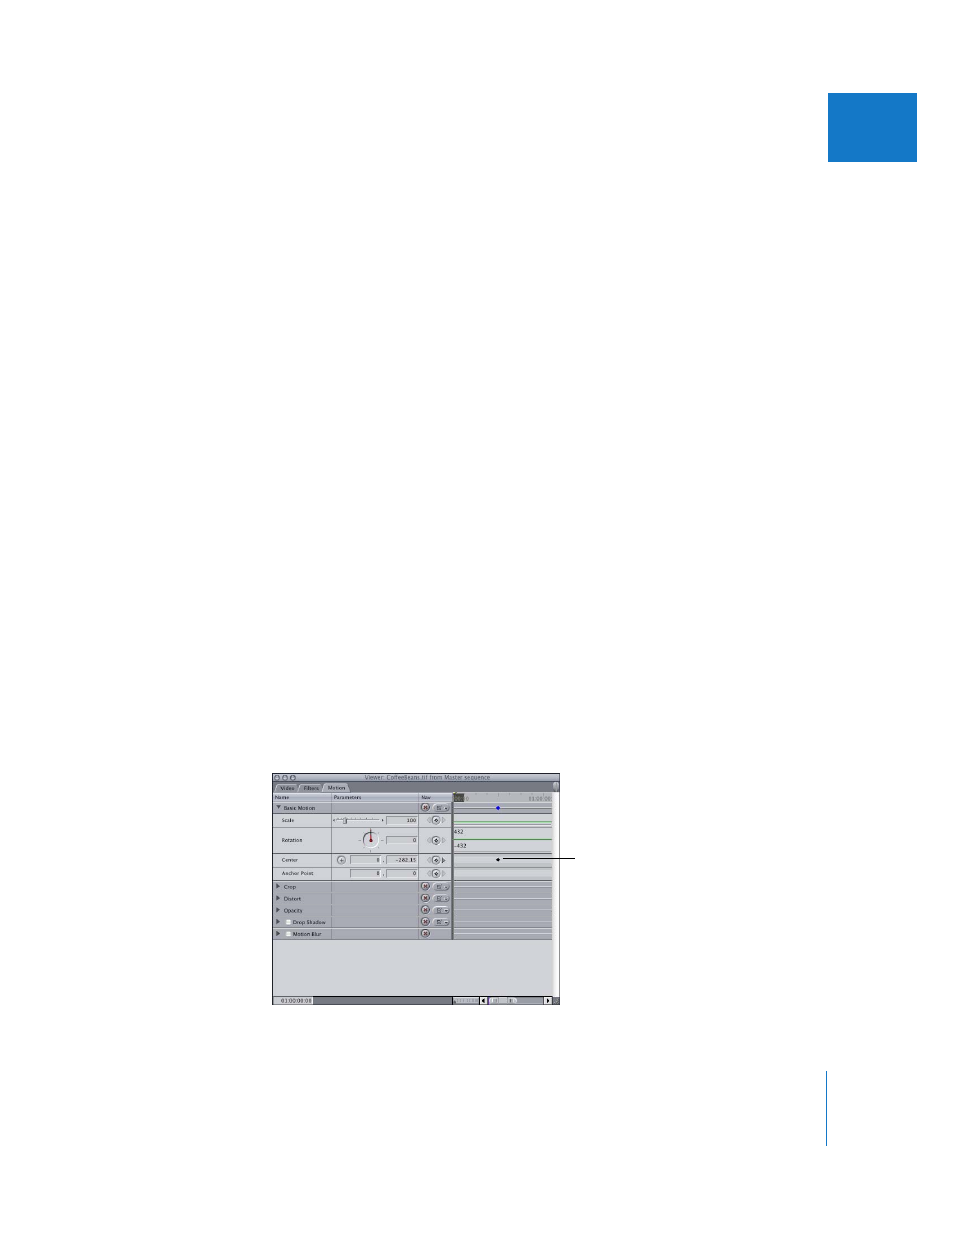
Click the Motion tab in the Viewer, then click the Basic Motion disclosure triangle to
reveal parameters such as Scale, Rotation, and Center.
3
In the Motion tab of the Viewer, enter 100 in the Scale field.
Step 4:
Prepare the Viewer and Canvas settings
To see the image as it will appear within the frame during playback, you need to make
a couple of adjustments. (Otherwise you may, for example, see the frame background
where you didn’t mean to show it.) You also need to switch to the wireframe view to
position the image visually.
1
In the Canvas, choose Image+Wireframe from the View pop-up menu.
2
Choose Fit All from the Zoom pop-up menu.
Note: If your final movie will be shown on a television monitor, it’s a good idea to turn
on the Title Safe indicators as well so that you can see what will actually be visible on
the television monitor. (Choose Show Title Safe from the View pop-up menu.)
Step 5:
Position and keyframe the image at the pan starting and ending points
The Center parameter determines where the image appears (or doesn’t appear)
onscreen. You’ll create the image movement by setting a starting and ending Center
location with keyframes. To generate the movement path for you, Final Cut Express
interpolates the position of the image between these two points
1
Move the playhead to the time when you want the image pan to start.
2
Move the position of the image in the Canvas to the starting position of the pan.
3
Control-click the Add Motion Keyframe button in the Canvas, then choose Center from
the shortcut menu.
A keyframe appears in the Motion tab, next to the Center parameter.
Center parameter
keyframe