Performing a ripple edit in the viewer – Apple Final Cut Express 4 User Manual
Page 495
Chapter 33
Performing Slip, Slide, Ripple, and Roll Edits
495
VII
While you adjust the clip with the Ripple tool, the Canvas shows a two-up display with
the Out point of the outgoing clip item on the left and the In point of the incoming
clip item on the right (see also “
About the Two-Up Display in the Canvas
Use these two frames to decide exactly where to place the edit point.
All clip items after the edit point move either left or right to accommodate the new
duration of your clip.
Performing a Ripple Edit in the Viewer
In some cases, you may want to look at the media for an entire clip before deciding at
which frame to make an edit. In this case, it can be easier to open a sequence clip in
the Viewer. As long as the Ripple tool is selected when you set an In or Out point in the
Viewer, a ripple edit is performed in the Timeline.
To do a ripple edit in the Viewer:
1
Double-click a sequence clip in the Viewer.
2
Select the Ripple tool in the Tool palette (or press the R key twice).
3
Do one of the following:
 Use the transport controls or the J, K, and L keys to move the playhead in the Viewer
to a new point in your clip. Then set a new In or Out point using the Mark In and
Mark Out buttons or the I and O keys.
 Drag the In or Out point along the Viewer’s scrubber bar to a new point in your clip.
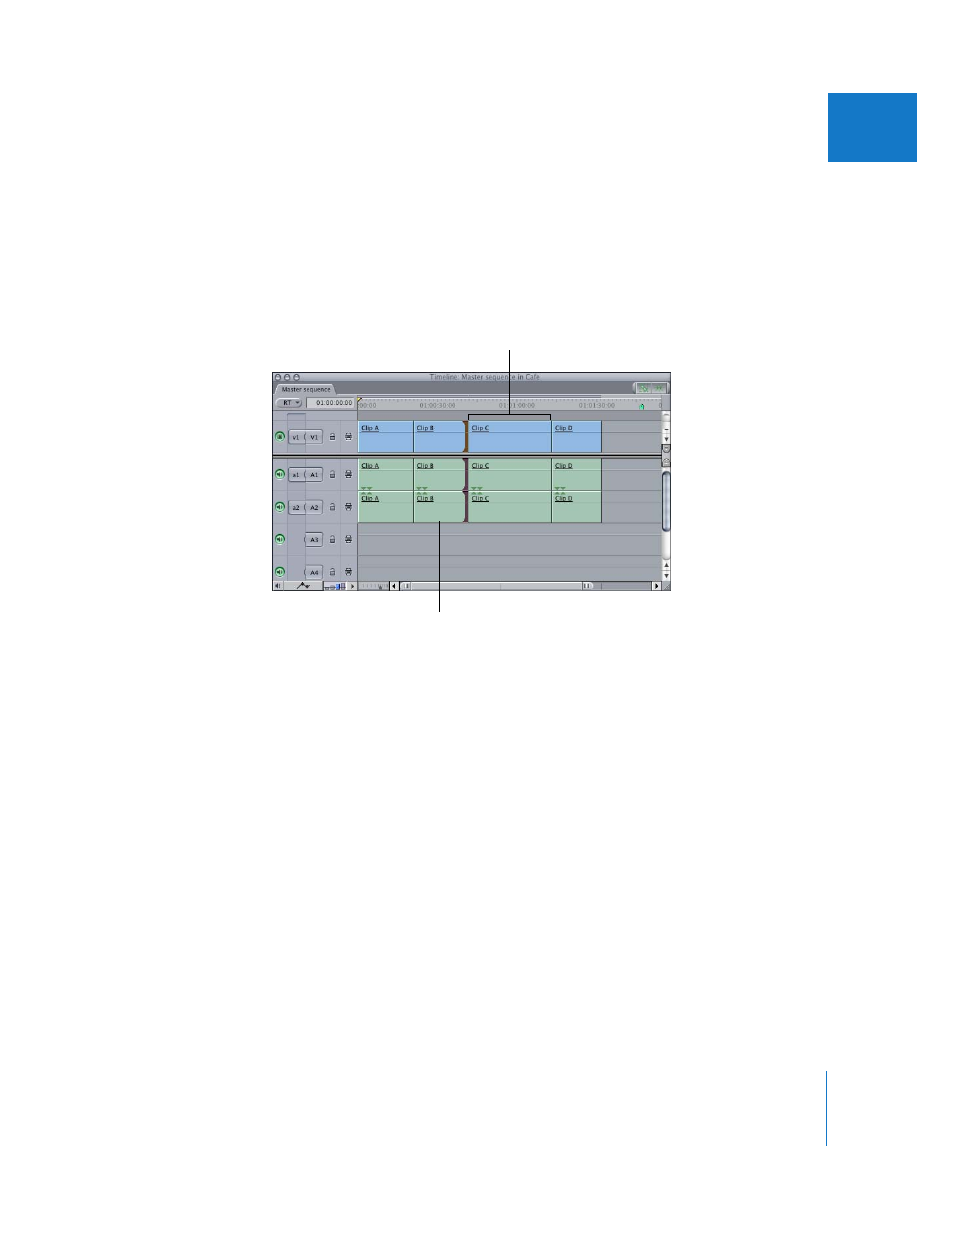
Look in the Timeline to make sure the ripple edit did what you expected, since other
clips in the Timeline move when you perform a ripple edit.
These clips move left
to fill the gap.
This clip shortens.