Auto level and contrast controls, Level and saturation controls – Apple Final Cut Express 4 User Manual
Page 713
Chapter 46
Color Correction
713
IX
 Hue control: Rotate the Hue control to change the overall hue of the affected clip.
 Hue Reset button: Click this button to reset the Hue control to its default settings and
restore your clip to its original hue. Holding down the Shift key while clicking this
button also resets the level and saturation controls (described in one of the next
sections) to their default settings.
Auto Level and Contrast Controls
Using the Auto Level controls and the Whites, Mids, and Blacks sliders to maximize the
contrast of your image is usually the first step you take when color correcting a clip.
 Auto White Level button: Click this button to analyze your clip and find the maximum
level of white in the frame.
 Auto Black Level button: Click this button to analyze your clip and find the maximum
level of black in the frame.
 Auto Contrast button: Click this button to perform the functions of both the Auto
White Level and Auto Black Level buttons simultaneously.
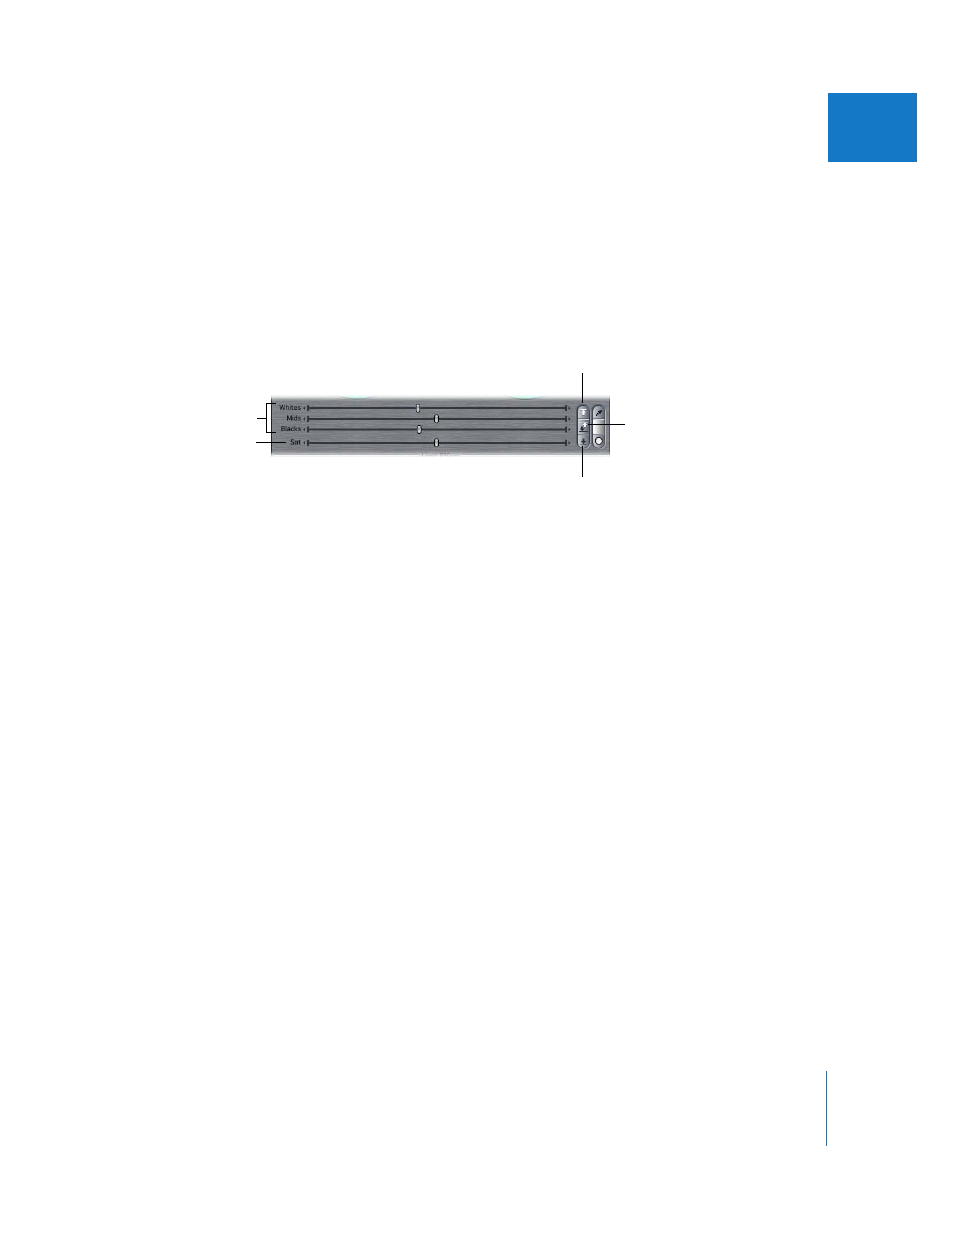
Level and Saturation Controls
The level sliders allow you to adjust the levels of the whites, midtones, and blacks in
your clip to adjust the contrast of your image. The first step when color correcting one
clip to match another is to adjust its overall luma levels to match those of the other.
Only after doing this are you able to adjust the colors appropriately and achieve the
results you want. The Saturation slider lets you increase or decrease the intensity of the
color in your image.
 Whites slider: Drag this slider to adjust the maximum level of white in the affected
clip. To move the slider in increments, click the small arrows to the right or left of the
slider. Moving the slider to the left lowers the maximum white level (letting you
bring the whites in overexposed clips down to a more acceptable level, for example).
 Mids slider: Drag this slider to adjust the average distribution of values in between
white and black in the affected clip. To move the slider in increments, click the small
arrows to the right or left of the slider. You can use this slider to adjust the midtones
of your image, increasing or decreasing the apparent contrast of your image without
washing out the whites or blacks. For example, you could manipulate the Mids slider
to bring out detail in shadowed areas of your clip.
Level sliders
Auto Black Level button
Saturation slider
Auto White Level button
Auto Contrast button