Configuring quicktime movie settings, P. 1023) – Apple Final Cut Express 4 User Manual
Page 1023
Chapter 67
Exporting Using QuickTime Conversion
1023
XII
8
To customize video, audio, and Internet streaming settings, click Options.
Note: Unless you are creating movies for online distribution, turn off Internet streaming
options for the best results.
For detailed information on settings, see “
Configuring QuickTime Movie Settings
,” next.
9
When you’ve finished selecting your options, click OK.
10
When you’re ready to export, click Save.
A dialog shows you the progress of the export. To cancel your export, press Esc or
click Cancel.
Note: Whenever you use the Export Using QuickTime Conversion command, all audio
that requires rendering is automatically rendered with a render quality of High,
regardless of the render quality setting.
Configuring QuickTime Movie Settings
The settings available with the Export Using QuickTime Conversion command are
identical to the settings you use when exporting movies from QuickTime Player (when
registered as QuickTime Pro).
To view the settings available with the Export Using QuickTime Conversion command:
1
Select a clip or sequence, or open a sequence in the Timeline.
2
Choose File > Export > Using QuickTime Conversion.
3
In the dialog that appears, click Options.
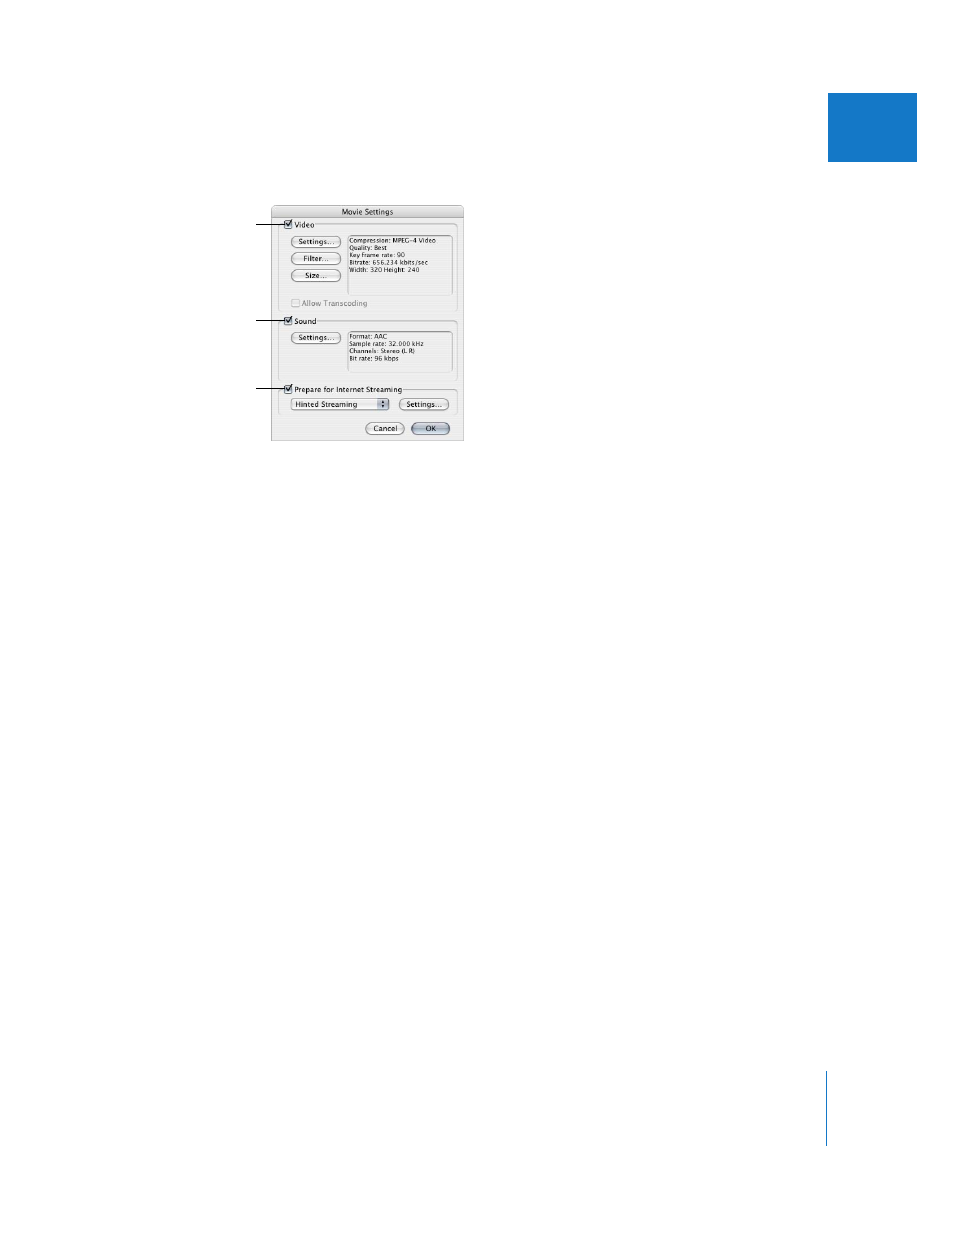
The Movie Settings dialog appears with video, sound, and Internet streaming options
for the exported QuickTime movies.
Click here to include
video in your exported
QuickTime file.
Click here if your program
is to be streamed on
the Internet.
Click here to include
audio in your exported
QuickTime file.