Example:keyframing opacity in the timeline, Example: keyframing opacity in the timeline – Apple Final Cut Express 4 User Manual
Page 765
Chapter 48
Adjusting Parameters for Keyframed Effects
765
IX
8
In the keyframe graph area, move the pointer to the left of the two keyframes on the
Opacity keyframe graph line. When the pointer turns into the Adjust Line Segment
pointer, drag down until the number field reads “0.”
The shape you’ve given to the Opacity parameter’s keyframe graph line makes the top layer
completely invisible for the first 2 seconds of playback. Over the next second it fades up
until it reaches a total opacity of 50 percent, which looks like an even mix of both layers.
9
Move the playhead to 01:00:04:00, then add another opacity keyframe.
Because you can’t move this keyframe without causing a ramp in that segment of the
keyframe graph line, you need to add another keyframe.
10
Move the playhead to 01:00:05:00, then add another keyframe.
11
Adjust the opacity setting of this last keyframe to 100 percent.
The shape of the Opacity parameter’s keyframe graph line leaves the opacity of the top
layer at 50 percent for 1 second, and then the topmost layer fades up to 100 percent,
completely obscuring the clip on track V1.
12
To complete this sequence, fade the topmost layer out again by adding one last
keyframe. Move the playhead to 01:00:06:00, add another keyframe, then change its
opacity value to 0.
∏
Tip: You can also do the above steps using the opacity overlay in the Timeline. See the
next example for more information.
Example: Keyframing Opacity in the Timeline
There is a faster way to create the Opacity parameter keyframes you created in the
previous example. You do this by adjusting the clip’s opacity over time using the
opacity overlay in the Timeline.
1
In the Timeline, edit two clips of equal duration into your sequence.
Note: The clip you want to appear in front should be placed on track V2; the other clip
should be placed on track V1.
2
Select the Clip Overlays control to display the opacity and level overlays of each clip in
your sequence.
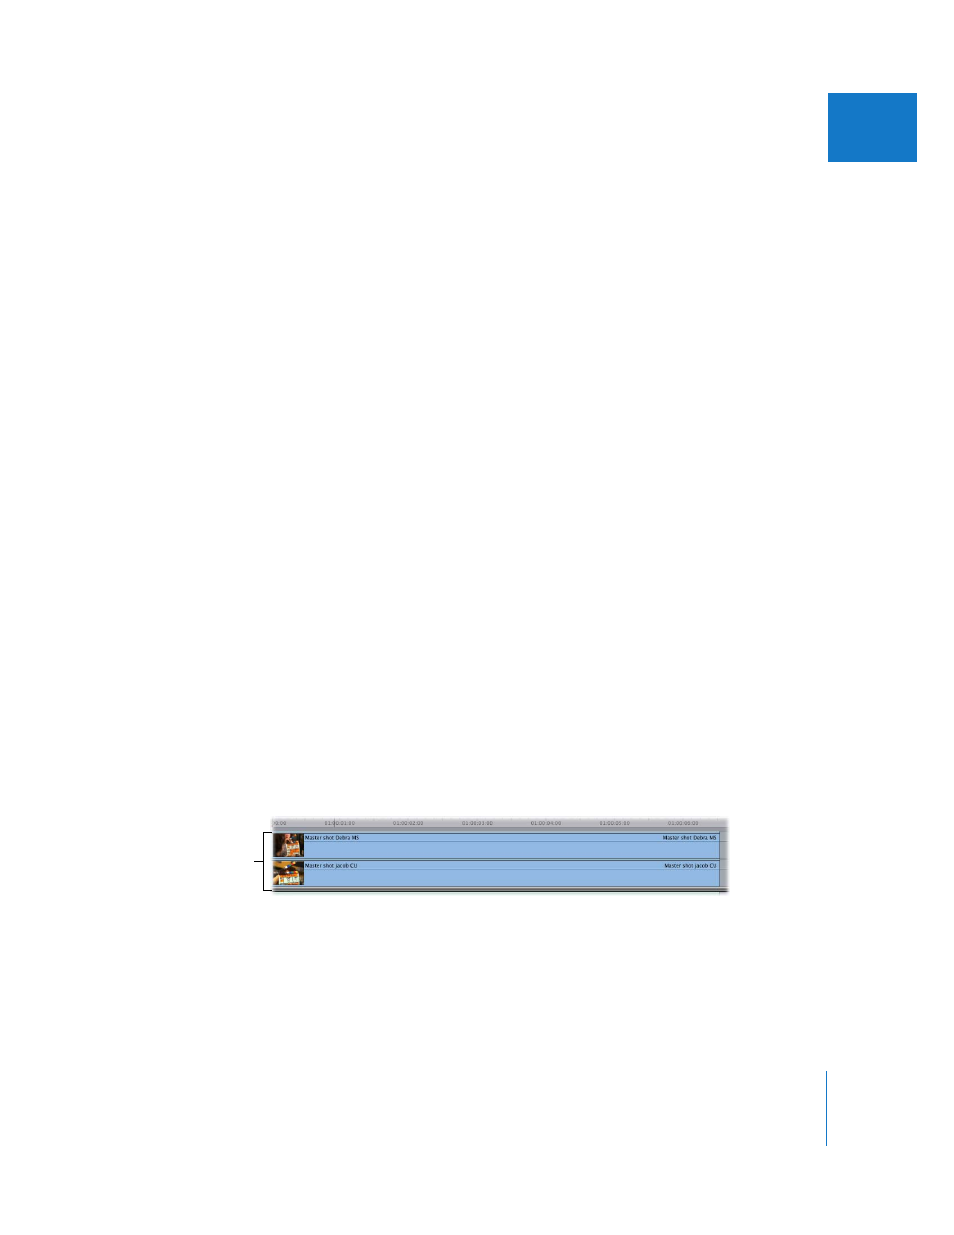
Layer the clips, with one
clip on track V1 and the
other superimposed
on track V2.