Apple Final Cut Express 4 User Manual
Page 712

712
Part IX
The Color Corrector filter has a Balance control that lets you manipulate the whites in a
clip, as well as a Hue control. You rarely use the Balance and Hue controls
simultaneously in a single color correction operation.
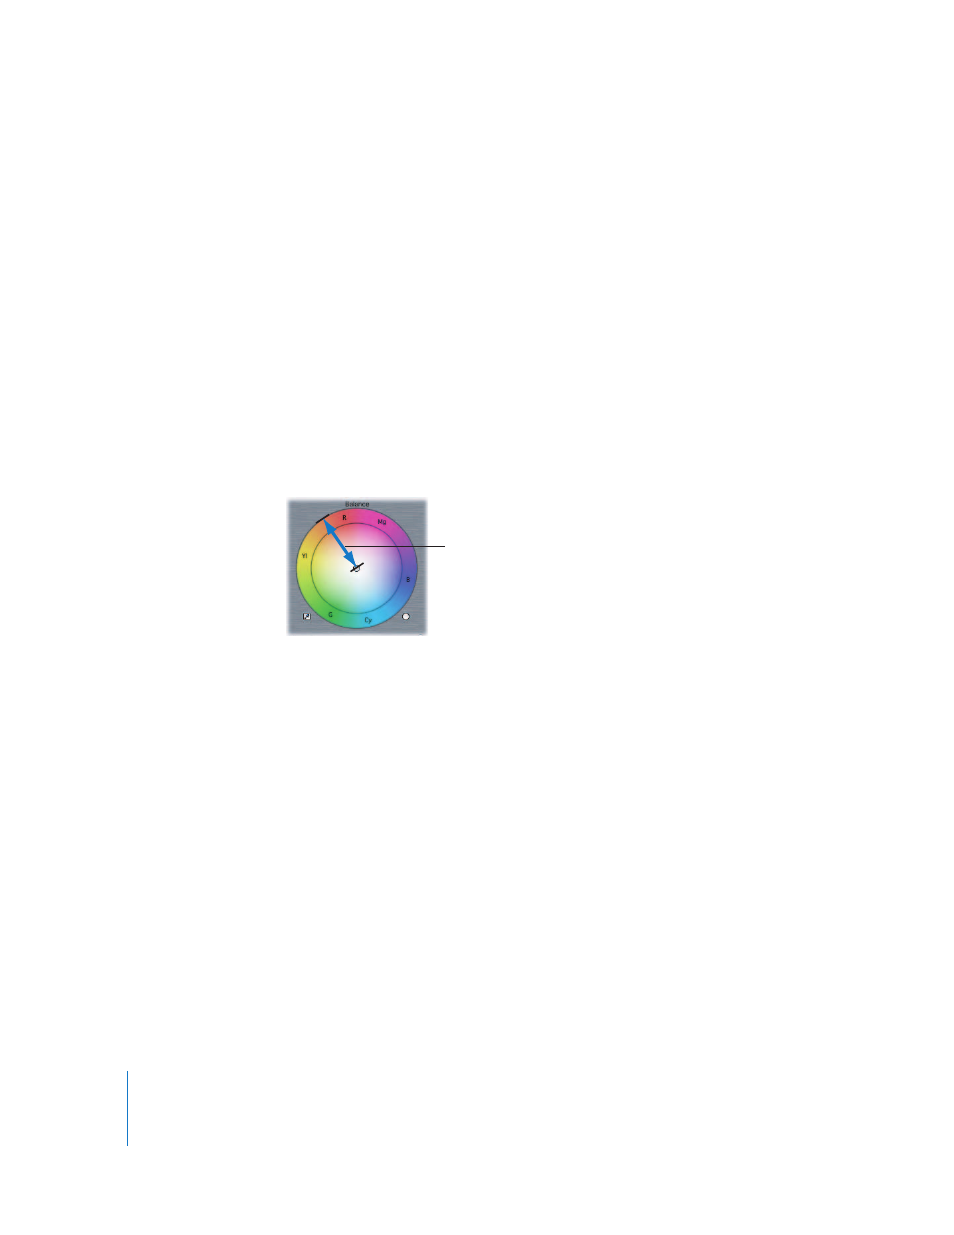
 Balance control: The Balance control affects the color balance in the whites of your
clip. Drag within the color wheel to move the color balance indicator and change the
mix of red, green, and blue in the whites of your clip. Unlike other controls in
Final Cut Express, the Balance control doesn’t “gear down” when you hold down the
Command key while manipulating the color balance indicator (allowing you to make
more subtle adjustments); rather, it “gears up” the control, causing the indicator to
respond more quickly and resulting in greater changes.
 Color balance indicator: If you hold down the Shift key while dragging the color
balance indicator, the angle of the indicator is constrained, so that the indicator can
only move out toward the edge of the color wheel, or in toward the center. This lets
you change the intensity of your color mix without changing the distribution of
hues.
 Auto-Balance eyedropper: Clicking this eyedropper turns the pointer into an
eyedropper when it’s moved into the Video tab of the Viewer or into the Canvas.
Position the tip of the eyedropper in what is supposed to be the whitest area of your
image, such as a highlight on a white shirt, then click. The color value of the pixel you
selected is analyzed, and the Balance control is automatically adjusted to turn that
pixel into white. For example, clicking a pixel that’s slightly yellow nudges the color
balance indicator toward blue, to turn that yellow into a neutral white.
When using the Auto-Balance eyedropper, don’t select an area that’s overexposed,
such as a light source or a shiny highlight. This won’t give you the desired result.
Instead, select a properly exposed area of your picture that’s white, such as a well-lit
shirt sleeve or white wall.
Note: When color correcting a clip, using this eyedropper tool is usually the second
step you take, after first using the Auto Level controls and the Whites, Mids, and
Blacks sliders (described in the next sections) to maximize the contrast of your image.
 Balance Reset button: Click this button to reset the Balance control to its default
settings and restore your clip to its original color mix. Holding down the Shift key
while clicking this button also resets the level and saturation controls (described in
one of the next sections) to their default settings.
Color balance indicator
path constrained by the
Shift key
