Working with markers – Apple Logic Pro 7 User Manual
Page 333
Chapter 8
Global Tracks
333
Working With Markers
To create a marker:
m
Select the Pencil tool, and click at the desired position in the Marker track.
Alternatively, you can make use of several menu and key commands: Options > Marker
> Create, Create Without Rounding and Create by Regions. The latter command creates
one marker for any selected Region, with the same position, length, and name as the
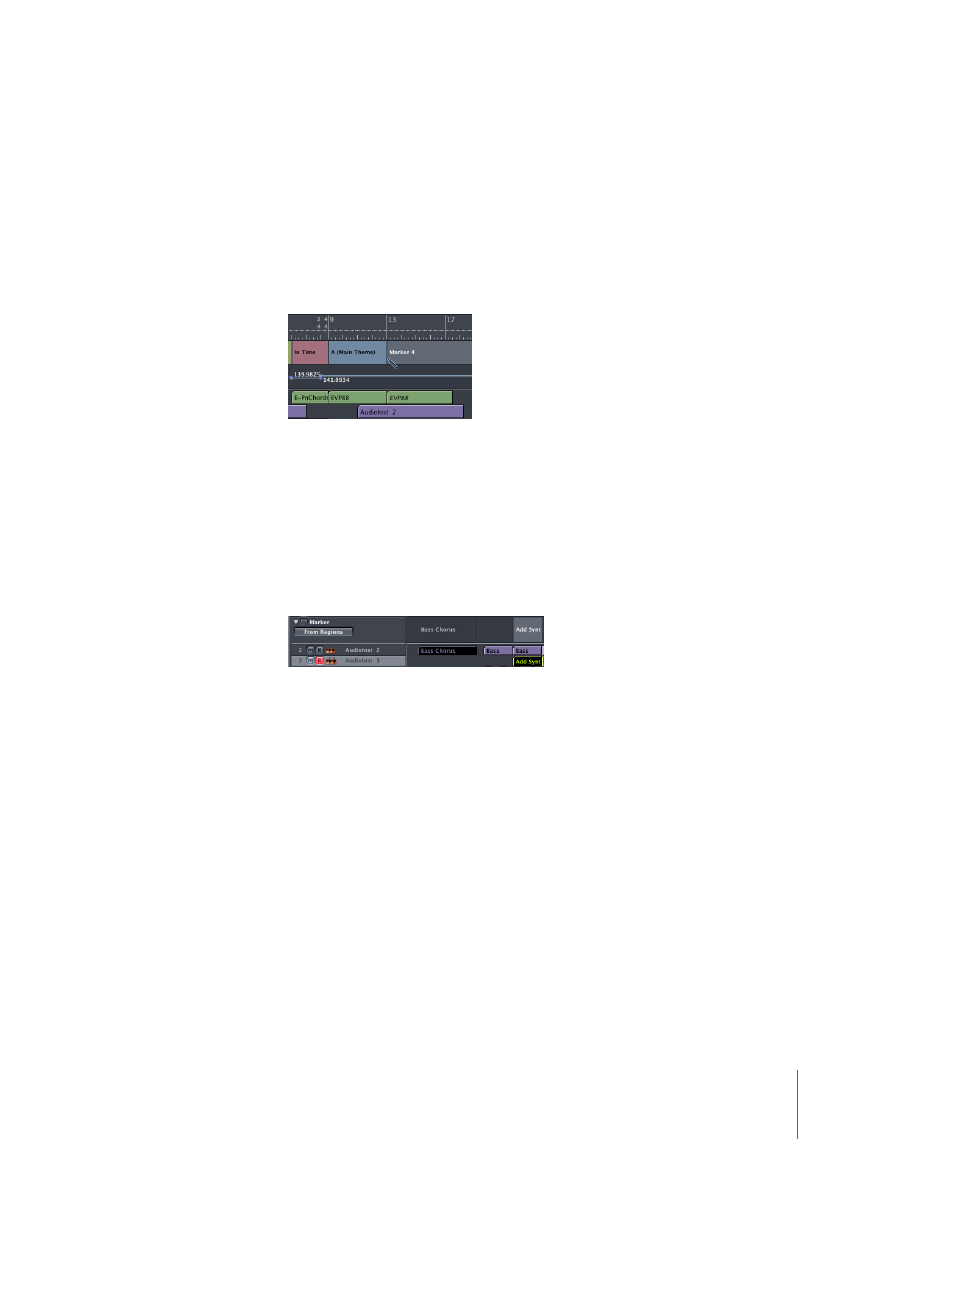
Region itself. The same function is performed when you click the From Regions button
in the Marker track, or if you drag a Region from an Arrange track onto the Marker
track.
Note: You can also create markers that correspond exactly to the length and position
of a Cycle by simply dragging the Cycle area down into the Marker track.
To delete a marker:
m
You can use the Eraser tool, or just select the marker and press Backspace or Delete.
To move a marker:
m
Just drag it with the mouse. The mouse cursor changes to an open hand during this
operation. This is also possible with several selected markers.
Markers can also be assigned to an absolute time position, regardless of any tempo
changes, which is useful in film scoring situations (see the section about the Video
track): To do this, select the desired Marker/s and choose Region > Lock SMPTE Position
or the corresponding key command. Unlock SMPTE Position will reverse this status.
Locked markers are indicated by a padlock symbol in the Marker track.
To change the length of a marker:
m
Just drag its right border. This can also be the beginning of the subsequent marker,
especially if the length of the second marker hasn’t been defined. The mouse cursor
will change to a pointing hand when in the correct position for this procedure. Markers
cannot overlap.