Adding and deleting control surfaces – Apple Soundtrack Pro 3 User Manual
Page 404
Stage 1:
Connecting the Control Surface to a MIDI Interface
Some control surfaces may allow direct connection to a computer with no MIDI interface.
Stage 2:
Connecting the MIDI Interface to Your Computer
Before connecting a MIDI interface, be sure your computer supports the MIDI interface
you plan to use.
Stage 3:
Adding the Control Surface to Soundtrack Pro
For details, see
Adding and Deleting Control Surfaces
.
Stage 4:
Mapping the Controls You Want to Use to Soundtrack Pro Commands
When you use a control surface with Soundtrack Pro, some controls are premapped to
common functions. You can map other controls to Soundtrack Pro commands and
functions in the Control Surfaces Preferences pane.
For more information, see
and
.
Stage 5:
Recording Control Surface Automation Data in Your Project
Recorded control surface automation data appears in the corresponding envelope in the
Timeline. For more information, see
Recording Control Surface Automation
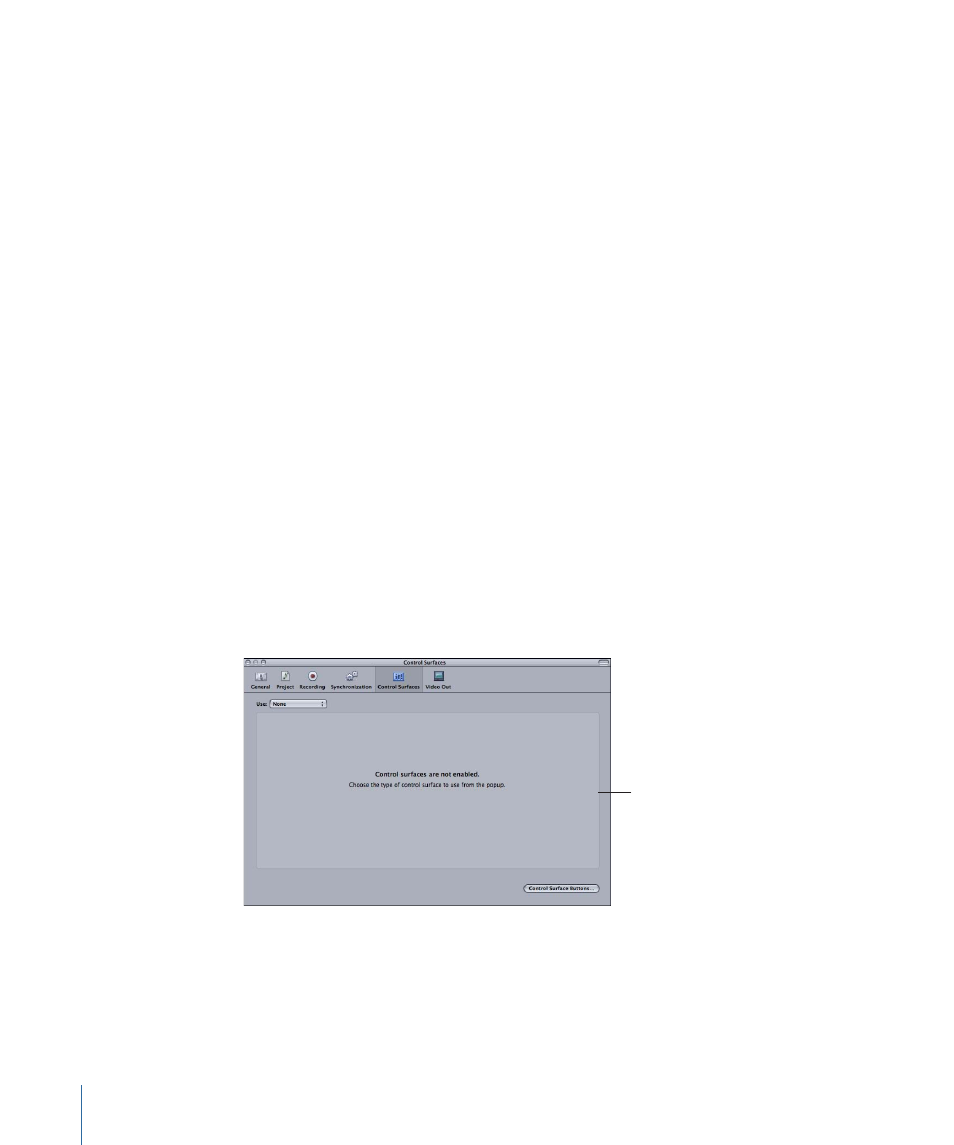
Adding and Deleting Control Surfaces
When you have connected the MIDI interface to your computer, and connected the
control surface to the MIDI interface, you add the control surface in Soundtrack Pro Control
Surface Preferences.
Preference pane with no
control surface
connected.
To add a connected control surface using the Mackie Control protocol
1
Choose Soundtrack Pro > Preferences, or press Command–Comma (,).
2
Click the Control Surfaces button.
404
Chapter 18
Using Control Surfaces with Soundtrack Pro