Truncating overlapping audio clips – Apple Soundtrack Pro 3 User Manual
Page 173
To move the crossfade without changing its length
µ
Drag the lower area of the crossfade left or right.
To adjust the crossfade type
1
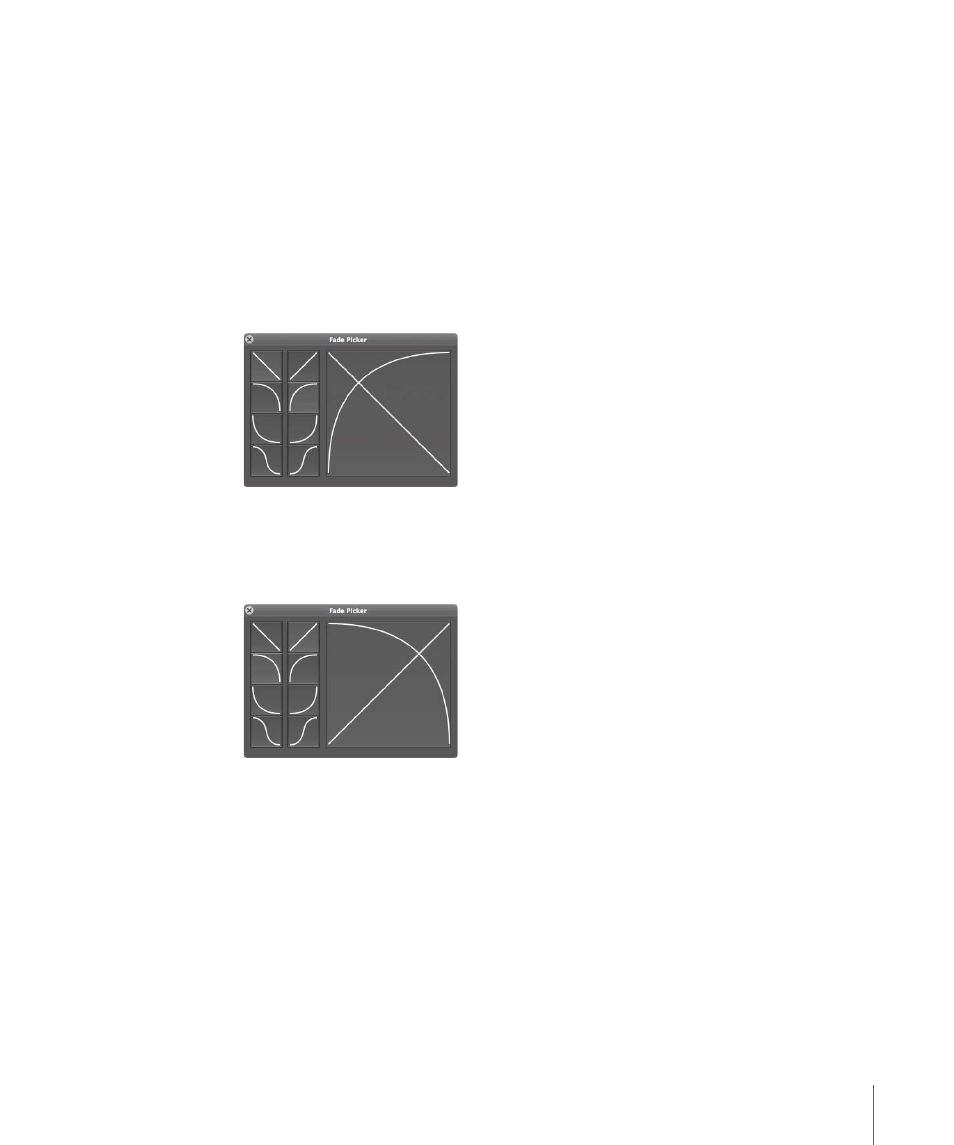
Double-click the crossfade.
The Fade Selector window appears with two columns of the four fade type choices.
Note: For descriptions of the four fade types, see
Types of Fade-Ins and Fade-Outs
2
Click one of the four buttons in the column on the left to select a fade-out type for the
left clip.
The crossfade in the Timeline is updated to reflect your choice of fade type.
3
Click one of the four buttons in the column on the right to select a fade-in type for the
right clip.
The crossfade in the Timeline is updated to reflect your choice of fade type.
Truncating Overlapping Audio Clips
You can have Soundtrack Pro truncate the overlapping part of audio clips in the Timeline
instead of crossfading them. To truncate audio clips, you set the project to truncate mode,
then drag an audio clip so that it overlaps another clip.
To set the project to truncate mode
µ
Click the Overlap Mode button, located above the Global Timeline view.
In truncate mode, when you drag an audio clip so that it partially overlaps another audio
clip in a track in the Timeline, the overlapped part of the clip is truncated.
173
Chapter 6
Working in the Timeline