Stage 2: selecting the active take for each region – Apple Soundtrack Pro 3 User Manual
Page 299
2
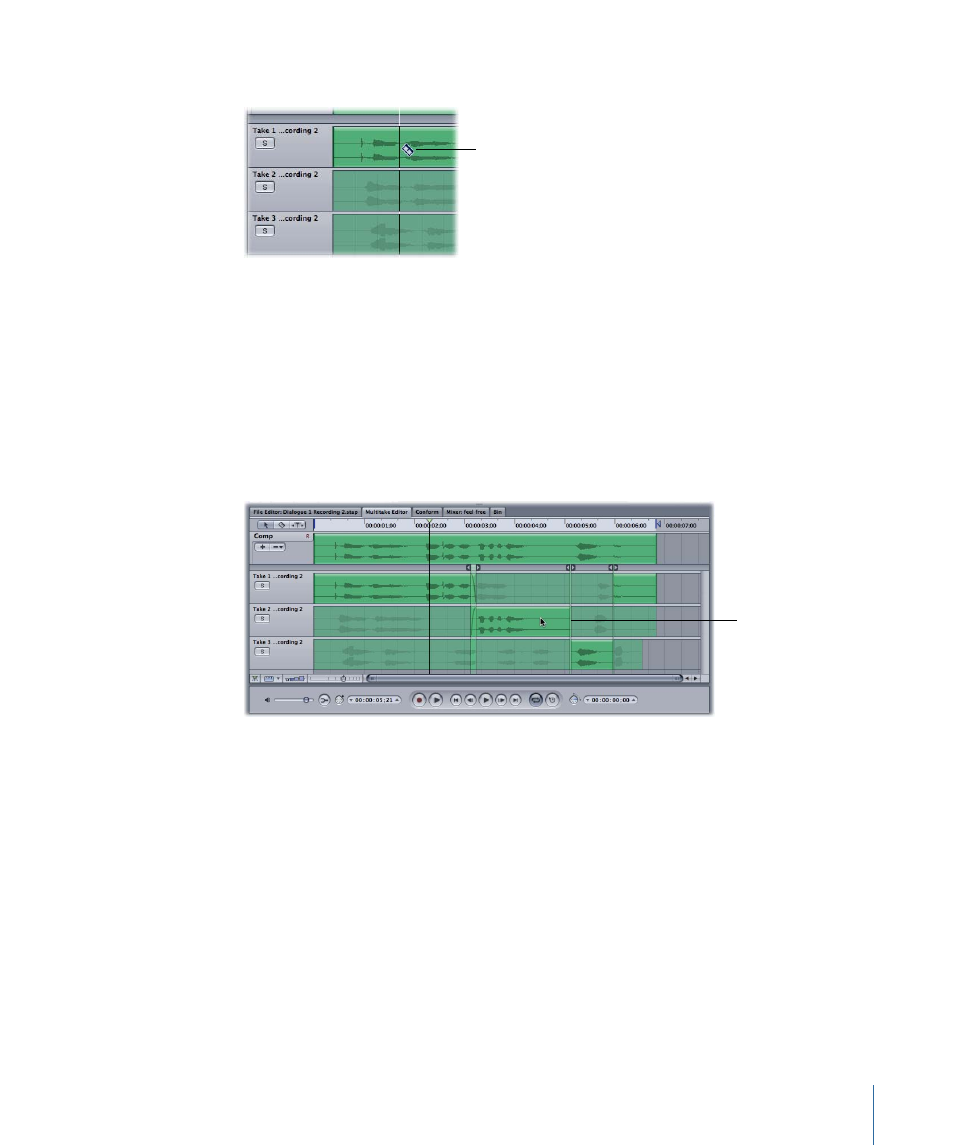
Click one of the take tracks using the Blade tool pointer.
Click a take track using
the Blade tool to create
a transition point.
A transition point appears in the Multitake Timeline at the point where you clicked.
Stage 2:
Selecting the Active Take for Each Region
You can select active regions in the Multitake Editor with the Selection tool.
To select an active take for a region
1
Select the Selection tool by clicking the Selection tool in the upper-left corner of the
Multitake Editor (or by pressing A).
2
In the region, click the take track you want to select.
Select the take track
to make it the active
take for that region.
The take you clicked becomes the active take for that region.
Stage 3:
Adjusting the Timing and Creating Crossfades
In this stage, you’ll use transition points to adjust the timing and to create crossfades
between the selected portions of takes. Slip (offset) take regions to synchronize them
with the picture.
To adjust a transition point
Do one of the following:
µ
Drag the vertical transition point line left or right to adjust the timing of the cut.
299
Chapter 11
Using the Multitake Editor