Apple Soundtrack Pro 3 User Manual
Page 248
4
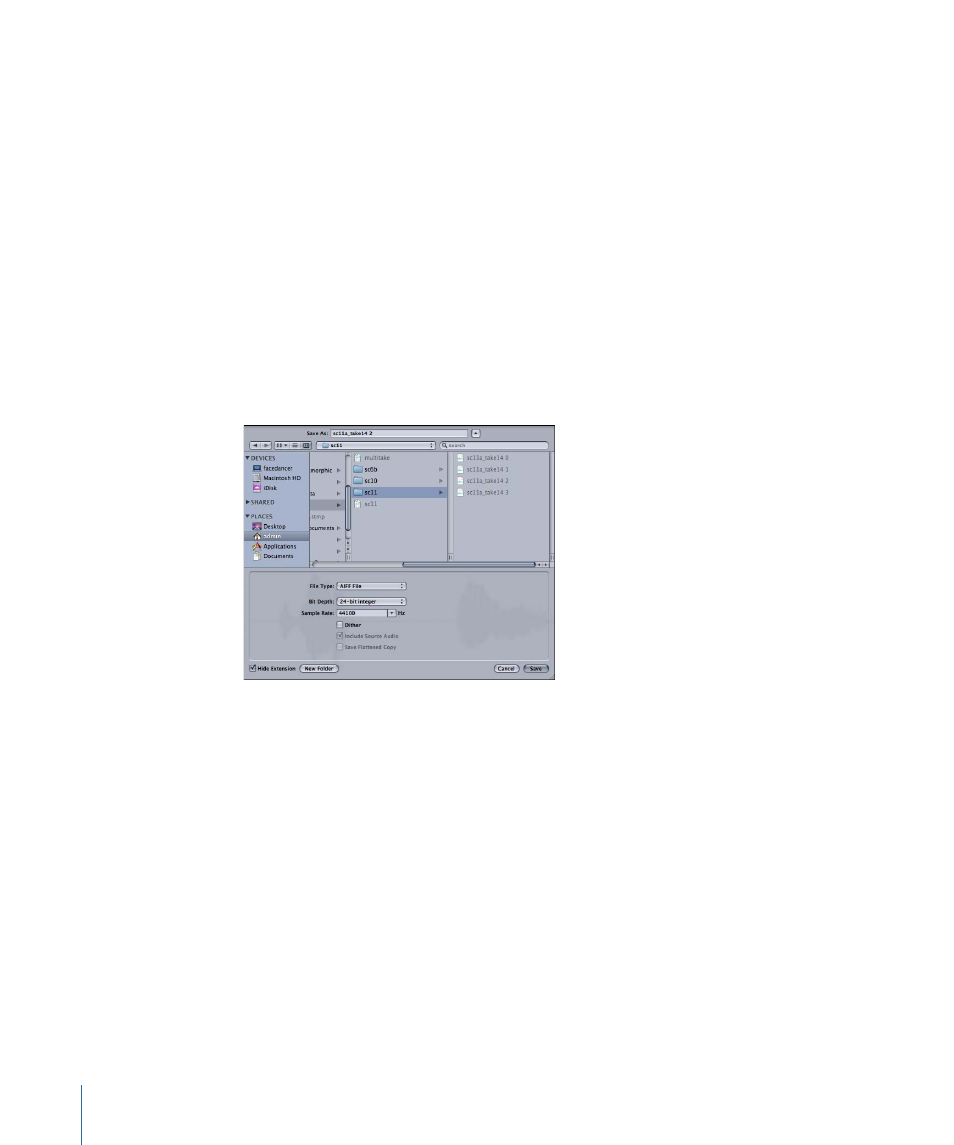
Choose the bit depth for the project from the Bit Depth pop-up menu.
5
Choose the sample rate for the project from the Sample Rate pop-up menu.
6
Optionally, select any of the following checkboxes:
• Dither: Select to dither the file. Dithering is useful when saving a project at a lower bit
depth or sample rate. In general, you should dither a project only when saving it as a
standard audio file, and only when you have finished all bit depth or sample rate
conversions. Dithering is not appropriate for 32-bit files.
• Include Source Audio: Select to include the source audio in the project. If you don’t
select this checkbox, the project refers to the external source audio file. Referenced
files must be present to open the project correctly.
• Save Flattened Copy: Select to additionally update the linked flat file. Saving a flattened
copy enables integration with applications that do not support .stap files.
7
Click Save.
Note: When you save an audio file with the same name, location, and extension as the
original audio file, you overwrite the existing audio file.
Using the Timeline Controls in the File Editor Project View
You can use the Timeline controls, located at the lower-left corner of the project pane,
while working in the File Editor project view.
Some of these controls have slightly different functions in the File Editor than they do in
the Timeline.
• Master Envelopes button: You can show or hide the envelopes for the audio file.
• Snapping button: You can turn snapping on or off in the File Editor.
• Snap To button: You can choose the Snap To value that the playhead and other items
snap to. In the File Editor, the choices for snap are Ruler Ticks and Zero Crossings.
248
Chapter 8
Working in the File Editor