Using the trim command – Apple Soundtrack Pro 3 User Manual
Page 164
2
Click the edge of the clip and drag left or right to resize it.
Note: Holding down the Command key while trimming or moving a clip toggles the
current snapping state.
When you resize a clip, the edge being resized jumps to the nearest Snap To position if
snapping is turned on. If you want to resize the clip independently of the Snap To value,
change the Snap To value or turn off snapping before you resize the clip. For information
about snapping, see
.
To resize an audio clip to the boundaries of adjacent clips
1
Place the pointer at either the left or right edge of the audio clip.
The pointer changes to a Clip Resize pointer.
2
Click the edge of the clip.
3
Hold down the Shift key and drag left or right to resize the clip.
Resizing clips is limited to the boundaries of adjacent clips.
Using the Trim Command
Soundtrack Pro lets you adjust the In and Out points of clips in the multitrack Timeline
using the Trim command. You can either trim the In point of a clip to the playhead or
trim the Out point of a clip to the playhead.
Note: If no clips or tracks are selected, using the Trim command applies the trim to all
clips under the playhead.
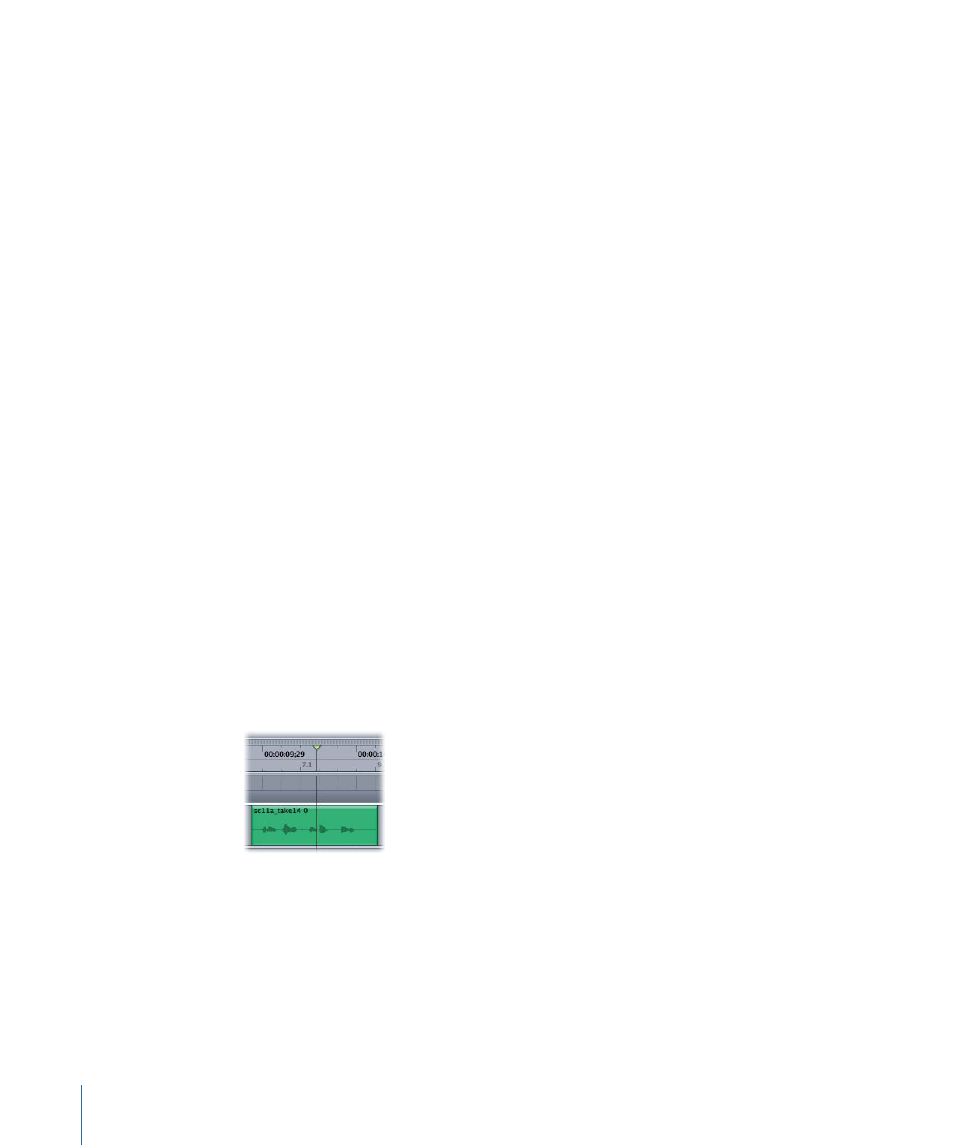
To trim the In point of selected audio clips to the playhead
1
Set the playhead at the point where you want the clip to begin, then select the clip or
clips you want to trim.
You can trim multiple clips in the same operation.
2
Choose Clip > Trim In Point to Playhead (or press D).
164
Chapter 6
Working in the Timeline