Using final cut pro scoring markers, Using markers to align audio clips to timecode, Scoring a marker to the playhead – Apple Soundtrack Pro 3 User Manual
Page 177
Using Final Cut Pro Scoring Markers
When you import a video file from Final Cut Pro or Final Cut Express HD, Soundtrack Pro
displays any Final Cut Pro scoring markers included in the video file in the Timeline.
Scoring markers have an orange handle in the area above the Time ruler. You cannot
move or edit Final Cut Pro scoring markers in Soundtrack Pro.
Using Markers to Align Audio Clips to Timecode
You can add a time marker at a specific timecode position in a video clip, and align audio
clips with the time marker or with a Final Cut Pro scoring marker.
Note: In order to add a marker at a specific timecode position, the Time ruler units must
be set to the timecode format of the video in your project.
To add a time marker at a specific timecode position in a video clip
Do one of the following:
µ
Type the timecode position where you want to add the marker in the Time display, press
Return, then choose Mark > Insert Time Marker (or press M).
µ
Make the Details tab active, add a time marker, select the marker handle, then enter a
new position in the Position value slider in the Details tab.
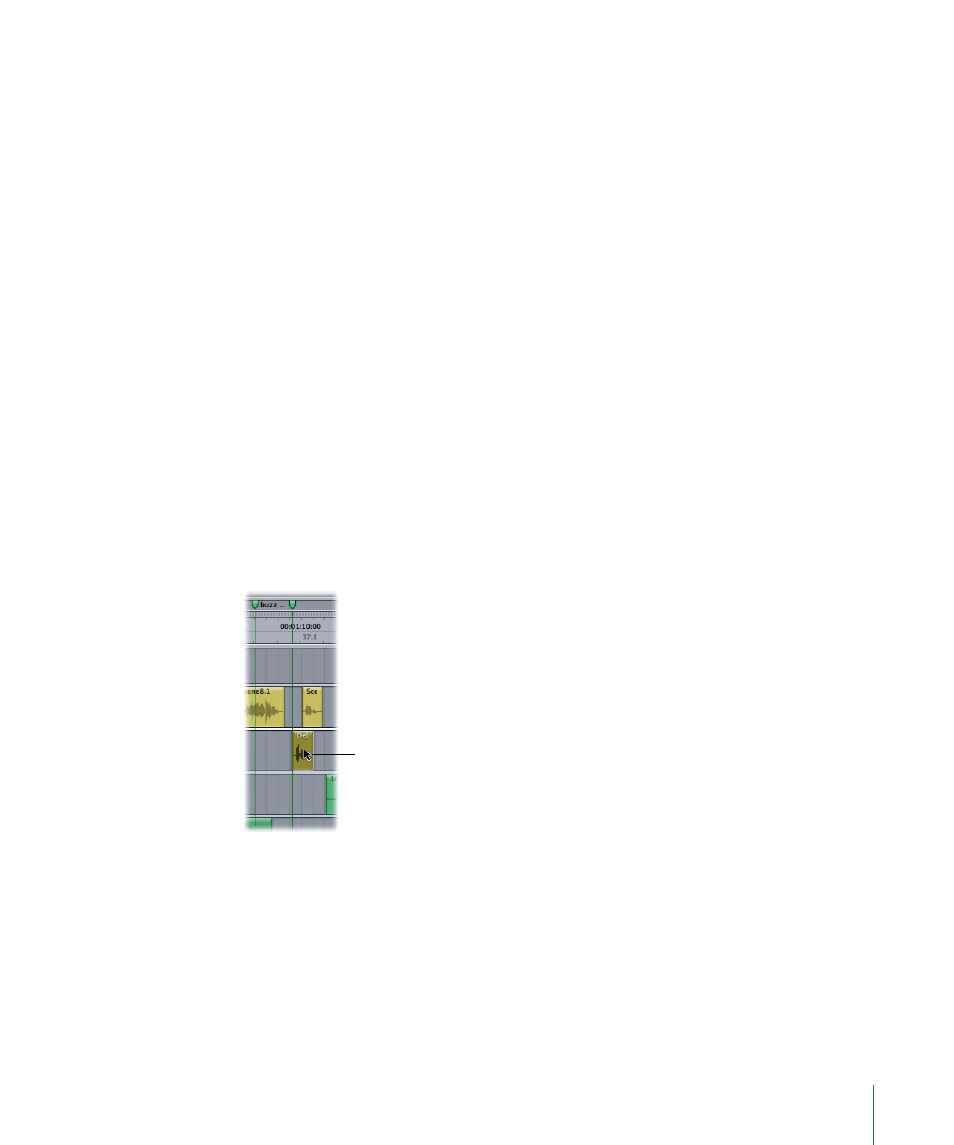
To align an audio clip with a marker
µ
Make sure that snapping is turned on and that Markers is selected in the View > Snap to
menu, then drag the clip to the position of the marker in the Timeline.
With Markers selected,
you can align a clip
with a marker.
Note: You can temporarily turn snapping on or off by pressing N.
Scoring a Marker to the Playhead
For tracks set to Beats-based time format, you can score a time marker or Final Cut Pro
scoring marker to the playhead, so that you can synchronize the audio with the video.
Scoring a marker to the playhead adjusts the tempo so that the required number of beats
exactly fills the amount of time between the last tempo change and the marker’s position
in the Time ruler.
177
Chapter 6
Working in the Timeline