Apple Soundtrack Pro 3 User Manual
Page 39
• Time ruler: You can precisely position clips, the playhead, and other items to a specific
point in time (minutes, seconds, frames) or to a musical beat using the Time ruler.
• Track area: Includes horizontal rows for tracks, busses, and submixes. Also includes the
playhead, envelopes, and markers.
• Headers: Each track, bus, and submix has a header with an icon, name, volume slider,
and other controls. (For more information, see
• Additional Timeline controls: Include controls to show the master envelopes, turn
snapping on or off, set the track height, and zoom in or out. For more information, see
• Scroll bar: Moves the Timeline horizontally so you can see different parts of the project.
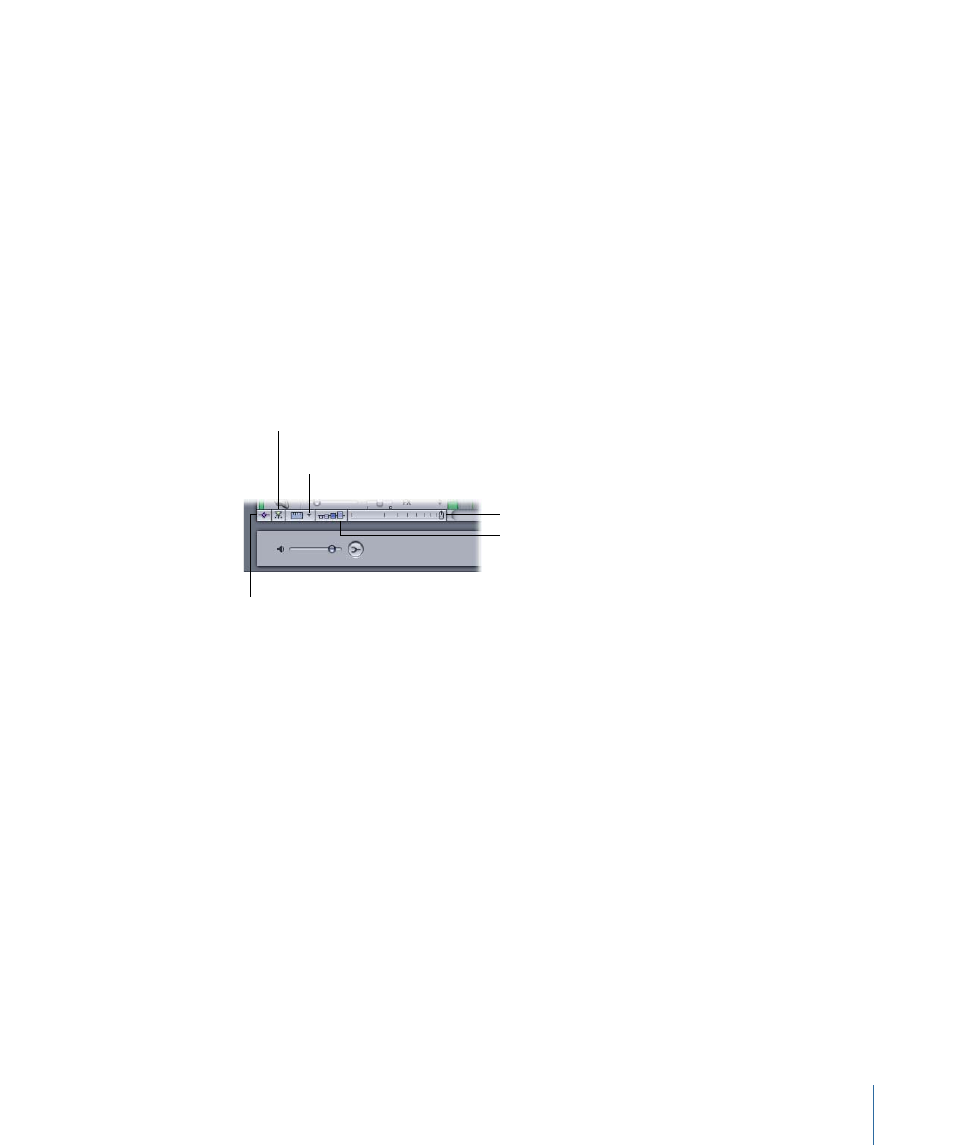
Additional Timeline Controls
The lower-left corner of the project pane contains controls for various aspects of Timeline
display and operation.
Master Envelopes button
Height control
Zoom control
Snapping button
Snap to Value
pop-up menu
• Master Envelopes button: In the Timeline, shows or hides the master envelopes. In the
File Editor project view, shows or hides the envelopes for the current audio file project.
For information about using master envelopes, see
.
• Snapping button: Turns snapping on or off. For information about snapping, see
• Snap To Value pop-up menu: Sets the value to which items in the Timeline snap.
• Height control: Sets the height of tracks, busses, and submixes to one of four settings,
from Reduced to Large. In the File Editor project view, sets the height of the envelopes
for the current audio file project to one of four settings, from Reduced to Large. For
more information, see
• Zoom control: Click the control or drag the slider to change the zoom level. You can
zoom in to edit clips precisely, or zoom out to display more of the Timeline. For more
information, see
.
39
Chapter 2
The Soundtrack Pro Interface