Using the global timeline view, Using the time ruler, Working with the cycle region – Apple Soundtrack Pro 3 User Manual
Page 138

Note: Track header controls for setting up recording appear in the two tallest track heights
only.
Using the Global Timeline View
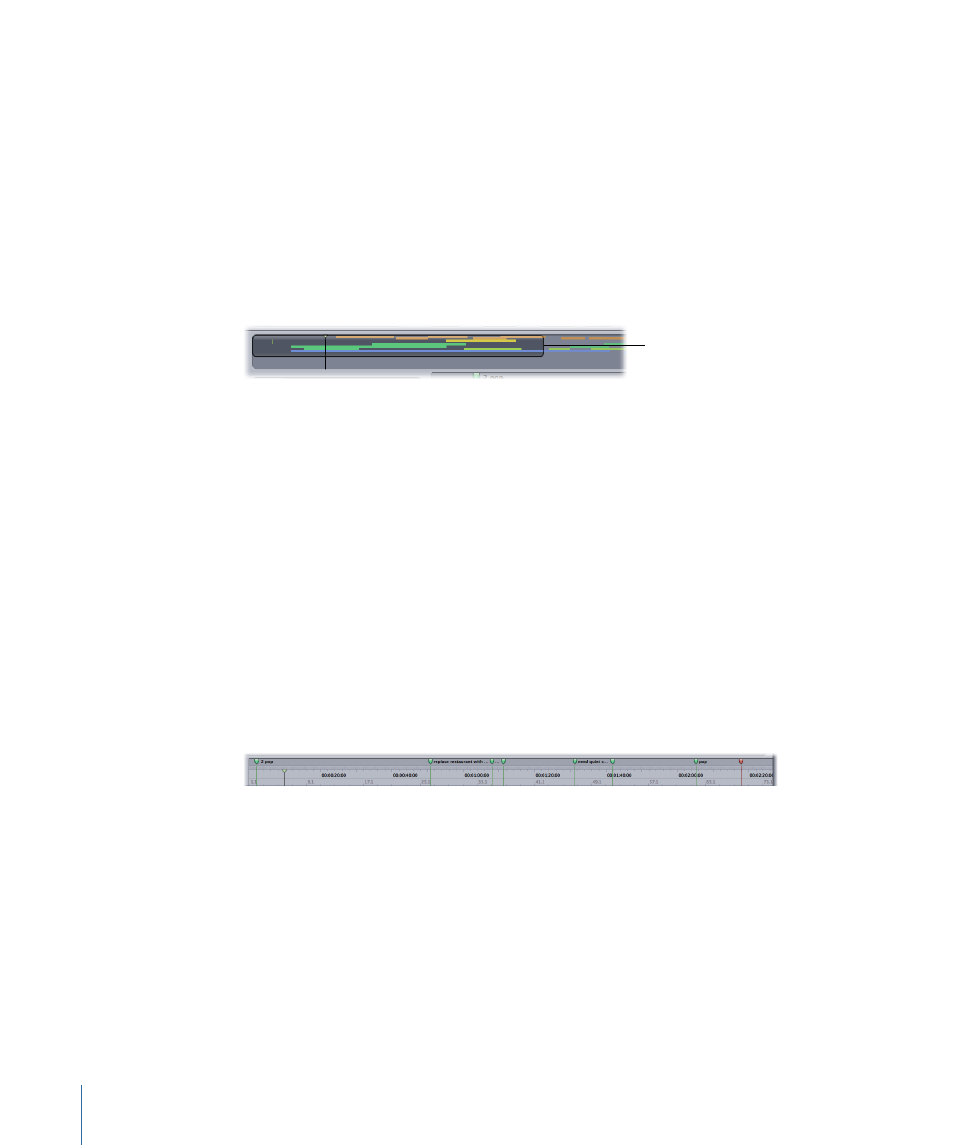
The Global Timeline view, located above the Time display and Time ruler, shows a
miniature view of the entire project. The playhead appears as a black vertical line with a
triangular handle. The part of the project currently visible in the Timeline is indicated by
a blue rectangle in the Global Timeline view.
To move to a new area of the Timeline using the Global Timeline view
µ
Drag the visible area rectangle to a new position.
Drag this rectangle
to a new position.
You can quickly move to different parts of the Timeline by dragging the blue rectangle.
This is especially useful when working on longer projects. You can also drag the rectangle
up or down to move vertically in the Global Timeline view. This is useful if your project
contains more tracks, busses, and submixes than can be displayed in the project pane.
Using the Time Ruler
The Timeline has a Time ruler that shows the divisions of time in a project. You can set
the playhead to a precise frame, point in time, or sample number using the Time-based
units on the Time ruler, or to a specific musical measure or beat using the Beats-based
units, to synchronize playback of audio clips in the Timeline.
The Time ruler changes depending on the time format of the project and the Time ruler
units. If the project is currently set to Time-based format, Time-based units appear in the
upper part of the ruler. If the project is set to Beats-based format, Beats-based units appear
in the upper half of the ruler.
You can use the Time ruler to position clips or the playhead at a precise point in time,
including synchronizing them to a specific timecode reference in a video file.
To set the playhead to a specific point in the Time ruler
µ
Click the Time ruler at the point where you want to set the playhead.
Working with the Cycle Region
You can create a cycle region in a project, an area that plays back repeatedly. This is
sometimes called cycling or looping playback. A project has only one cycle region, but
you can move and resize it as often as you want. Additionally, for selecting, marking, and
exporting purposes, the cycle region functions much like In and Out points in Final Cut Pro.
138
Chapter 6
Working in the Timeline
