Moving around in the timeline, Using the scroll bars, Using the zoom control – Apple Soundtrack Pro 3 User Manual
Page 133
When you have finished using a Timeline editing tool, it is a good idea to immediately
return to the default Selection tool.
Moving Around in the Timeline
Soundtrack Pro provides several controls that let you change the view of the Timeline
and move to different parts of your project. You can zoom in or out for a closer or wider
view of the Timeline, control how many tracks are displayed in the Timeline, create an
area in the Timeline that plays back repeatedly, and change which part of the project is
currently visible using the scroll bars and project controls. You can split the Timeline view
and use the Global Timeline view to quickly move to different parts of your project.
Using the Scroll Bars
If the entire project cannot be displayed in the Timeline, you can scroll through the project
using the horizontal scroll bar located at the bottom of the Timeline. Drag the horizontal
scroll bar left or right to move the visible part of the Timeline.
If your project contains more tracks than can be displayed in the Timeline, a vertical scroll
bar appears along the right edge of the Timeline. Drag the vertical scroll bar up or down
to change which tracks are visible.
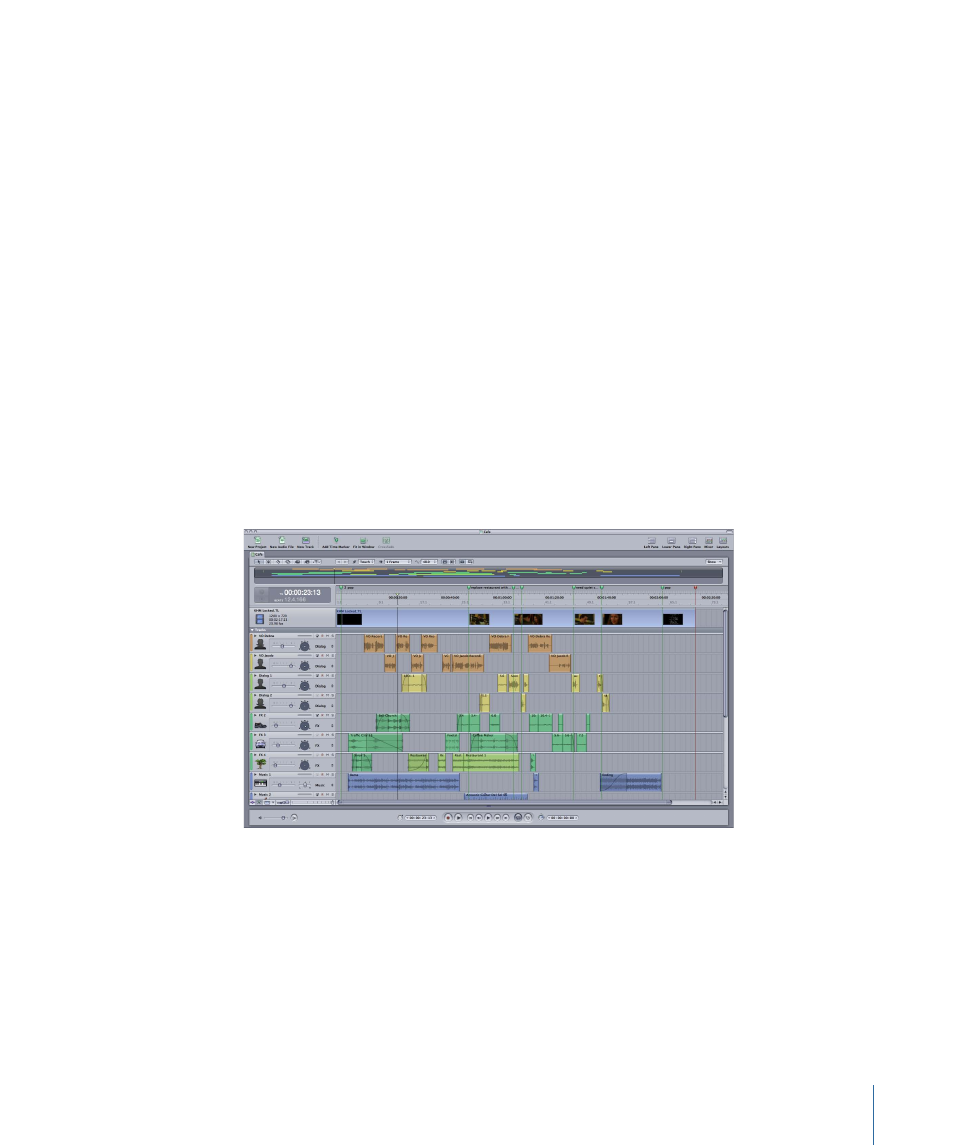
In the lower left of the project pane are the Timeline controls, including the Track Height
control and Zoom control.
Using the Zoom Control
You can zoom in to make precise edits in the Timeline, or zoom out for a wider view of
your project using the Zoom control.
133
Chapter 6
Working in the Timeline