Specify the emulsion and image exposure, Include marks and bleeds, Set options for printer marks. see – Adobe Acrobat 9 PRO Extended User Manual
Page 452
446
USING ACROBAT 9 PRO EXTENDED
Printing
Last updated 9/30/2011
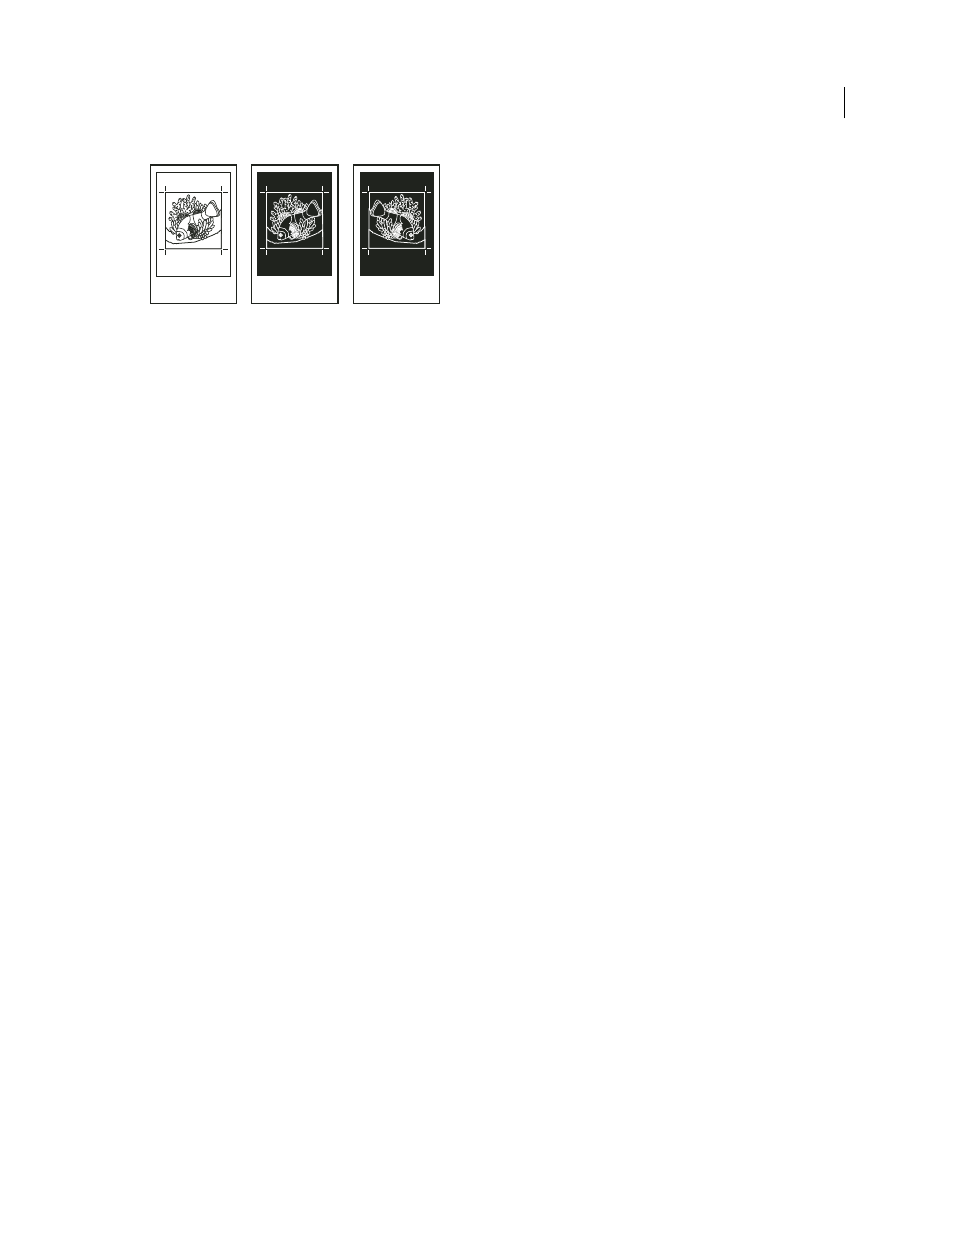
Emulsion options
A. Positive image B. Negative C. Negative with emulsion side down
Important: The emulsion and image exposure settings in the Print dialog box override any conflicting settings in the
printer driver. Always specify print settings using the Print dialog box.
Specify the emulsion and image exposure
1 Select Output on the left side of the Advanced Print Setup dialog box.
2 For Color, choose Separations.
3 For Flip, select one of the following options:
None
Makes no changes to the orientation of the imageable area. Type that is in the image is readable (that is, “right
reading”) when the photosensitive layer is facing you. This is the default.
Horizontal
Mirrors the imageable area across a vertical axis so that it is “wrong reading.”
Vertical
Mirrors the imageable area across a
horizontal axis so that it is upside down.
Horizontal And Vertical
Mirrors the imageable area across the horizontal and vertical axes so that it is wrong reading.
Type is readable when the photosensitive layer is facing away from you. Images printed on film are often printed
Horizontal And Vertical.
4 Select the Negative option for negative film; deselect it for positive film.
Note: The Negative option is also available if you choose In-RIP Separations from the Color menu.
Include marks and bleeds
You can place printer marks on the page to indicate the boundaries of document boxes supported by Adobe PDF, such
as trim boxes and bleed boxes. These marks are not added as page content; however, they are included in the PostScript
output.
The options in the Marks And Bleeds panel are unavailable under these circumstances:
•
The PDF includes printer marks added using a different Acrobat feature, the Add Printer Marks tool.
•
The crop, bleed, and trim boxes are all the same size. The crop box is defined in the Crop Box dialog box (choose
Advanced > Print Production > Crop Pages). If the artwork contains a bleed, make sure that the crop box is big
enough to accommodate the bleed box and other printer marks.
A
B
C