Alter or manipulate 3d models (word and excel), Make changes to the model view – Adobe Acrobat 9 PRO Extended User Manual
Page 391
385
USING ACROBAT 9 PRO EXTENDED
3D models and geospatial PDFs
Last updated 9/30/2011
Inserting 3D models in Word, Excel, and PowerPoint files
Insert 3D models into Word, Excel, and PowerPoint files
When you install Acrobat Pro Extended, an additional icon appears in the PDFMaker toolbar in Office 2003. In Office
2007, the additional icon appears on the Acrobat ribbon. The Insert Acrobat 3D Model button (2003)
and the
Embed 3D (2007) button enable you to insert a preview of a 3D file into the Office document.
1 In the Office application, select the position where you want the 3D image to appear on the document page.
2 Click the Insert Acrobat 3D Model button on the PDFMaker toolbar (Office 2003) or the Embed 3D button on the
Acrobat ribbon (Office 2007).
3 Click the Browse For Model button to the right of 3D Model; then locate the 3D file that you want to include. Click Open.
To get the full 3D effect, create a PDF from the original file.
4 In the Import Settings Profile menu, select the import preset to use.
This preset is defined in the Acrobat 3D conversion settings.
5 To include a JavaScript with the 3D file, click the button to the right of Script, locate the file, and then click Open.
6 Click OK to add the 3D object.
More Help topics
Acrobat 3D conversion settings
Alter or manipulate 3D models (Word and Excel)
In Microsoft Office applications, you can adjust the placement, background color, and other properties of inserted 3D
models. You can also hide or isolate parts, create new views, and set model perspective.
1 In Office 2003, select the Exit Design Mode button on the Control Toolbox. In Office 2007, select the Design Mode
button on the Developer tab to display the 3D toolbar.
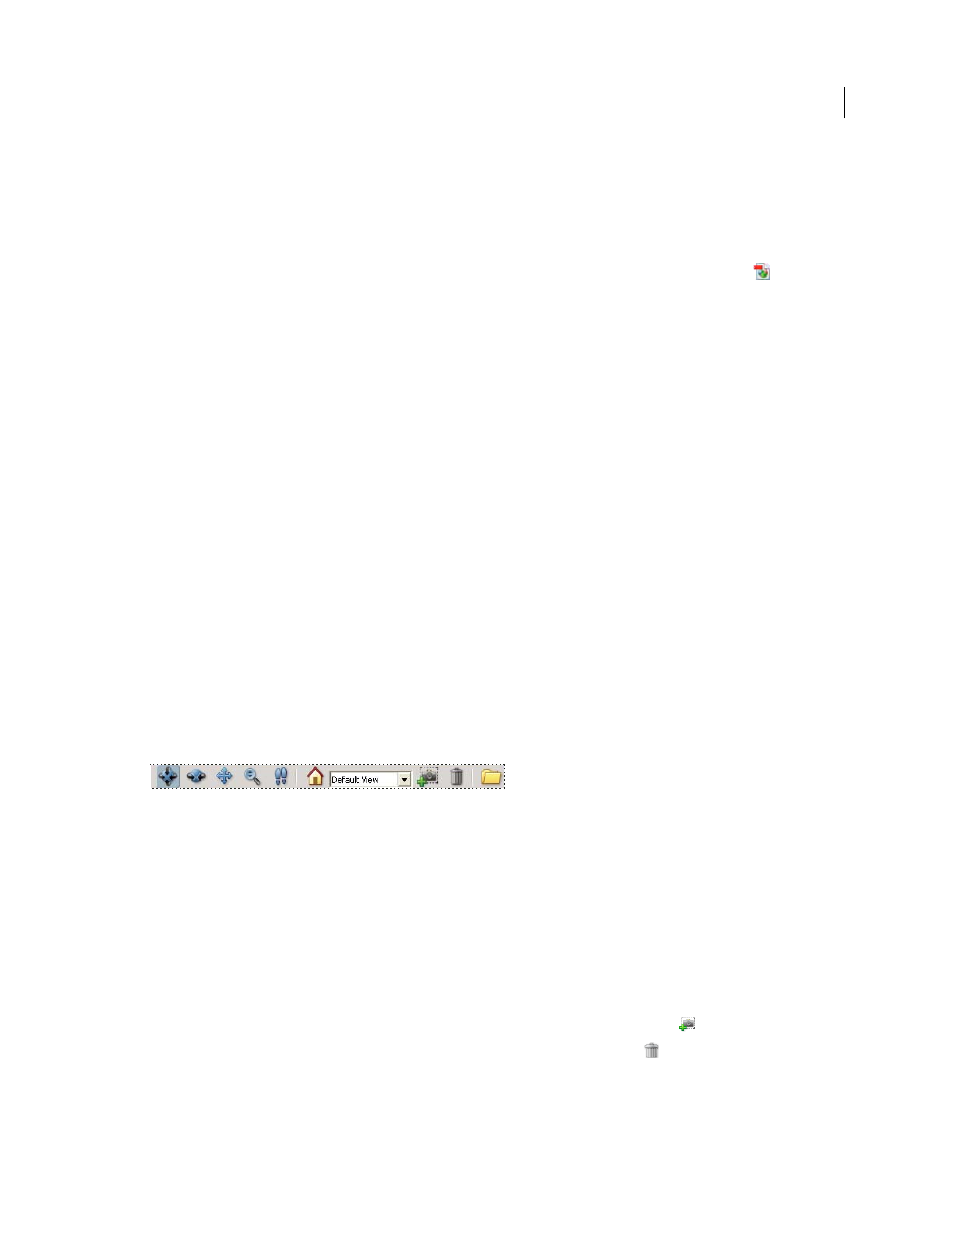
Acrobat 3D toolbar in Office
2 Manipulate or change the model using the following guidelines.
Note: To switch 3D navigation tools from within a PowerPoint document, change to Slide Show mode: Choose View >
Slide Show, and then right-click the embedded 3D model to use the navigation commands and other view options.
Make changes to the model view
❖
Use the 3D toolbar to do any of the following tasks:
•
To rotate, zoom, or move the 3D object within the 3D model area, choose the appropriate tool on the 3D toolbar,
and then drag.
•
To create a view, change the 3D model as needed, and then click the Create View icon
.
•
To remove a view, select it from the Views menu, and then click the Delete icon
.
•
To replace the current 3D model with another one, click the Folder icon, select the 3D model you want to display,
and then click Open.