Create cross sections – Adobe Acrobat 9 PRO Extended User Manual
Page 400
394
USING ACROBAT 9 PRO EXTENDED
3D models and geospatial PDFs
Last updated 9/30/2011
3 To view PMI in the 3D object, do one of the following:
•
Select a view associated with PMI (if one is available) in the View panel (middle) of the Model Tree. Only the PMI
in the selected view is visible in the 3D model.
•
Right-click a part and choose Part Options > Isolate to see the PMI for the selected part.
•
Select an individual notation in the Model Tree to highlight it in the current view.
Note: The font used for PMI text must be installed on your computer for the text to display correctly.
More Help topics
Acrobat 3D conversion settings
Create cross sections
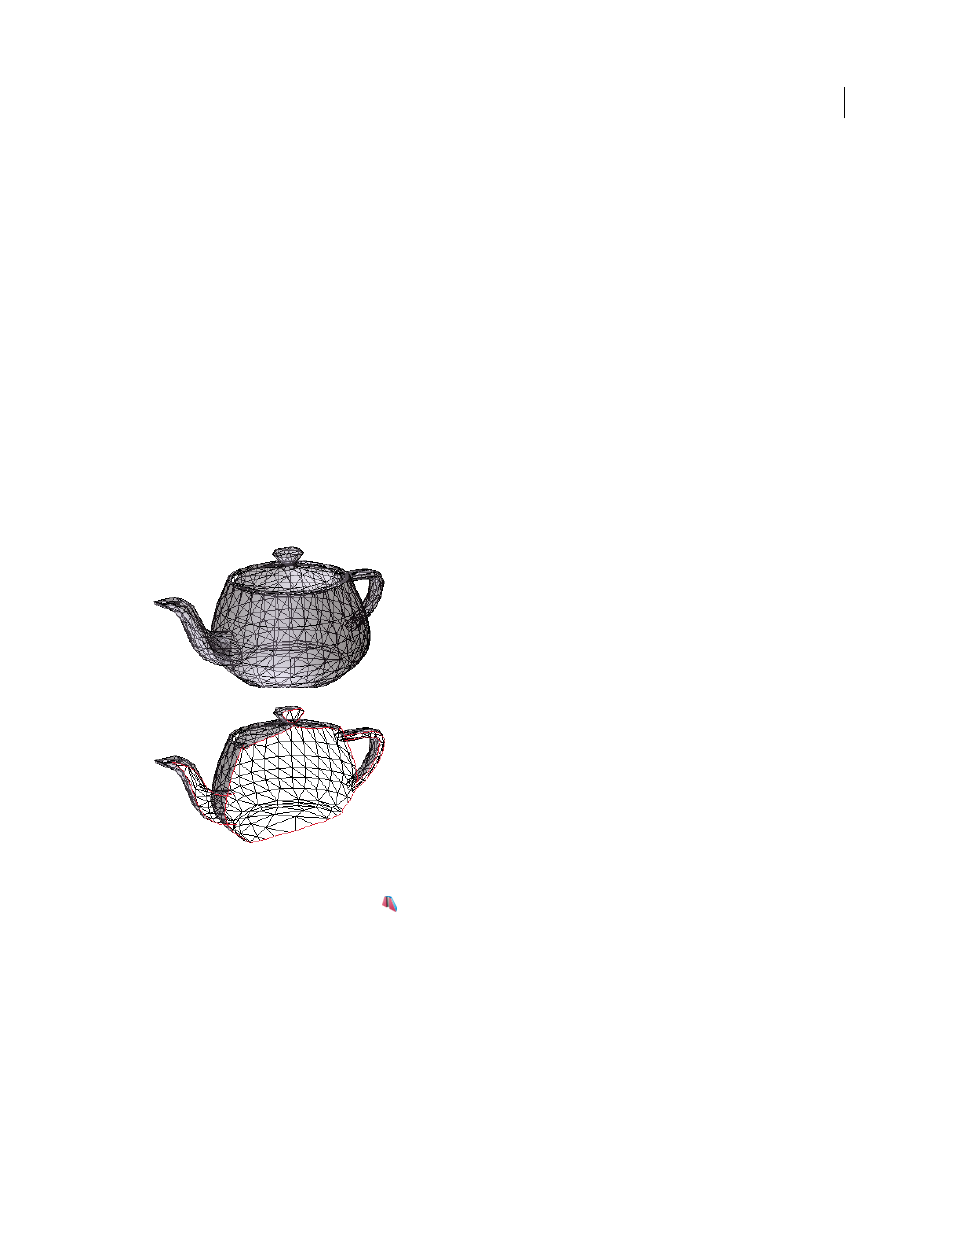
Displaying a cross section of a 3D model is like cutting it in half and looking inside. Use the Cross Section Controls
dialog box to adjust the alignment, offset, and tilt of the cutting plane.
Before and after cross section
1 Click the Toggle Cross Section icon
on the 3D toolbar to turn on or off the cross section.
2 (Optional) Click the arrow next to the Toggle Cross Section icon, and choose Cross Section Properties, which opens
the Cross Section Properties dialog box. Then do any of the following:
•
Change settings under Alignment, Display Settings, and Position And Orientation.
•
Click the Save Section View button to save the current cross-sectional view. (The saved view will appear on the
Views menu in the 3D toolbar and in the View pane of the Model Tree with a default name, SectionView[n].)