Adobe Acrobat 9 PRO Extended User Manual
Page 14
8
USING ACROBAT 9 PRO EXTENDED
Getting started
Last updated 9/30/2011
In the PDFMaker Settings area of the Acrobat PDFMaker dialog box, choose the appropriate PDF preset from the
Conversion Settings menu. The PDF preset determines file compression, image resolution, whether fonts are
embedded, and other PDF conversion settings. If you are preparing a document for professional printing, use the
High Quality Print or Press Quality preset. If you are preparing a document for online viewing, choose Small File
Size. The Standard default setting is appropriate for many business uses and desktop printing.
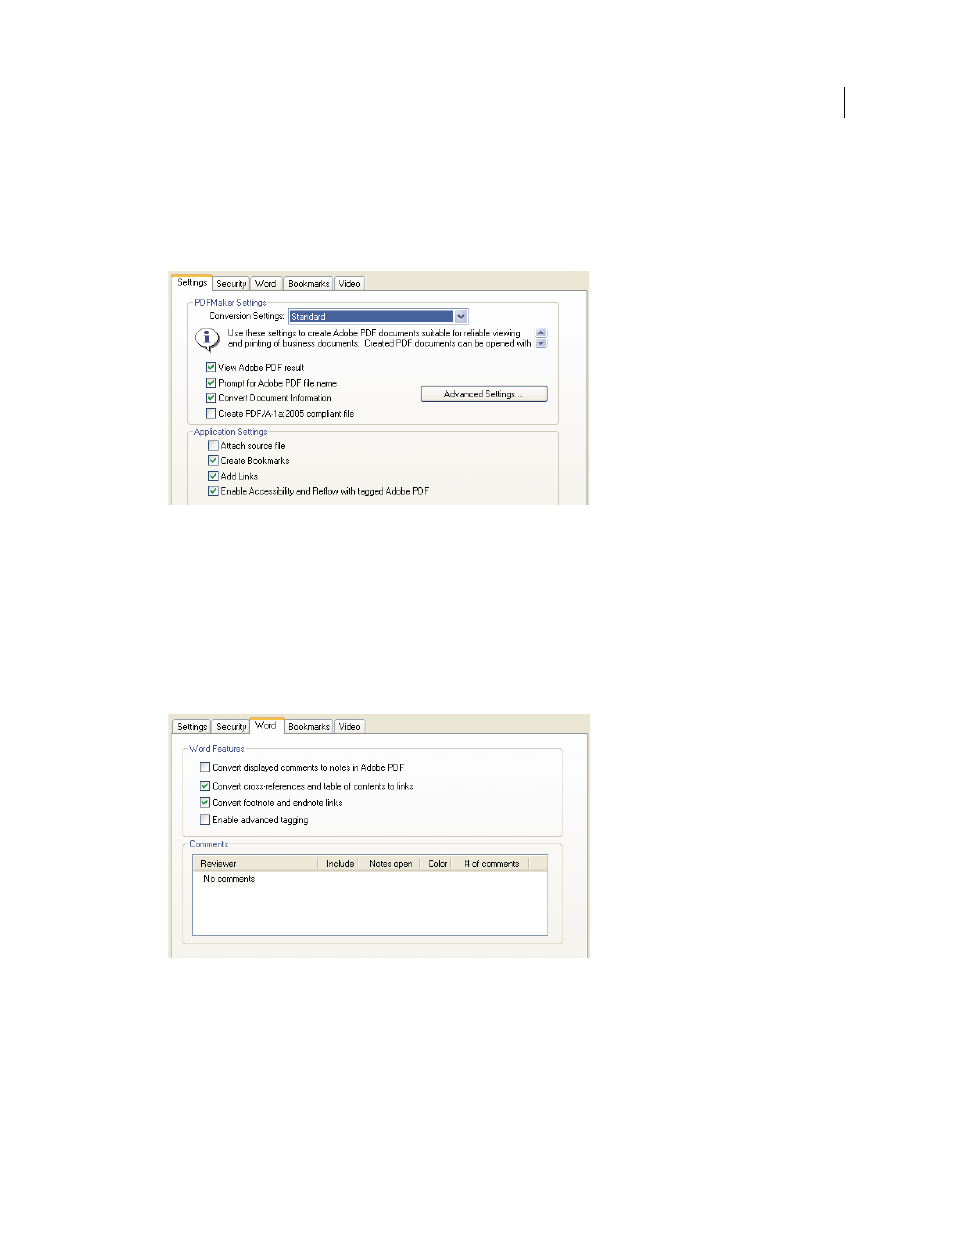
Settings for creating PDFs
Once you’ve selected conversion settings, those settings are used every time you create a PDF from that application
until you change the settings.
3 Select application settings.
In the Application Settings area of the dialog box, select whether to include bookmarks, hyperlinks, accessibility
features, and other options. Click the application tab (for example, the Word tab) to see options that are specific to
your application. In Word, for example, you can convert footnotes and links. In Visio (supported in Acrobat 9 Pro
Extended and Acrobat 9 Pro), you can flatten layers. Click OK to close the Acrobat PDFMaker dialog box.
Application-specific settings for creating PDFs
4 Create the PDF.
Click the Convert To Adobe PDF button on the Acrobat PDFMaker toolbar or, in Microsoft Office 2007, click the
Create PDF button on the Acrobat ribbon. You can automatically email the PDF or send it out for a review, using
other commands in the Adobe PDF menu.
When prompted, enter a name and location for the PDF. Depending on the application you’re using and your
settings, prompts may appear allowing you to select other options when you create the PDF.