Exporting your project – Apple Motion 2 User Manual
Page 900
900
Chapter 14
Exporting Motion Projects
Exporting Your Project
When you export your project, you can choose the kind of export and which media to
include in the exported file. You can choose an export preset, or set video, audio, and
output export options individually. You can export the entire project or, if you have
marked a play range, export only the play range.
To export your project:
1
Choose File > Export (or press Command+E).
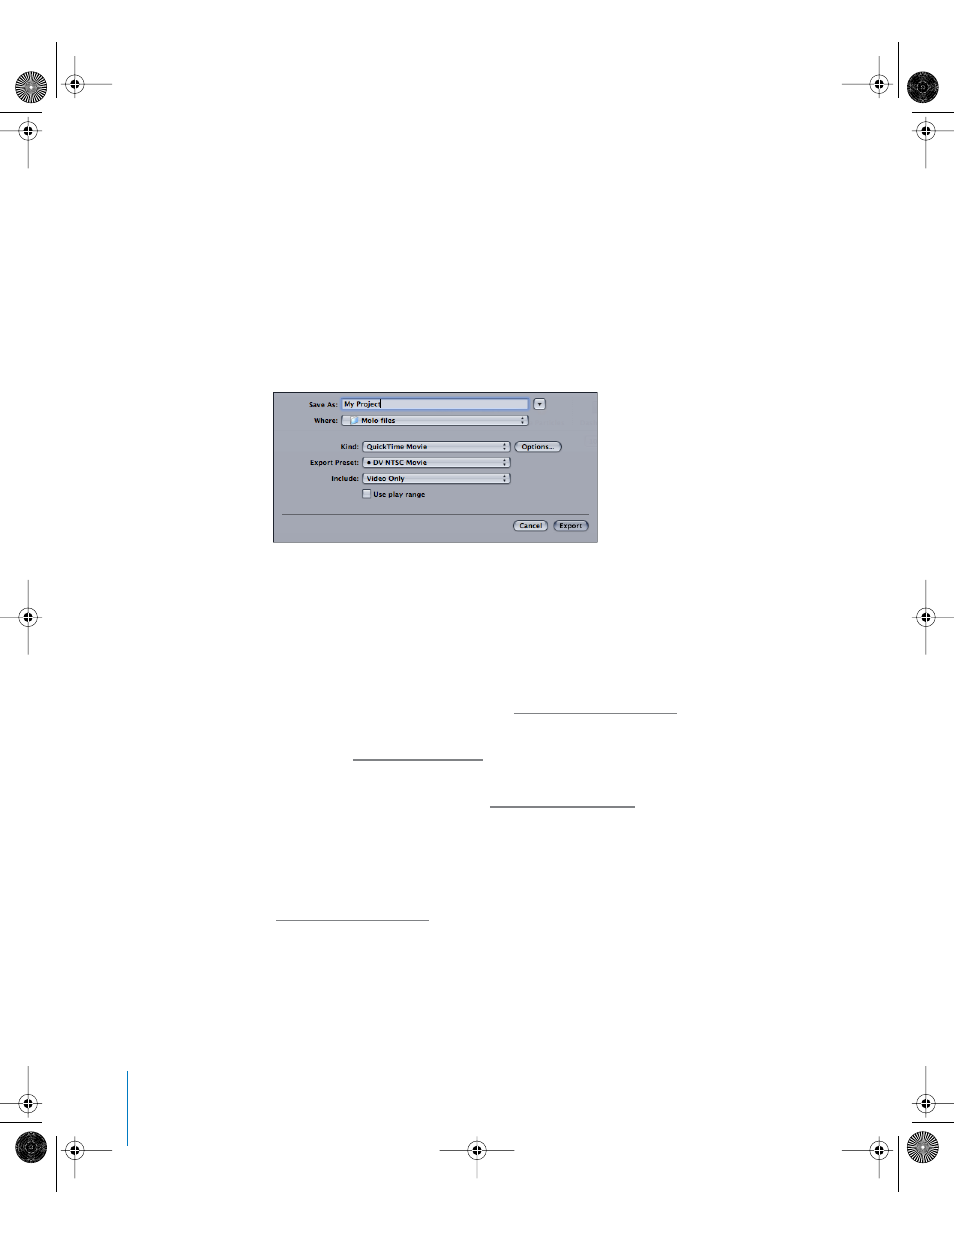
The Export sheet drops down from the title bar and the project name appears in the
Save As field.
2
Type a new name in the Save As field or use the existing project name.
3
Browse to the location where you want to save the file using the pop-up menu and
buttons at the top of the sheet. To show a file browser, click the arrow button to the
right of the Save As field.
4
Choose the kind of export from the Kind pop-up menu. You can export a QuickTime
movie, an image sequence, or the current frame as a still image. For information about
the different kinds of export files, see “
5
Choose a preset from the Export Preset pop-up menu. For information about export
presets, see “
6
If necessary, click the Options button to set export options individually. For information
about setting export options, see “
7
Choose the media to include in the export file from the Include pop-up menu. You can
export video and audio, video only, or audio only.
8
Turn on the “Use play range” checkbox if you want to export only the marked play
range, rather than the entire project. For information about marking a play range, see
“
9
Click Export.
The Export Progress window appears, and shows the time elapsed and time remaining.
Depending on the size and complexity of your project, exporting may take some time.
When the export is finished, the window closes.
01112.book Page 900 Sunday, March 13, 2005 10:36 PM