Apple Motion 2 User Manual
Page 86
86
Chapter 1
Getting To Know Motion
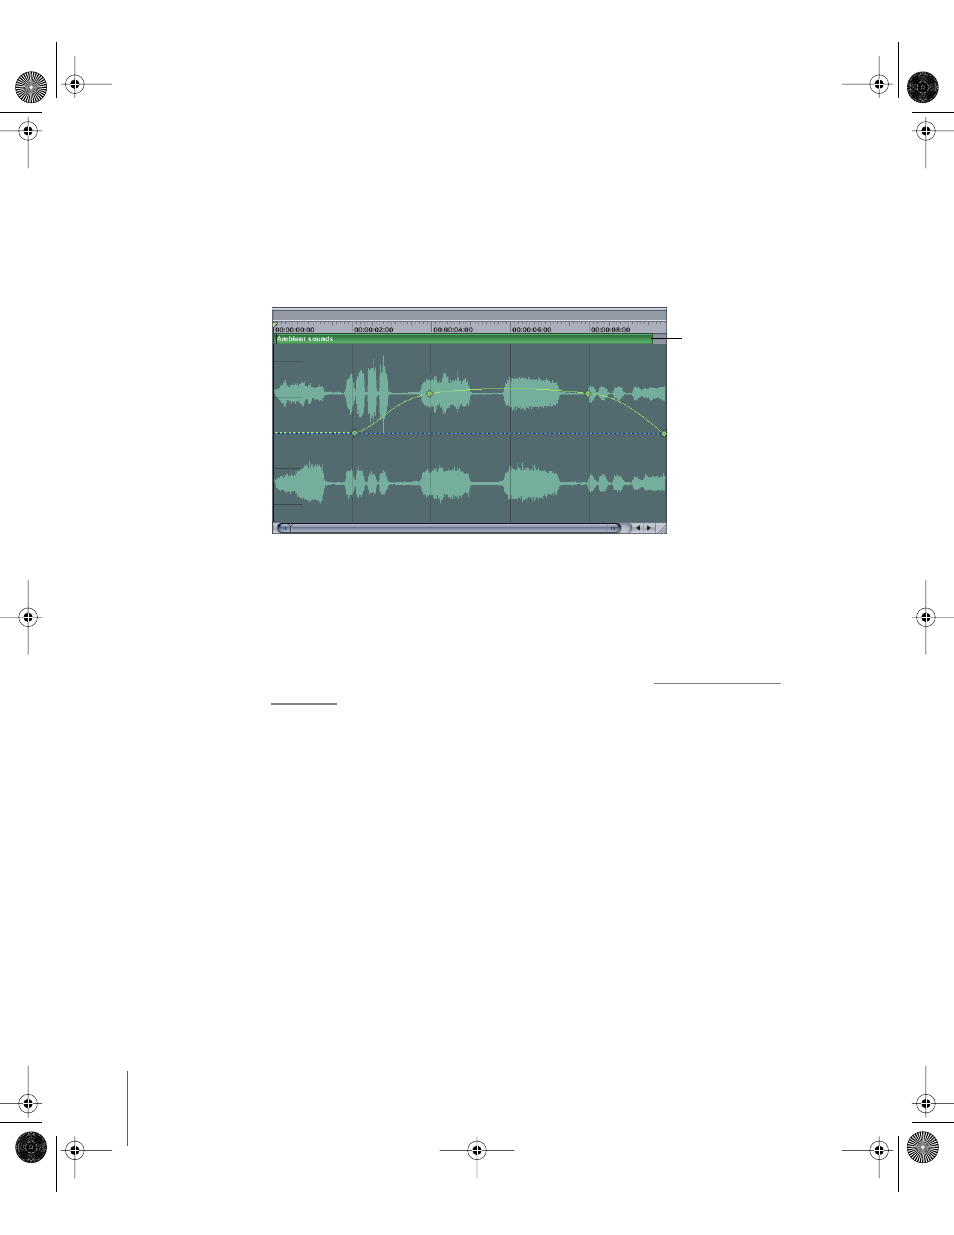
The Audio Editor Keyframe Graph
The remainder of the window contains the keyframe graph. This area contains the
curves and keyframes for the level and pan of the selected object. Keyframes appear as
diamonds, and curves appear as solid lines. Areas before the first keyframe and after
the last keyframe are represented with dotted lines. The waveform of the selected
object is displayed behind the curves.
At the top of the graph a green bar shows the duration of the audio file. As you change
the file’s In and Out points, the bar shrinks or expands to show the new duration.
You can manipulate keyframes by dragging them in the graph. Moving them left and
right changes their position in time, while dragging them up and down changes their
value. Since audio keyframes work exactly the same as keyframes for other parameters,
you can learn more about working with audio keyframes in “
The Ruler
At the top of the Audio Editor graph is a ruler that provides a gauge for the positions
and durations of the level and pan keyframes and curves. The ruler in the Audio Editor
shows different time than the rulers in the Timeline and Keyframe Editor. This ruler
shows the time for the selected audio object rather than for the whole project.
The ruler can contain indicators to help mark important frames or sections of the
project such as the playhead, play range indicators (also called In and Out points), and
markers. The ruler can be viewed in either frames or timecode.
To change the ruler view format:
m
Control-click the ruler, then choose Display Frames or Display Timecode from the
shortcut menu.
Object bar
01112.book Page 86 Sunday, March 13, 2005 10:36 PM