Defining the play range – Apple Motion 2 User Manual
Page 308
308
Chapter 4
Using the Timeline
To jump to the previous keyframe, do one of the following:
m
With the animated object selected, press Option+K.
m
Choose Mark > Go to > Previous Keyframe.
For information on displaying keyframes in the Timeline, see “
In addition to simply moving to new positions in the ruler, you can navigate directly to
objects within the Timeline, such as objects, markers, and keyframes. For more
information on markers, see “
” on page 312. For more information on
keyframes, see “
To jump directly to the beginning or end of an object in the Timeline:
1
Select the object you want to navigate to.
2
Do one of the following:
•
Choose Mark > Go to > Selection In Point or Selection Out Point.
•
Press Shift+I (for the In point) or Shift+O (for the Out point).
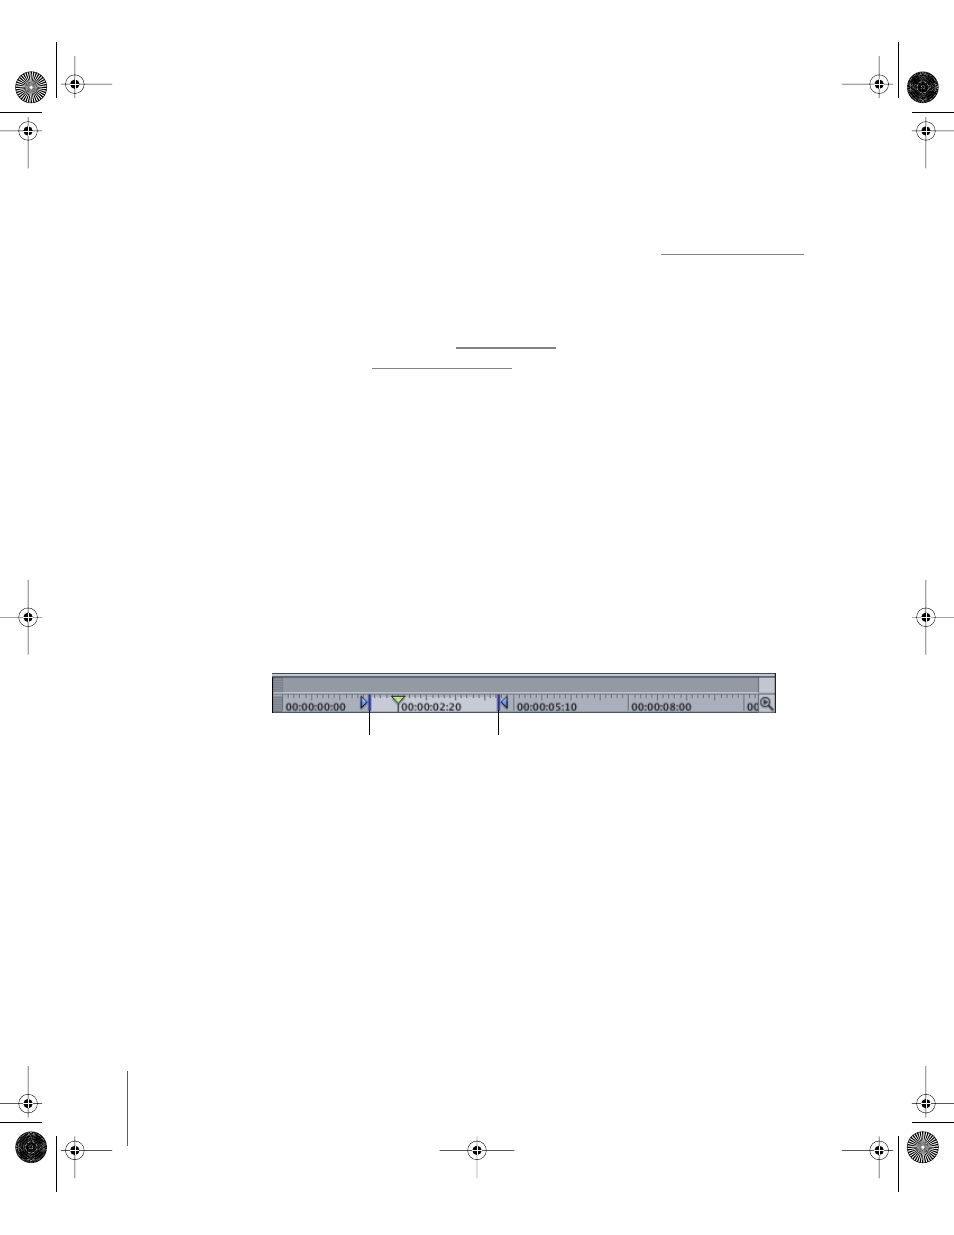
Defining the Play Range
Ordinarily, clicking the Play button plays your project from the first frame until the last.
However, you can change the area of your project Motion plays by modifying the In
and Out points in the Timeline ruler. You might do this to focus on a particular section
as you fine-tune your project or make other changes to it. Once you’re done focusing
on that section, you can reset the In and Out points to the beginning and end of your
project.
To customize the playback In point, do one of the following:
m
In the ruler, drag the In point marker from the left edge of the ruler to the frame where
you want to set the In point. As you drag, the playhead also moves with your pointer.
When you release the mouse button, the playhead snaps back to its previous position.
m
Choose Mark > Mark Play Range In in the menu bar.
m
Press Command+Option+I.
Note: Before you choose the menu item or keyboard shortcut, be sure that no objects
are selected in the Timeline. If an object is selected, any command modifies the objects
instead of changing the playback markers.
New In point
New Out point
01112.book Page 308 Sunday, March 13, 2005 10:36 PM