Slipping audio tracks – Apple Motion 2 User Manual
Page 892
892
Chapter 13
Working With Audio
Once you determine which track is causing the clipping, you can lower the track’s
overall level, or use keyframes to lower the track’s level at the specific point in time
where clipping occurs.
The clipping indicators are “sticky,” meaning that once they light up, they stay lit until
you reset them or close the project. This is intended to help remind you to find and
eliminate the cause of the clipping before you export your project. As you work to
eliminate clipping, reset the clipping indicators and play the project again to make sure
clipping no longer occurs.
To reset the clipping indicators:
m
Click the clipping indicator that is lit.
Setting Master Pan
You can use the Pan slider in the Master track to set the left-right pan position for the
audio.
To set the Master pan position:
m
Drag the Pan slider to place the sound where you want it in the stereo field.
The Master pan slider works in conjunction with the pan setting for each individual
track. For example, if you pan a track to –100 (hard left) and you pan the master to 100
(hard right), the track is inaudible.
Slipping Audio Tracks
When you add an audio file, its start point is set to the current location of the playhead.
You can slip an audio track so it starts playing at a different point in time.
To slip an audio track:
1
In the Audio tab, select the track.
The bar for the audio file appears in the mini-Timeline.
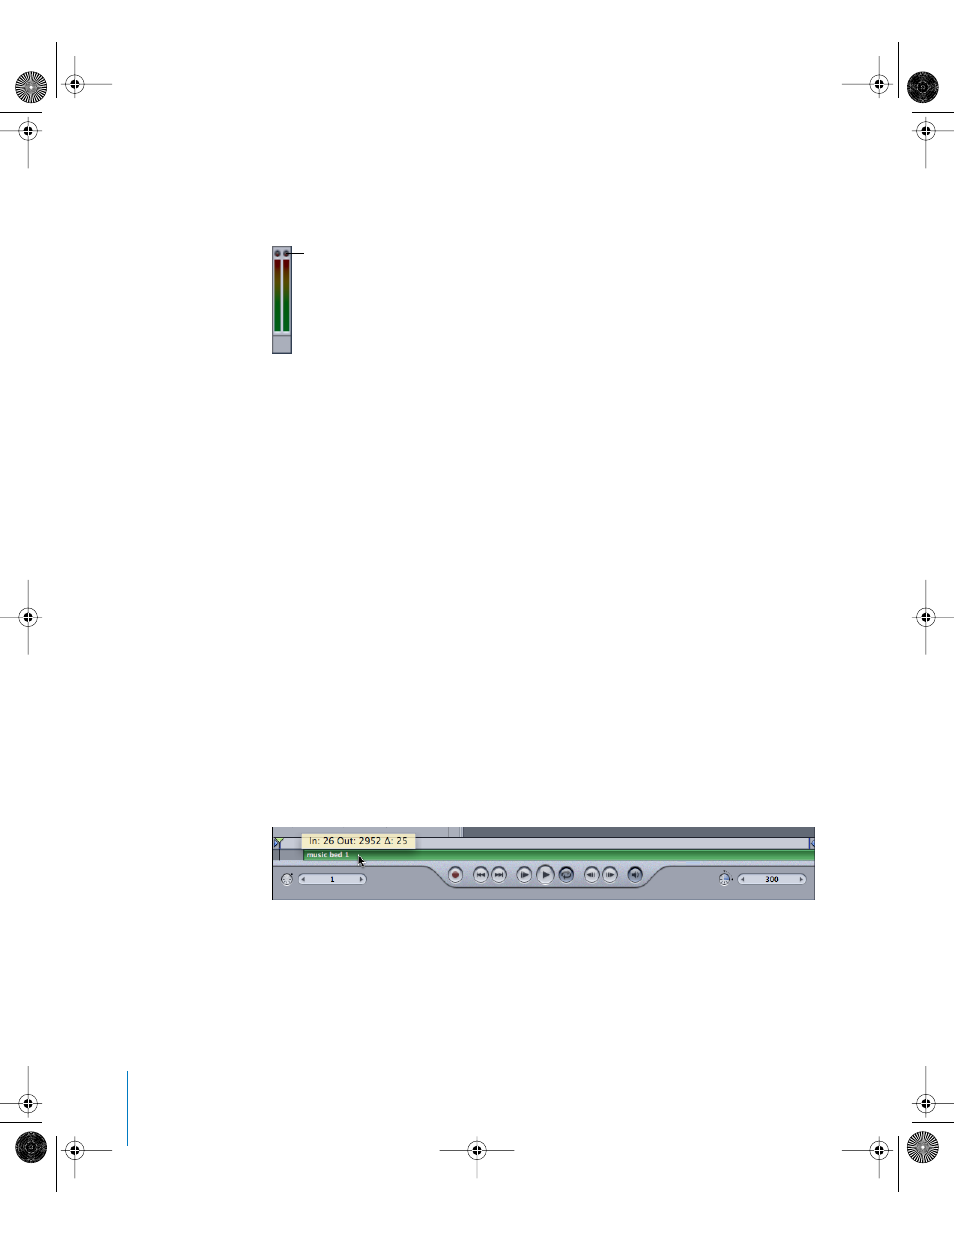
2
In the mini-Timeline, drag the track’s bar left or right. As you drag the bar, a help tag
appears, showing the In and Out points for the track.
Clipping indicators
01112.book Page 892 Sunday, March 13, 2005 10:36 PM