Modifying keyframes in the timeline – Apple Motion 2 User Manual
Page 420
420
Chapter 6
Keyframes and Curves
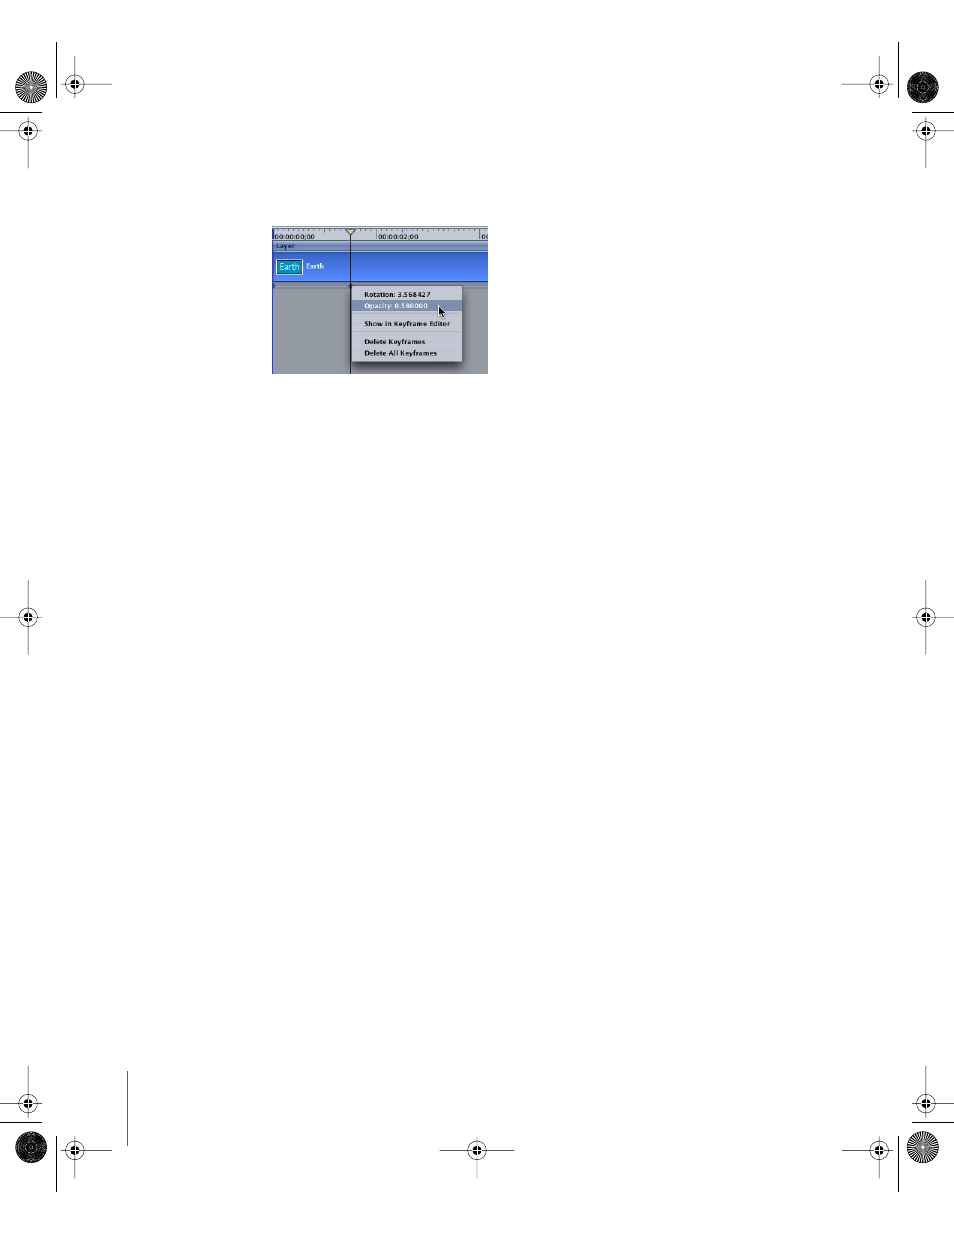
You can identify a keyframe’s value in the shortcut menu. Multiple keyframes on the
same frame are all listed in the menu.
To find a keyframe’s value:
m
Control-click the keyframe.
A shortcut menu appears. The first items in the list are the keyframe values for any
keyframes on that frame.
Note: There is no way to add keyframes in the Timeline.
Modifying Keyframes in the Timeline
When keyframes are visible in the Timeline, you can change their positions in time by
dragging them horizontally in the track. This does not modify the keyframe’s parameter
value, it just changes the position in time when it occurs.
To move a keyframe in the Timeline:
1
Click the Show/Hide Keyframes button in the Timeline.
2
Identify the object where the keyframe is located.
3
Drag the keyframe to the left or right to move it forward or backward in time.
Although moving a keyframe in time does not change the parameter’s value, it can
have a significant effect on the nature of the animation. For example, if you have two
keyframes that animate an object from the top of the screen to the bottom over five
seconds, moving one of the keyframes forces the animation to occur more slowly (if
you drag them farther apart) or more quickly (if you drag them closer together).
Aligning Keyframes With Other Elements
One of the main advantages of manipulating keyframes in the Timeline is the ability to
line up a keyframe with another important time marker. For example, you may want to
align a filter keyframe applied to one object with an object occurring on another track.
To align a keyframe to another object:
1
Click the Show/Hide Keyframes button in the Timeline.
Any keyframes in the project become visible.
2
Identify the keyframe you want to move.
01112.book Page 420 Sunday, March 13, 2005 10:36 PM