Apple Motion 2 User Manual
Page 75
Chapter 1
Getting To Know Motion
75
Markers can be added to your project to identify an important frame or range of
frames. For more on creating and using markers, see “
Zooming in the Timeline
As you get familiar with using the Timeline, you will find yourself wanting to focus on
an individual edit point one second, and the next, you’ll want to see the overview of
your whole project. Fortunately, you can quickly zoom in and out on the Timeline using
a variety of different tools.
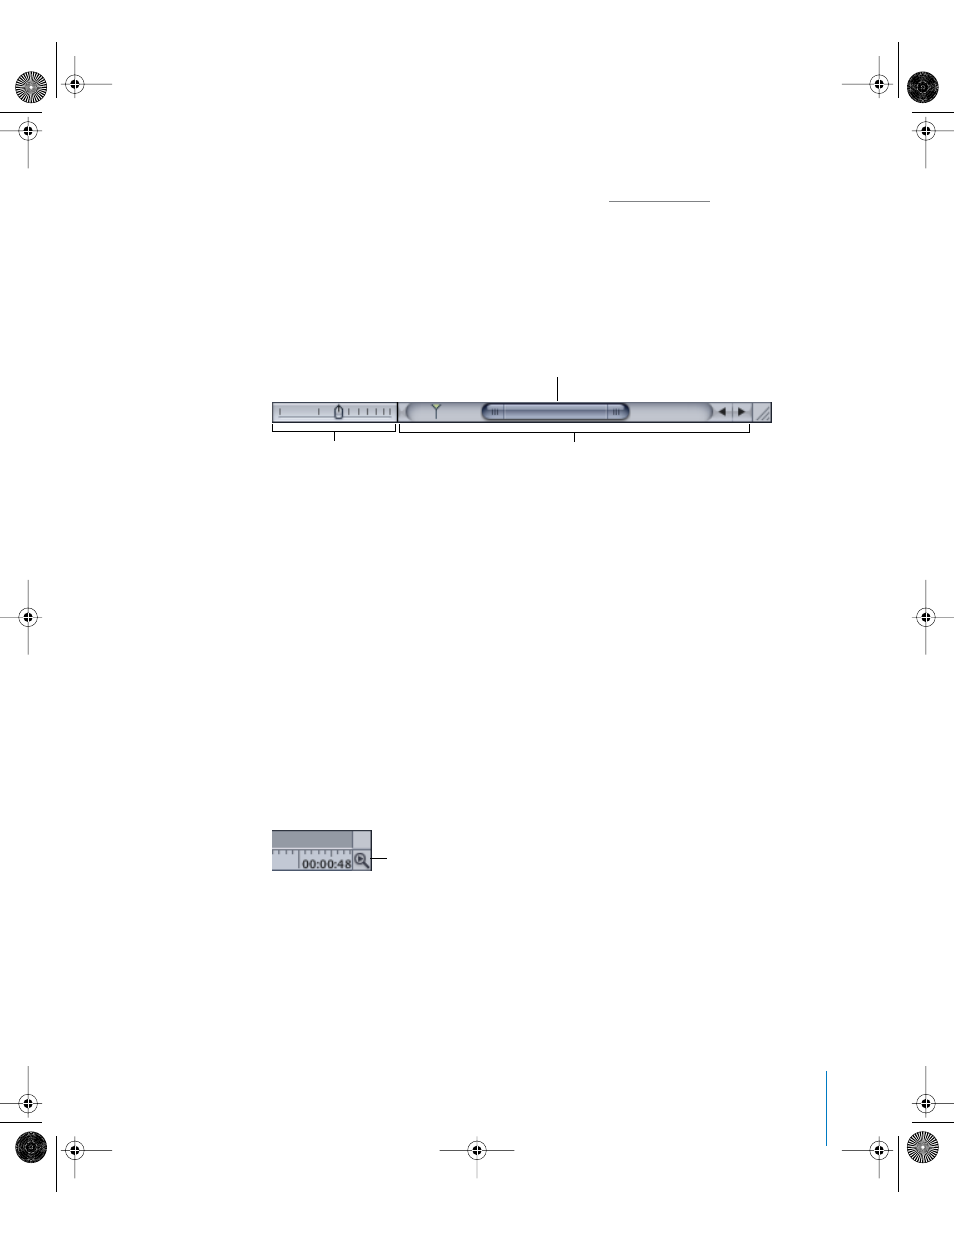
The bottom of the Timeline contains a Zoom slider and a Zoom/Scroll control.
To zoom the Timeline using the Zoom slider:
m
Click the thumb of the Zoom slider and drag left to zoom in, and right to zoom out.
The Timeline updates as you drag.
To zoom the Timeline using the
Zoom/Scroll control:
m
Click the edge of the scroll bar thumb and drag it away from the center to zoom out
and toward the center to zoom in.
The Timeline updates as you drag.
You can also automatically zoom the Timeline to include the entire duration of your
project or just the play range as defined by the play range indicators (In and Out
points).
To zoom the Timeline to fit the entire project, do one of the following:
m
Double-click the Zoom Time View button to the right of the ruler.
m
Choose View > Zoom Time View > To Project.
m
Control-click the ruler, then choose Zoom to Project from the shortcut menu.
To zoom the Timeline to fit the play range, do one of the following:
m
Click the Zoom Time View button to the right of the ruler.
m
Choose View > Zoom Time View > To Play Range.
m
Control-click the ruler, then choose Zoom to Play Range from the shortcut menu.
Zoom slider
Zoom/Scroll control
Thumb
Zoom Time View button
01112.book Page 75 Sunday, March 13, 2005 10:36 PM