The keyframe editor – Apple Motion 2 User Manual
Page 76

76
Chapter 1
Getting To Know Motion
The Zoom Time View button toggles between the Zoom to Play Range and Zoom to
Project settings. If no play range is established, choosing Zoom to Play Range performs
a Zoom to Project.
Changing the Track Display
The tracks in Motion can be displayed in a variety of ways to satisfy different working
styles. You can set your tracks to be viewed as Name Only, Name Plus Thumbnail, and
Filmstrip.
To change the Timeline track display:
1
Choose Motion > Preferences (Command+,) to open Motion Preferences.
2
Click the Appearance icon to switch to the Appearance pane.
3
In the Timeline section, set the Timebar Display pop-up menu to the setting you want.
Note: When the Timebar Display is set to Filmstrip, your processing time is increased.
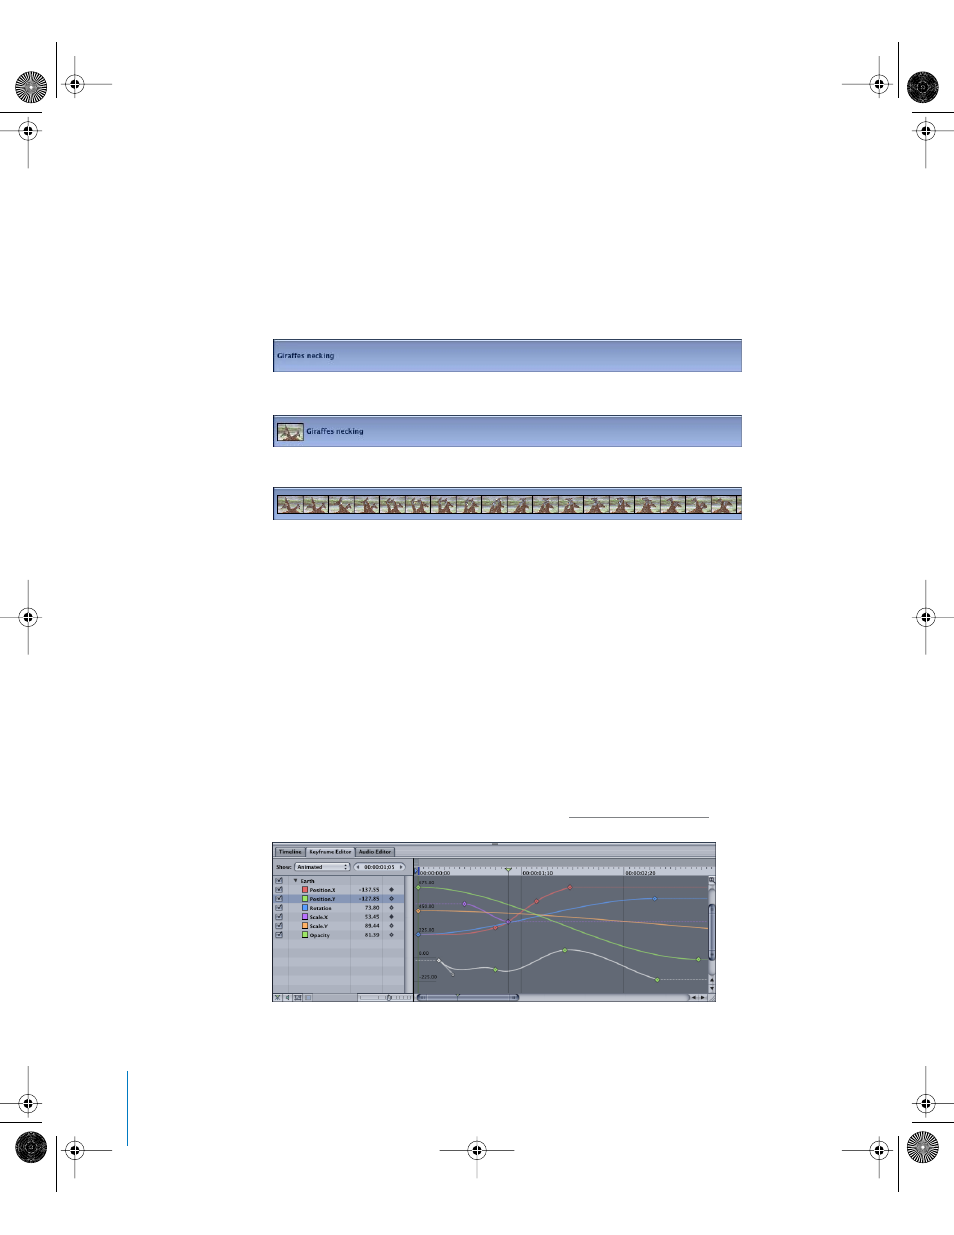
The Keyframe Editor
The Keyframe Editor is where you can view and modify the individual attributes of
filters, behaviors, and other effects over time. Each parameter can be displayed as a
curve showing how the value changes over time. You can manipulate the points within
that curve (called keyframes) to create a variety of powerful effects. For more
information on using the Keyframe Editor, see “
Name Only
Name Plus Thumbnail
Filmstrip
01112.book Page 76 Sunday, March 13, 2005 10:36 PM
