Apple Motion 2 User Manual
Page 859

Chapter 12
Using Shapes and Masks
859
Note: To display the rest of a masked object so you can trace it to create a second
mask, turn off the first mask in either the Layers tab or Timeline. The outline of the first
mask remains visible, even though it’s no longer affecting the object’s transparency.
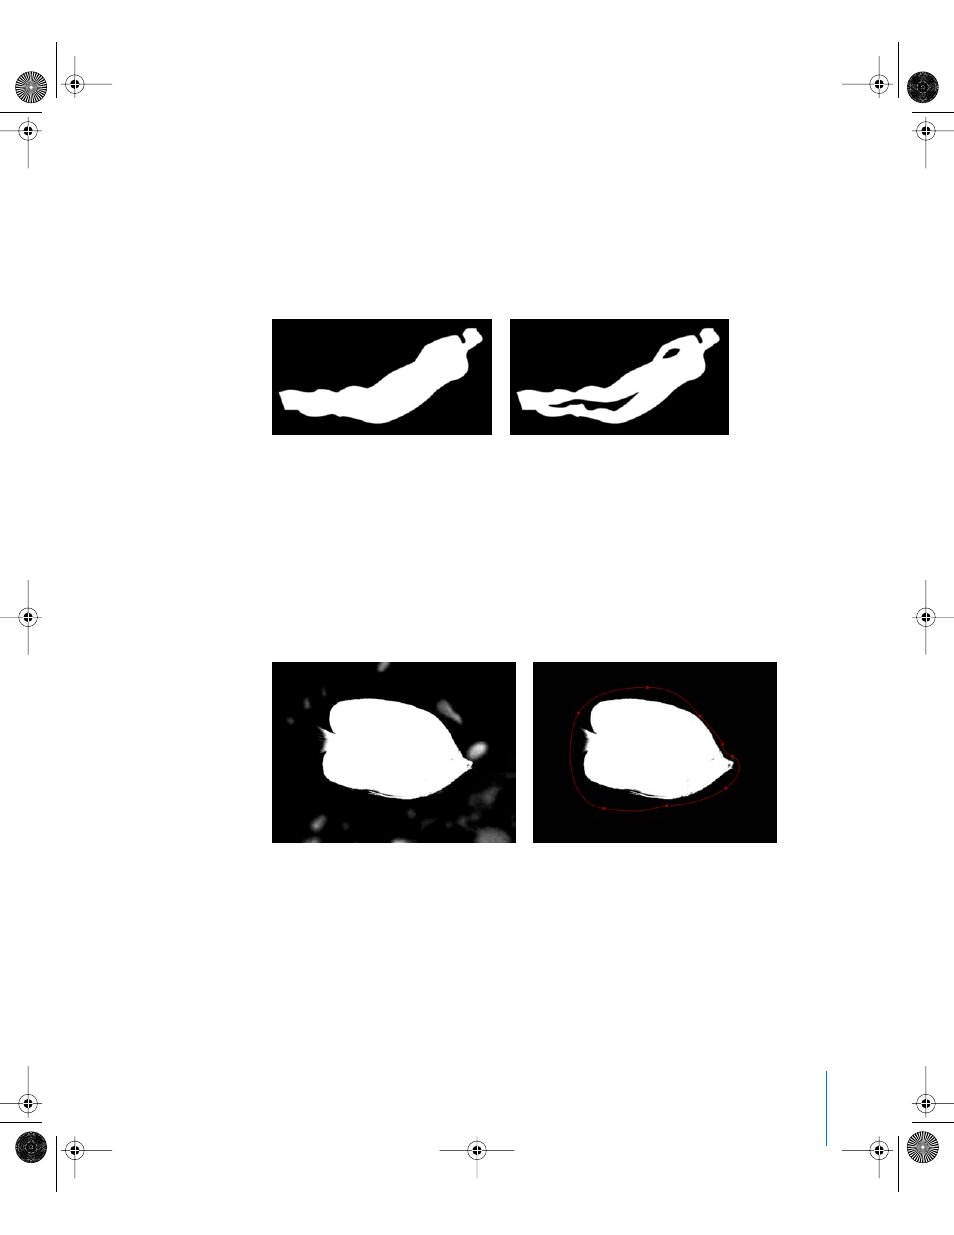
Predictably, masks set to Subtract have the opposite effect, creating black areas in the
object’s alpha channel and making those parts of the object transparent. This is
particularly useful for cutting holes in an object.
Intersecting Masks
In many instances, you may find that you want to cut out parts of an object, while
leaving the rest of the object alone. Using a mask set to Intersect is a good way to do
this.
For example, if you import a TIFF file with an alpha channel and you want to cut out
part of it without losing the alpha information that’s already there, the Intersect blend
mode is the only way to do this. This is also true for objects with keying filters applied.
Replace Masks
A mask set to Replace completely replaces the previously existing alpha channel. It also
completely replaces all other masks appearing underneath it in the Layers tab. For this
reason, it is unlikely that any but the bottommost mask would be set to this blend
mode.
Additional masks subtracted from the first
Result of first mask
Intersecting mask crops unwanted opaque areas.
Original alpha channel from key
01112.book Page 859 Sunday, March 13, 2005 10:36 PM
