Keyframes at the beginning and end of the curve – Apple Motion 2 User Manual
Page 410
410
Chapter 6
Keyframes and Curves
To animate a clip’s opacity:
1
Click the Record button to enable record (or press A).
2
Place the playhead at the frame where you want to begin the fade.
3
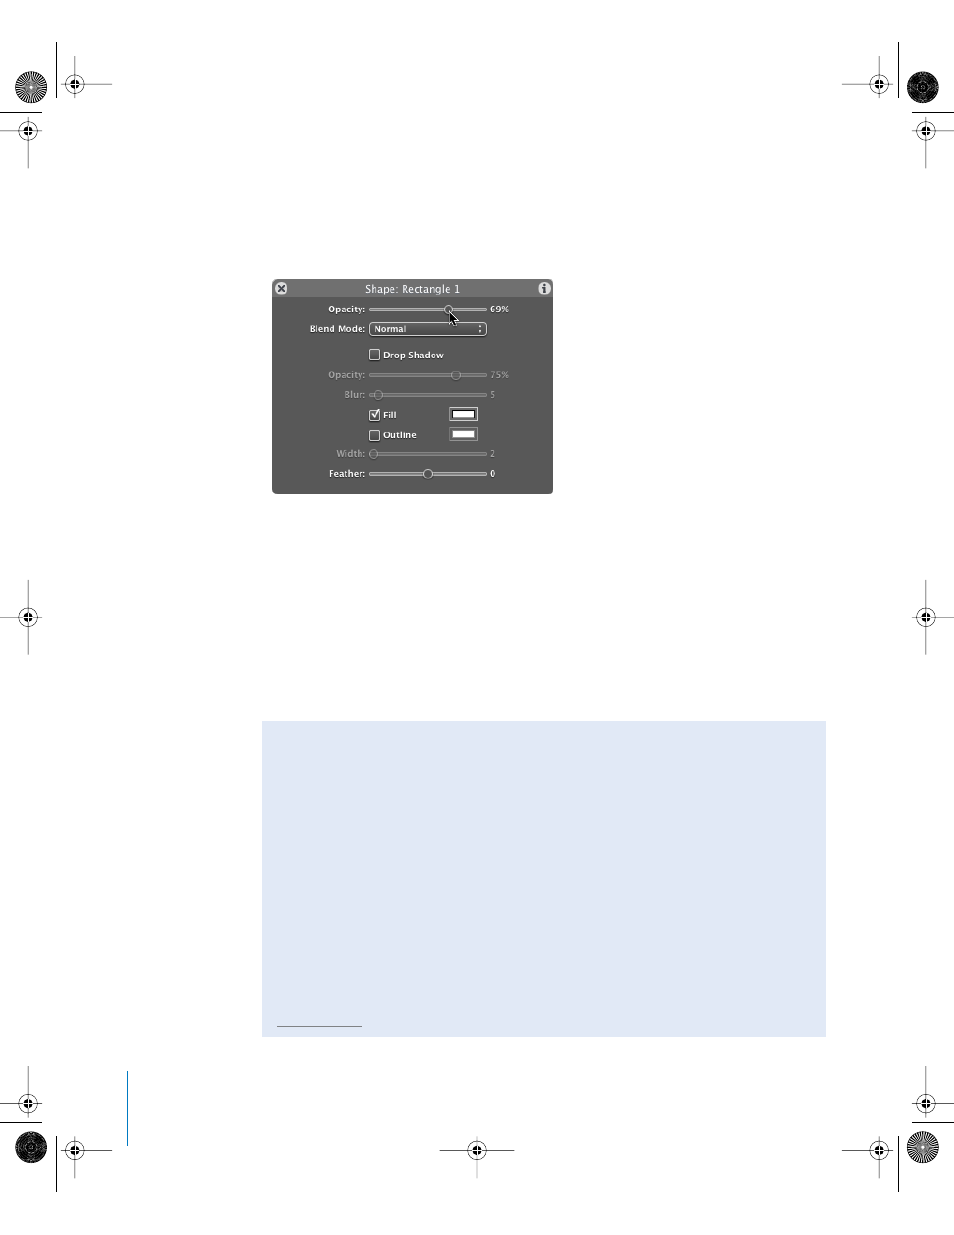
Click the Opacity slider handle in the Dashboard.
Even if you don’t change the slider’s value, clicking it sets a keyframe at that point in
time. This way the object remains at its previous opacity from the beginning of the clip
until that new keyframe, then begins the interpolation toward the next keyframe.
4
Move the playhead forward to a new time.
5
Change the Opacity value.
6
Move the playhead forward again.
7
Change the Opacity slider again.
8
Click the Record button (or press A) to turn keyframe recording off.
Keyframes at the Beginning and End of the Curve
When you begin adding keyframes, you instruct Motion to automatically modify the
in-between frames to interpolate the effect. But what values are used for the frames
before the first keyframe and after the last one?
By default, when you add your first keyframe, that same value is extended forward
and backward to the beginning and end of the clip (just the same as if you hadn’t
added a keyframe at all).
Once you add a second keyframe, the effect begins to change over time. But the
frames before that first keyframe remain at the value of that first keyframe. Similarly,
the frames after the last keyframe hold at that last defined value.
You can override this default behavior to create loops and other patterns by using the
Before First Keyframe and After Last Keyframe submenus as described in the
“
” section later in this chapter.
01112.book Page 410 Sunday, March 13, 2005 10:36 PM