Recording keyframes, Adding and editing keyframes, S in – Apple Motion 2 User Manual
Page 895: Adding and editing, Keyframes

Chapter 13
Working With Audio
895
Recording Keyframes
You can record keyframes for audio level and pan by clicking the Record button, then
moving the sliders in the Audio tab, the Dashboard, or the Inspector. Recording
keyframes for audio level and pan can be useful for trying out changes, and when you
want to hear the results in real time.
Adding and Editing Keyframes
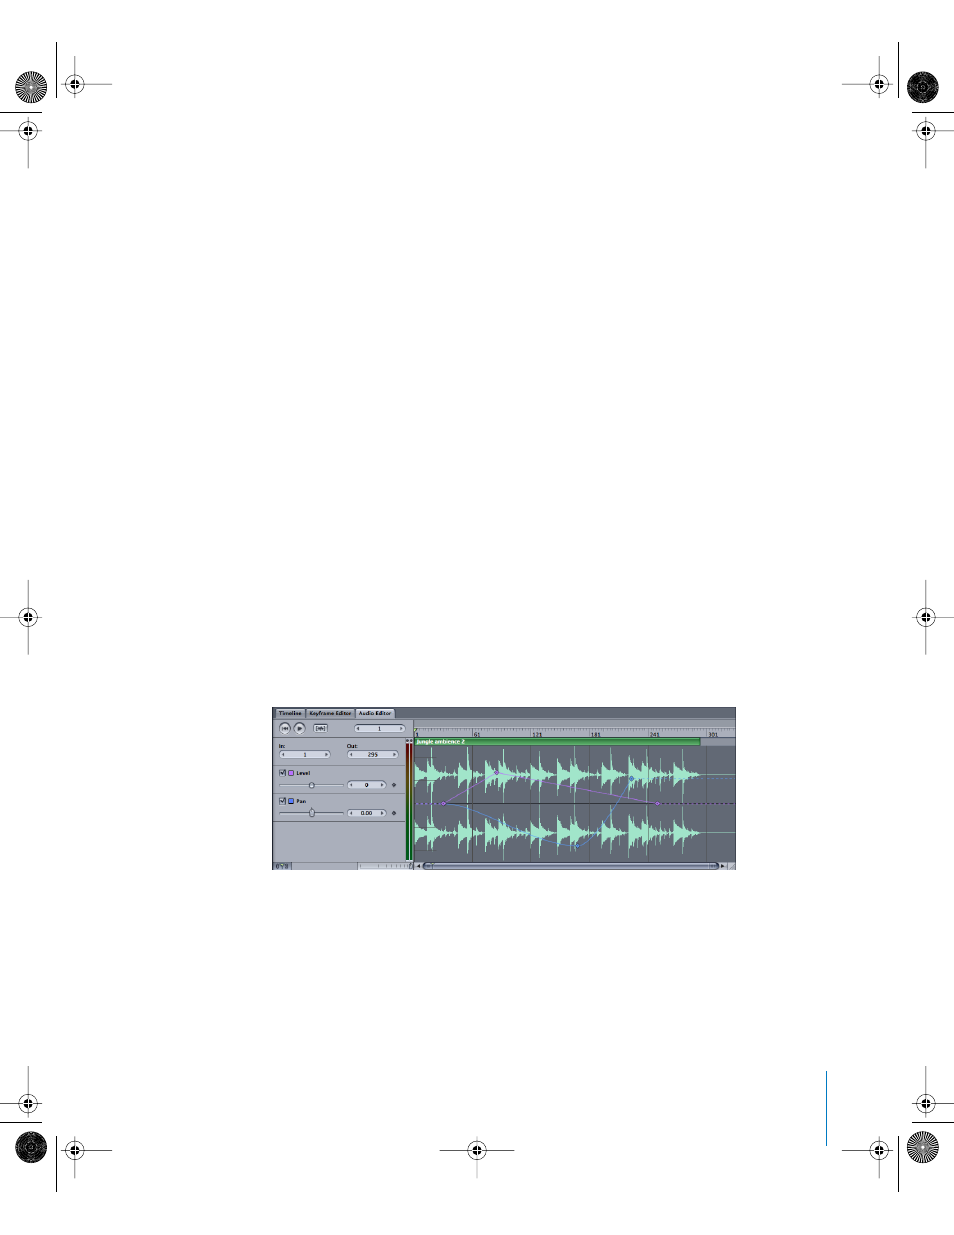
In the Audio Editor, level curves are displayed as a purple dashed line, and pan curves
are displayed as a blue dashed line. Both curves appear overlaid on top of the audio
waveform. The ranges of level and pan curves are:
•
Level curves range from –96 to 6 with 0 equivalent to 0 dB (unity gain).
•
Pan curves range from –100 to 100.
The range of values is displayed along the left side of the Audio Editor. Because level
and pan curves each use a different scale, you can only see numerical values for a curve
if the checkbox for that curve is turned on, and the checkbox for the other curve is
turned off.
To add keyframes to a level curve:
1
Turn on the Level checkbox. You may want to turn off the Pan checkbox, so that you
can see the level curve more clearly, and see its numeric values on the left.
2
Option-click the purple level curve to add a keyframe.
3
Drag the keyframe up or down to set the level you want at a specific time. Drag down
to lower the level, or drag up to raise the level.
4
Add any other keyframes you need, and drag each one to set its value.
To add keyframes to a pan curve:
1
Turn on the Pan checkbox. You may want to turn off the Level checkbox, so that you
can see the pan curve more clearly, and see its numeric values on the left.
2
Option–click the blue pan curve to add a keyframe.
You can use curves to create fade-ins, fade-outs, and other level changes in the Audio Editor.
01112.book Page 895 Sunday, March 13, 2005 10:36 PM
