Adding a multi-track quicktime movie file – Apple Motion 2 User Manual
Page 881
Chapter 13
Working With Audio
881
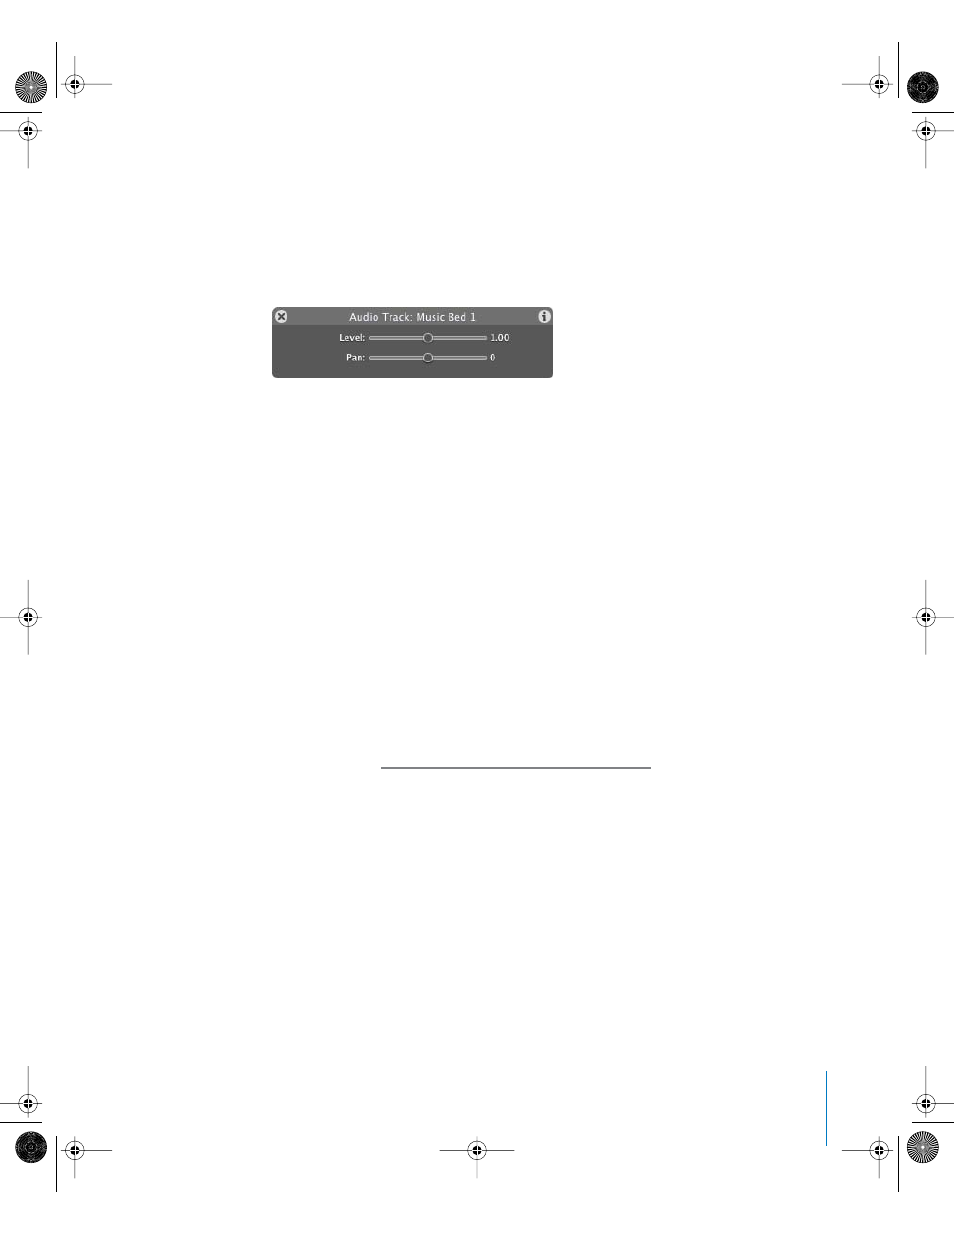
The audio file is added to the project, and appears in the Audio tab of the Project pane,
the Audio Editor, and the Timeline (if the Show Audio button is turned on). The start
point of the audio file is determined by the Create Objects At preference in the Project
Preferences. If set to “Start of project,” the file starts at the beginning of the project. If
set to “Current frame,” it starts at the current location of the Timeline playhead. A
Dashboard for the audio appears in the Canvas.
Note: If the Dashboard does not appear, press D or F7.
When you drag a QuickTime movie into the Canvas or the Layers tab of the Project
pane, the movie’s video and audio tracks are imported into your project. You can
choose to add only the audio track of a QuickTime movie.
You can also drag the file directly to the Media tab. Like image files, this stores the file
in the project but does not “use” the file until you actively add the file to the Timeline
Layer list or Canvas. To use the file, drag the audio track from the Media tab to the
Canvas or Timeline Layer list.
To add only the audio track from a QuickTime movie:
m
In the File Browser or in the Finder, locate the QuickTime movie file, then drag it into
the Audio tab of the Project pane.
The audio track from the movie is added to your project, without the video footage.
If the QuickTime movie contains multiple audio tracks, hold the file over the Audio tab
until the drop menu is displayed. To import the file with a single audio track, select Mix
To Stereo. To import the file with individual tracks, select Import All Tracks. For more
information, see “
Adding a Multi-Track QuickTime Movie File
Adding a Multi-Track QuickTime Movie File
A QuickTime movie file can contain multiple audio tracks. When importing a multi-track
QuickTime movie file, you can import the audio portion of the file as a single audio
track, or as individual tracks. Using the Import button (in the Preview area) results in
the multi-track file being imported as a single track. To maintain the individual audio
tracks, you need to use the drop menu or the File > Import command.
When you add a multi-track audio file, the file appears as an individual track that can
be used independently of the video file. When the file is unlocked, the track can be
individually enabled, disabled, or deleted. Deleting the source QuickTime movie file
from the Media tab, however, deletes all audio and video that originated from that file.
01112.book Page 881 Sunday, March 13, 2005 10:36 PM