Apple Motion 2 User Manual
Page 577
Chapter 8
Working With Particles
577
Emission Range: Two points on the outer ring of the graphical Emission control let you
define the range of angles at which particles are generated. In other words, it defines
the size of the “slice” of the pie graph that the particles fill when they are generated.
Emission Angle: Drag the inside of this section to change the direction in which
particles are emitted, inside the area defined by the Emission Range.
Speed: Arrows within the Emission Range can be shortened or lengthened to define
how quickly particles move away from the emitter.
Use the following modifier keys to more precisely manipulate the graphical Emission
control in the Dashboard:
•
Shift (while adjusting Angle): Restrict angles to 45 degree increments.
•
Shift (while adjusting Range): Restrict to 22.5 degree increments.
•
Command: Adjust Angle only.
•
Option: Adjust Speed only.
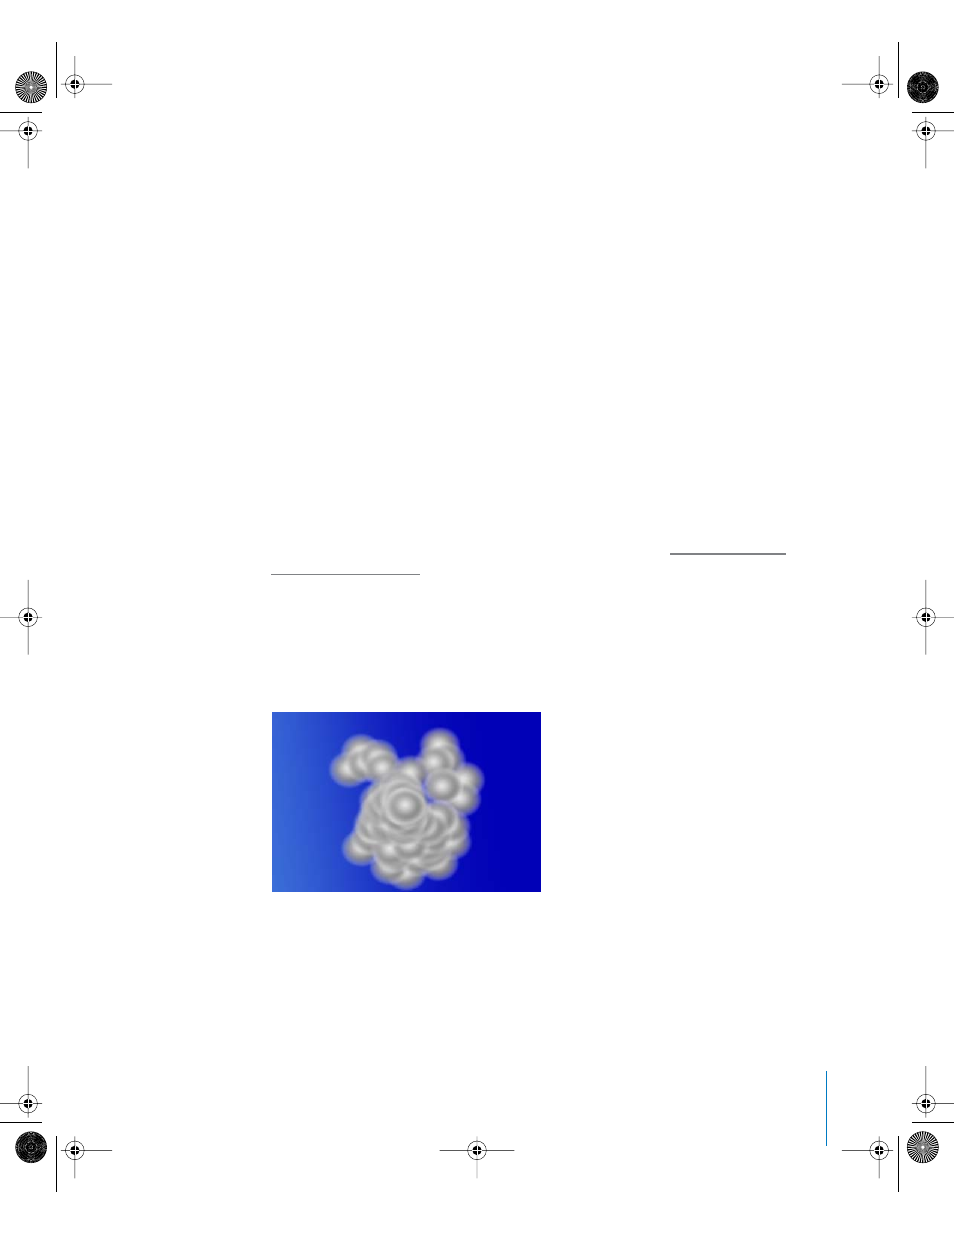
Using the Dashboard to Create a Simple Smoke Effect
In this example, the controls in the Emitter Dashboard are used to create a smoke
effect using the emitter created in the procedure discussed in “
” on page 571. A Blur object from the Content category in the
Library is used as the cell source.
To create a smoke effect using the Emitter Dashboard:
1
Before making adjustments to the selected particle system, it may be helpful to move
the playhead forward in the Timeline to a frame where you can see the particle system
in full effect. That way, any adjustments you make are readily apparent.
Particle system at frame 30
01112.book Page 577 Sunday, March 13, 2005 10:36 PM