Color correction filters – Apple Motion 2 User Manual
Page 725
Chapter 10
Using Filters
725
Color Correction Filters
Color correction filters can be used in a number of ways. You can change a mood by
making an object sepia colored, or to make your object stand out by oversaturating it.
In addition, they can be used to “fix” a problem with contrast, color, or brightness.
Brightness
Boosts or lowers the uniform brightness of an image by the specified amount.
Although this may seem to be the first filter to use if you want to correct for improper
exposure in an image, the drawback of this filter is that it boosts or lowers everything
in an image at once. This means that raising the brightness in an image raises it
everywhere, including in the shadows. The result is that a brightened image may look
washed out.
On the other hand, this filter can come in very handy as a way to modify the edges and
effects of shapes, masks, particle systems, and generators.
A better filter for exposure correction is the Gamma filter. For more information, see
“
Parameters in the Inspector
Brightness: Sets the multiplying brightness value applied to the object. Values range
from 0 (no brightness, black image) to 5.
Dashboard controls
The Dashboard contains the same Brightness control as the Inspector.
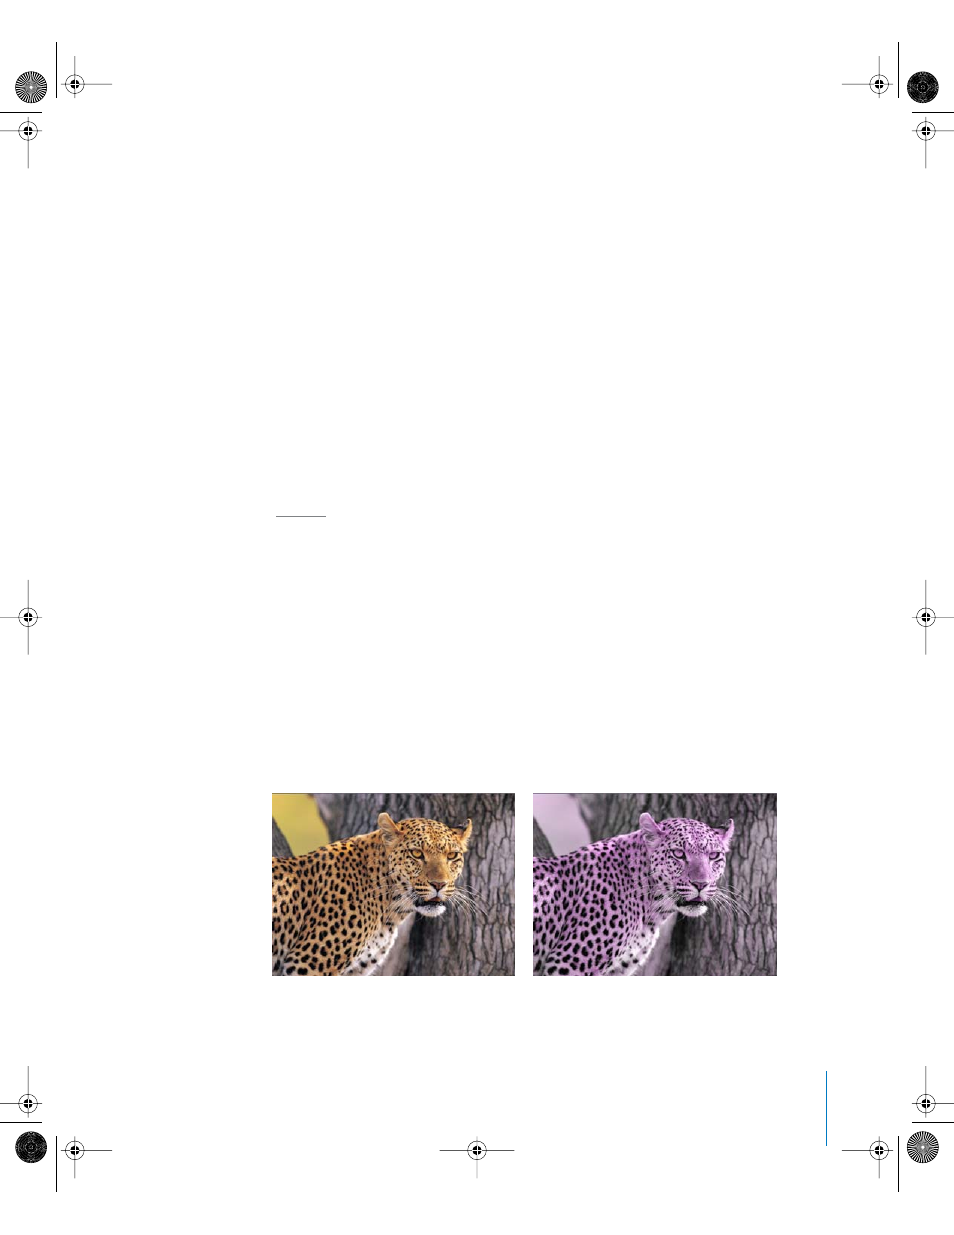
Channel Swap
Substitutes the color value of a color channel with that of either a selected channel, or
its inverse. If you select Blue from Red, the value of blue in the object will match the
value of red across the entire object. Channel swap can be used in a variety of ways,
including simply inverting the alpha channel of an object.
Original image
Blue from parameter set to Red
01112.book Page 725 Sunday, March 13, 2005 10:36 PM