Deleting keyframes – Grass Valley Kalypso User Manual V.15.0 User Manual
Page 428
428
Kalypso — User Manual
Appendix A — Tutorials
3.
Press
End
in the Effects Edit subpanel to go to the end of the effect. Even
though the edit cursor is now located on KF 5 on the timeline, the box
hasn’t moved from its original location because work buffer values
haven’t not changed.
4.
Press
Insert After
. The work buffer values that had defined KF 1 are now
inserted as KF 6 after KF 5.
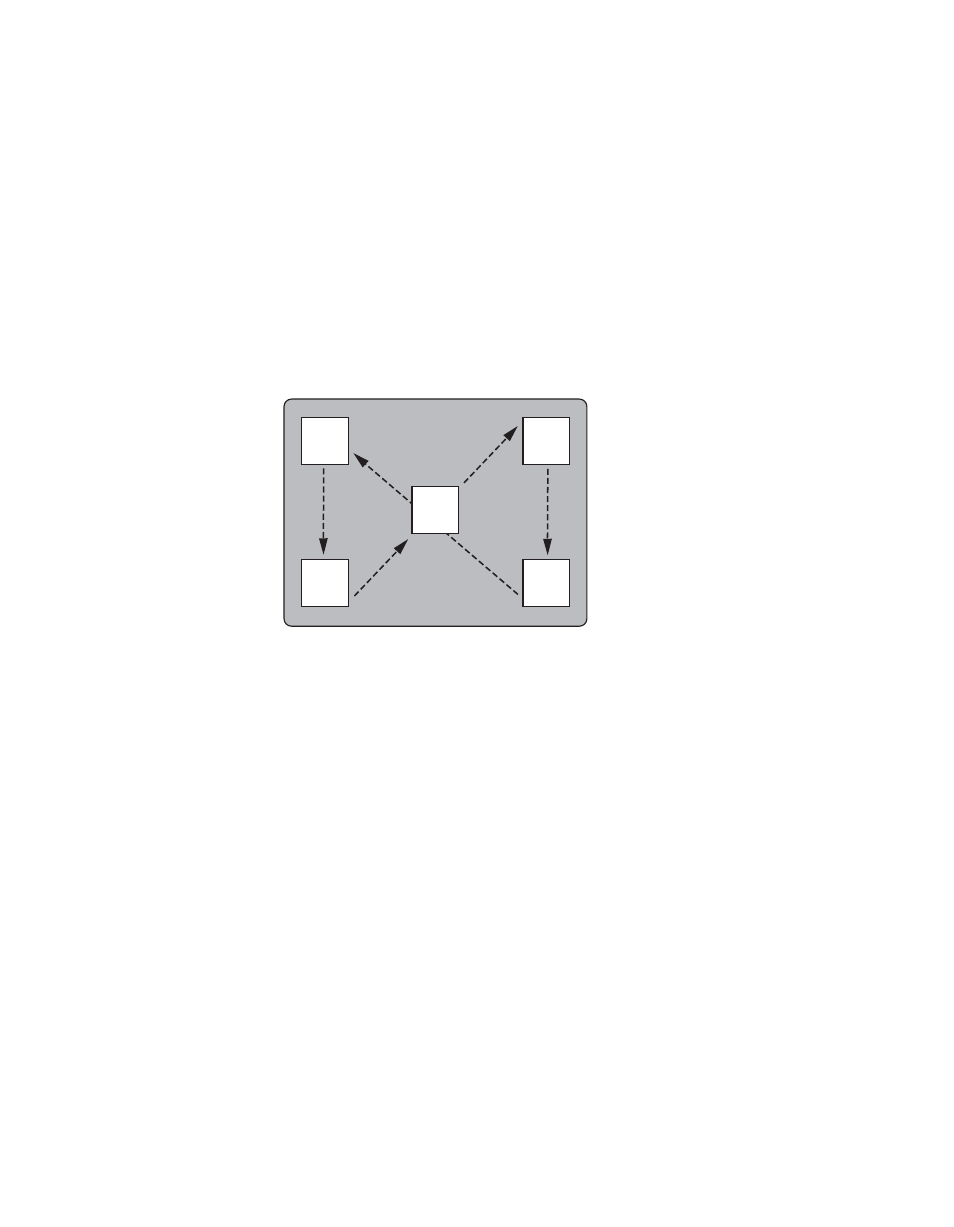
5.
Observing the output monitor, press
Run
. The effect will run through
the effect, then return to its starting point. You can run the effect over
and over without having the box jump between starting and ending
positions (
).
Figure 300.
6.
Press
Time Crsr
to join the two cursors back together for normal system
operation.
Deleting Keyframes
1.
Press
Begin
,
Next KF
to go to KF 2.
2.
Press
Delete
in the Effects Edit subpanel. KF 2 is deleted from the work
buffer and its register. Its duration is also removed, shortening the effect
by one half second. The cursor moves to the next keyframe, which
becomes the new KF 2 in the effect.
3.
Press
Delete
again. This removes the other half second duration
keyframe.
4.
Press
End
to go to the last keyframe in the effect (which has the same
settings as the KF 1).
5.
Press
Delete
. Now there are only three keyframes in the effect.
0721_04_30_r0
KF 6
KF 1
KF 2
KF 5
KF 4
KF 3
- Kalypso User Manual V.12.0 Apr 10 2007 Kalypso Reference Manual V.11.0 Kalypso Reference Manual V.12.0 Mar 16 2006 Kalypso Reference Manual V.12.0 Apr 10 2007 Kalypso Classic Installation V.11.0 Kalypso Classic Installation V.12.0 Mar 13 2006 Kalypso Classic Installation V.12.0 Apr 10 2007 Kalypso User Manual V.11.0 Kalypso User Manual V.12.0 Mar 16 2006 Kalypso Reference Manual V.15.1 Kalypso User Manual V.15.1 HD/Duo Kalypso Installation V.15.0 HD/Duo Kalypso Installation V.11.0 HD/Duo Kalypso Installation V.15.1 Kalypso Reference Manual V.15.0 Video Switcher