Grass Valley Kalypso User Manual V.15.0 User Manual
Page 422
422
Kalypso — User Manual
Appendix A — Tutorials
5.
Without first pressing the Modify button, press
Run
. The effect rewinds
and then runs to its original ending keyframe (not to your change). The
change you made was lost because it only existed in the work buffer
and wasn’t applied to the keyframe.
6.
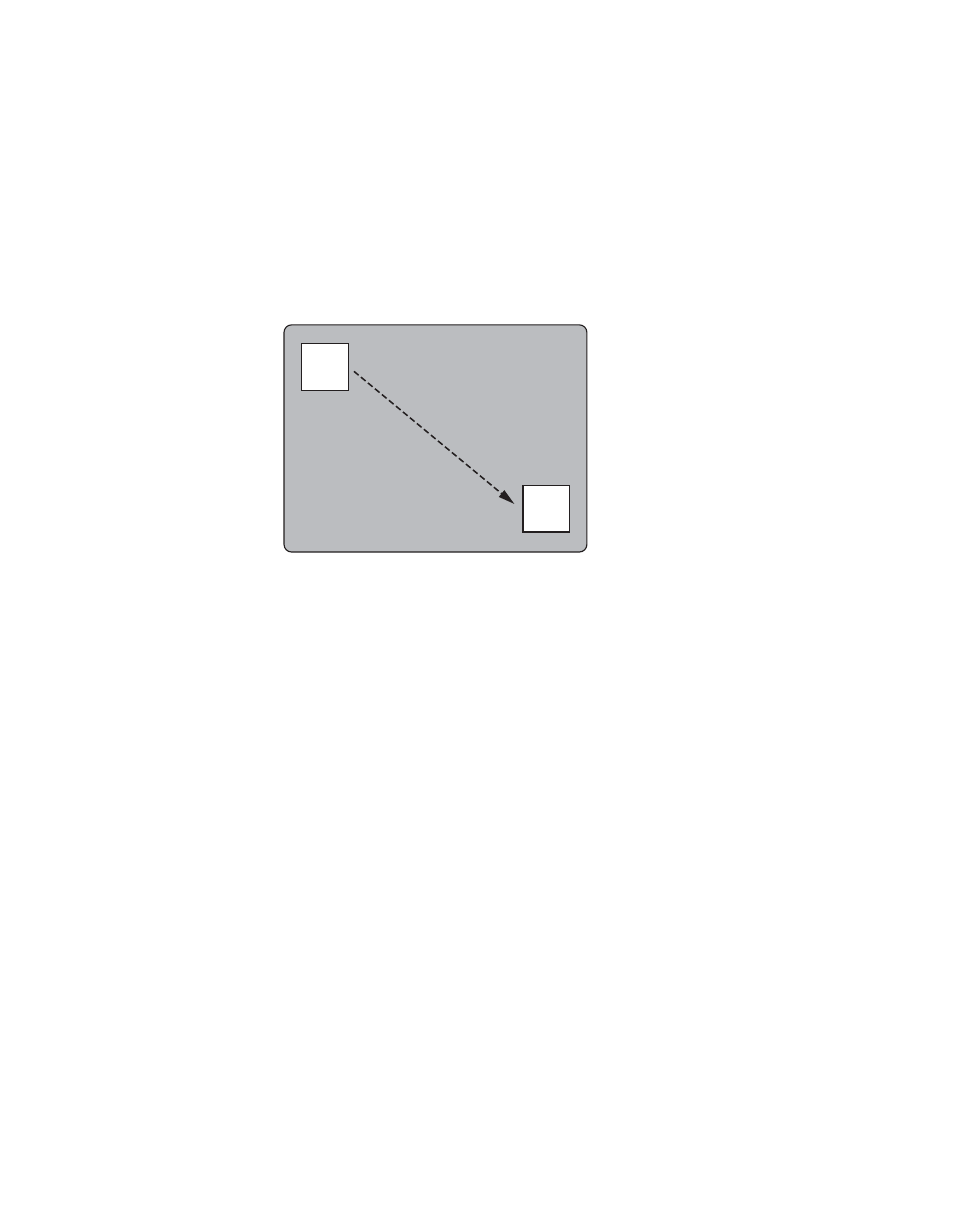
Try again. Move the box to the lower right side of the screen, press
Mod
,
and then press
Run
. The effect moves smoothly from upper left to lower
right (
Figure 291.
7.
Add a matte border to the preset pattern of KF 2 (turn on
Border
in the
Wipes menu), then press
Mod
. This changes only KF 2 to have a border.
8.
Observing the output monitor, press
Run
. The effect will rewind and run
from KF 1 to KF 2 without a border, and then the border will pop on.
9.
Press
Rew
to go to KF 1. Add a matte border to KF 1 as you did for KF 2,
but then adjust the border width to zero and press
Mod
. This adds the
border attribute to KF 1, but it will not be seen at that point in time
because of its zero width.
10.
Observing the output monitor, press
Run
. The effect will run with the
border growing in size from KF 1 to KF 2. To have interpolation
between keyframes, the attribute must be on for both keyframes.
11.
Press
Rew
to go to KF 1. Adjust the border size to match that of KF 2,
then press
Mod
.
12.
Observing the output monitor, press
Run
. The effect will run with the
border not changing size.
0721_04_18_r0
KF 1
KF 2
- Kalypso User Manual V.12.0 Apr 10 2007 Kalypso Reference Manual V.11.0 Kalypso Reference Manual V.12.0 Mar 16 2006 Kalypso Reference Manual V.12.0 Apr 10 2007 Kalypso Classic Installation V.11.0 Kalypso Classic Installation V.12.0 Mar 13 2006 Kalypso Classic Installation V.12.0 Apr 10 2007 Kalypso User Manual V.11.0 Kalypso User Manual V.12.0 Mar 16 2006 Kalypso Reference Manual V.15.1 Kalypso User Manual V.15.1 HD/Duo Kalypso Installation V.15.0 HD/Duo Kalypso Installation V.11.0 HD/Duo Kalypso Installation V.15.1 Kalypso Reference Manual V.15.0 Video Switcher